
There’s something magical about the aroma of fresh, warm bread wafting through your home. These Old Fashioned Yeast Rolls are a delightful throwback to simpler times, perfect for family dinners or cozy gatherings.
Soft, fluffy, and slightly sweet, these rolls bring comfort and nostalgia to the table. With just a handful of ingredients, you’ll create a versatile side that pairs beautifully with almost any dish.
Why You’ll Love This Recipe
These rolls are not just a side; they are a warm hug on a plate.
- Classic flavor that never goes out of style.
- Perfectly fluffy texture that melts in your mouth.
- Easy to make with basic pantry ingredients.
- Adaptable for various meals or occasions.
- Great for freezing and enjoying later.
My Experience Making This Recipe
Making these rolls always feels like a cherished tradition. The moment the dough rises, I can’t help but feel a rush of excitement.
When my family takes that first bite, the smiles on their faces say it all. They often ask for seconds, and I love sharing this simple joy with them.
Recipe Overview
- Recipe Name: Old Fashioned Yeast Rolls
- Servings: 12 rolls
- Prep Time: 15 minutes
- Cook Time: 15 minutes
- Total Time: 1 hour 30 minutes (including rising time)
- Course: Bread
- Cuisine: American
- Calories per Serving: 150
Equipment You Will Need
- Mixing bowl
- Measuring cups and spoons
- Wooden spoon or dough whisk
- Kitchen towel
- Baking sheet
- Parchment paper (optional)
- Oven
Ingredients for Old Fashioned Yeast Rolls
- 2 cups warm milk (110°F to 115°F)
- 1/4 cup granulated sugar
- 1 packet (2 1/4 teaspoons) active dry yeast
- 1/2 cup unsalted butter, melted
- 1 teaspoon salt
- 4-5 cups all-purpose flour
- 2 large eggs, lightly beaten
Ingredient Notes and Substitutions
- Warm milk: Provides moisture and helps activate the yeast. You can use almond milk or any non-dairy milk for a substitute.
- Granulated sugar: Adds a touch of sweetness and feeds the yeast. Honey or maple syrup work well as alternatives.
- Active dry yeast: Essential for leavening the rolls. Instant yeast can be used without proofing.
- Unsalted butter: Adds richness. You can use vegetable oil if desired.
- All-purpose flour: Creates the structure of the rolls. Whole wheat flour can be used for a healthier option, but may yield denser rolls.
How to Make Old Fashioned Yeast Rolls
Step 1: Activate the Yeast
In a mixing bowl, combine warm milk, sugar, and yeast. Let it sit for about 5-10 minutes until it becomes frothy, indicating the yeast is active.
Step 2: Mix Wet Ingredients
Stir in the melted butter and beaten eggs into the yeast mixture. This adds flavor and richness to the rolls.
Step 3: Combine Dry Ingredients
In a separate bowl, whisk together salt and flour. Gradually add this to the wet ingredients to create a dough.
Step 4: Knead the Dough
Turn the dough onto a floured surface and knead for about 5-7 minutes. This develops the gluten, making your rolls soft and airy.
Step 5: First Rise
Place the dough in a greased bowl, cover it with a kitchen towel, and let it rise in a warm place for about 1 hour. The dough should double in size.
Step 6: Shape the Rolls
Once risen, punch down the dough and divide it into 12 equal pieces. Shape each piece into a ball and place them on a baking sheet.
Step 7: Second Rise
Cover the shaped rolls with the towel again and let them rise for another 30 minutes. This allows for a light and fluffy texture.
Step 8: Bake the Rolls
Preheat the oven to 375°F (190°C). Bake the rolls for 15-20 minutes until golden brown. This gives them a beautiful crust and enhances the flavor.
Pro Tip: For extra flavor, brush the rolls with melted butter right after baking!
Tips for the Best Old Fashioned Yeast Rolls
- Use fresh yeast for the best rise; check the expiration date.
- Don’t skip the kneading step; it’s key for texture.
- Make sure your milk is warm, not hot, to avoid killing the yeast.
- Let the dough rise in a warm, draft-free area for optimal results.
- Feel free to experiment with herbs or garlic for added flavor!
Common Mistakes to Avoid
- Using cold milk can inhibit yeast activation, resulting in dense rolls.
- Skipping the second rise leads to less fluffy rolls.
- Over-kneading makes the dough tough, so knead just until smooth.
- Not using enough flour can result in sticky dough.
- Baking at the wrong temperature can burn the rolls or leave them doughy inside.
Serving Suggestions
These rolls are incredibly versatile and can accompany many meals. Try serving them with:
- Buttery roasted chicken
- Rich beef stew
- Homemade soups
- Salads for a hearty touch
- Jam or honey for a sweet breakfast treat
Variations to Try
- Add herbs like rosemary or thyme for a savory twist.
- Incorporate cheese into the dough for cheesy rolls.
- Top with sesame or poppy seeds before baking for added crunch.
- Make cinnamon rolls by adding sugar and cinnamon in the center before rolling.
- Experiment with different flours, like whole wheat or rye, for unique flavors.
Dietary Adaptations
- Gluten-free: Use a gluten-free flour blend, but note the texture may change.
- Dairy-free: Substitute almond or coconut milk and use oil instead of butter.
- Vegan: Replace butter with vegan margarine and use a flax egg instead.
- Low-carb/keto: Use almond flour and adjust the recipe accordingly.
Storage and Reheating
Refrigerator
Store leftover rolls in an airtight container for up to 3 days.
- Keep them at room temperature to maintain texture.
Freezer
These rolls freeze beautifully, making them perfect for meal prep.
- Wrap them tightly in plastic wrap and place in a freezer-safe bag for up to 3 months.
Reheating
Reheat rolls in the oven for a few minutes or in the microwave for a softer texture.
- Wrap in a damp paper towel when microwaving to prevent drying out.
Nutrition Information
| Nutrient | Amount |
|---|---|
| Calories | 150 |
| Total Fat | 5g |
| Saturated Fat | 3g |
| Carbohydrates | 23g |
| Fiber | 1g |
| Sugar | 1g |
| Protein | 4g |
| Sodium | 200mg |
| Cholesterol | 30mg |
This information may vary based on specific ingredients used.
Frequently Asked Questions
Can I make these rolls ahead of time?
Yes, you can prepare the dough in advance and refrigerate it overnight. Just allow extra time for the second rise.
What if my rolls turn out dense?
This usually happens from not letting the dough rise enough. Ensure you give it ample time to double in size.
Can I substitute the flour?
Yes, you can use whole wheat flour, but it may yield a denser roll. Adjust the liquid as needed.
How do I know when the rolls are fully baked?
The rolls should be golden brown on top and sound hollow when tapped on the bottom. A toothpick inserted should come out clean.
Can I freeze the dough before baking?
Absolutely! You can freeze the shaped rolls before the second rise. Just thaw and let rise before baking.
Final Thoughts
These Old Fashioned Yeast Rolls are a delightful addition to any meal. They bring warmth and comfort that makes dining a special occasion.
I encourage you to try making these rolls and experience the joy they bring. They may just become your new family favorite!
For more delicious recipes, check out these sweet rolls or try my butter swim biscuits for a tasty treat.
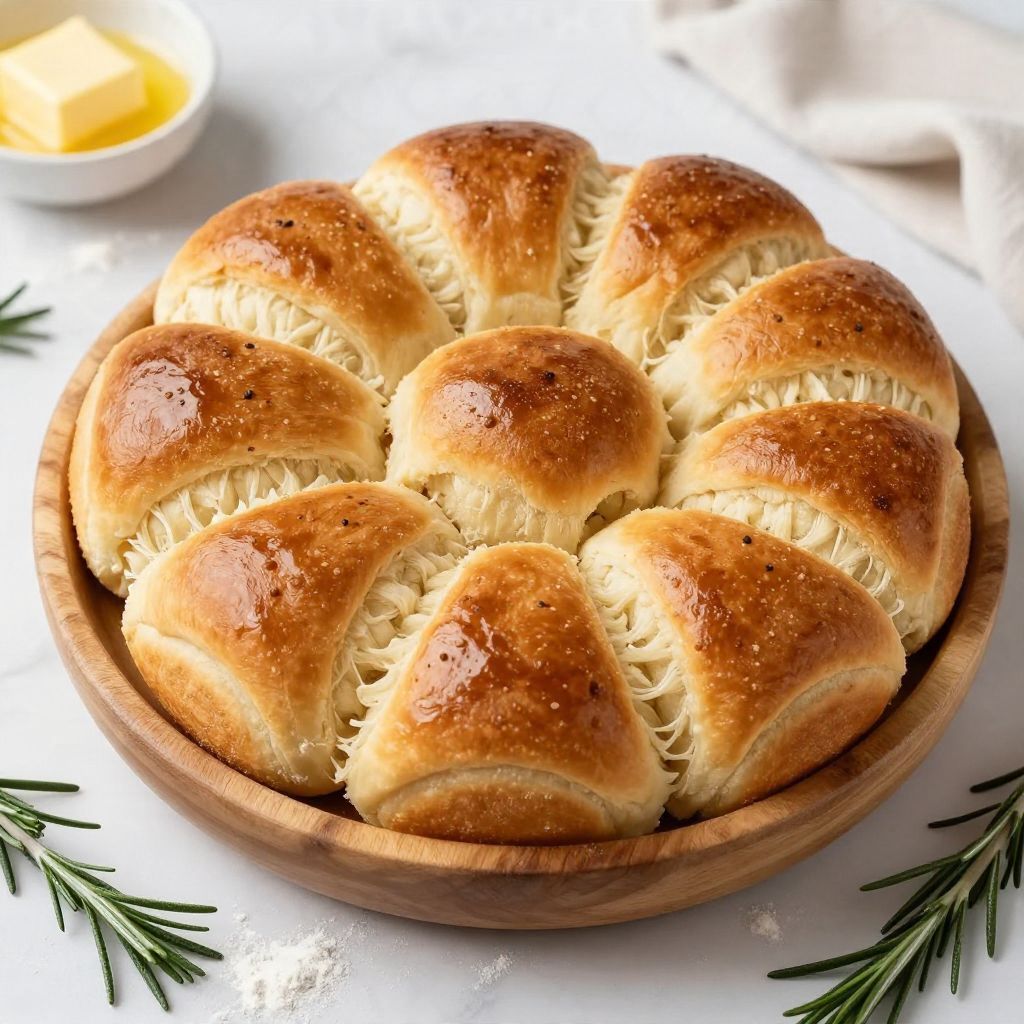
Old Fashioned Yeast Rolls
Ingredients
Equipment
Method
- In a mixing bowl, combine warm milk, sugar, and yeast. Let it sit for about 5-10 minutes until it becomes frothy.
- Stir in the melted butter and beaten eggs into the yeast mixture.
- In a separate bowl, whisk together salt and flour. Gradually add this to the wet ingredients to create a dough.
- Turn the dough onto a floured surface and knead for about 5-7 minutes.
- Place the dough in a greased bowl, cover it with a kitchen towel, and let it rise in a warm place for about 1 hour.
- Punch down the dough and divide it into 12 equal pieces. Shape each piece into a ball and place them on a baking sheet.
- Cover the shaped rolls with the towel again and let them rise for another 30 minutes.
- Preheat the oven to 375°F (190°C). Bake the rolls for 15-20 minutes until golden brown.