
There’s something truly nostalgic about the taste of fresh, homemade farmer’s cheese. This simple yet delightful cheese is creamy and slightly tangy, perfect for spreading on toast or adding to savory dishes. Making your own cheese at home may sound intimidating, but it’s surprisingly straightforward and incredibly rewarding. In just a few easy steps, you can create a versatile ingredient that elevates your meals. Plus, it’s a great way to impress friends and family with your culinary skills. Let’s dive into this fun and fulfilling process!
Why You’ll Love This Recipe
This recipe is a must-try for cheese lovers looking for something easy yet delicious.
- Quick and simple to make.
- Versatile for sweet or savory dishes.
- Uses minimal ingredients.
- Perfect for meal prep and snacks.
- Great way to utilize leftover milk.
My Experience Making This Recipe
When I first attempted to make farmer’s cheese, I was skeptical. However, the moment I tasted that fresh, creamy texture, I knew I was onto something special.
My family loved it too, spreading it on bagels and adding it to salads. The satisfaction of creating cheese from scratch is hard to beat.
Recipe Overview
- Recipe Name: Farmer’s Cheese
- Servings: 4
- Prep Time: 10 minutes
- Cook Time: 15 minutes
- Total Time: 25 minutes
- Course: Cheese
- Cuisine: American
- Calories per Serving: 100
Equipment You Will Need
- Large saucepan
- Wooden spoon
- Fine mesh strainer or cheesecloth
- Mixing bowl
- Thermometer (optional)
Ingredients for Farmer’s Cheese
- 1 gallon whole milk
- 1/4 cup white vinegar or lemon juice
- 1 teaspoon salt (to taste)
Ingredient Notes and Substitutions
- Whole milk: Provides creaminess and flavor. You can use 2% milk for a lighter version, but the texture will be less creamy.
- White vinegar or lemon juice: Helps curdle the milk. You can substitute with apple cider vinegar for a different flavor.
- Salt: Enhances flavor. Adjust based on your taste preference.
How to Make Farmer’s Cheese
Step 1: Heat the Milk
Pour the whole milk into a large saucepan over medium heat. Stir gently and heat until it reaches just below boiling point, around 190°F, to avoid scorching.
Step 2: Add the Acid
Once the milk is hot, remove it from heat and stir in the vinegar or lemon juice. This will help the milk curdle and separate into curds and whey.
Step 3: Let it Sit
Cover the saucepan and let it sit for about 10 minutes. This resting time allows the curds to form fully.
Step 4: Strain the Curd
Place a fine mesh strainer or cheesecloth over a mixing bowl. Carefully pour the curdled milk into the strainer to separate the curds from the whey.
Step 5: Rinse the Curd
Rinse the curds under cold running water. This removes any remaining whey and cools the curds for easier handling.
Step 6: Season the Cheese
Transfer the curds to a bowl and add salt. Mix gently to combine, adjusting the salt to your preferred taste.
Step 7: Shape the Cheese
For a firmer cheese, gather the curds in cheesecloth and press out excess moisture. Shape it into a disc or pack it into a container for storage.
Step 8: Chill and Serve
Refrigerate the cheese for at least an hour before serving. This helps it firm up and enhances the flavor.
Pro Tip: For a creamier texture, blend the curds with a splash of cream before chilling.
Tips for the Best Farmer’s Cheese
- Use fresh milk for the best flavor.
- Don’t skip the rinsing step; it helps to improve taste.
- Experiment with herbs or spices for a unique twist.
- Store in an airtight container to keep it fresh longer.
- Use the leftover whey in smoothies or soups for added nutrition.
Common Mistakes to Avoid
- Boiling the milk: It should reach just below boiling to prevent burning.
- Not letting it sit long enough: Give the curds time to form properly.
- Using low-fat milk: It results in a drier cheese with less flavor.
- Skipping the rinse: Failing to rinse can leave a sour taste.
Serving Suggestions
Farmer’s cheese shines when paired with various foods, adding creaminess and flavor.
- Spread on toasted bagels or bread.
- Served with fresh fruit for a light breakfast.
- Mixed into salads for extra protein.
- As a filling for pierogi or stuffed pasta.
- Paired with olives and nuts for a cheese board.
Variations to Try
- Add fresh herbs like chives or dill for a savory flavor boost.
- Mix in garlic powder for a delicious garlic cheese spread.
- Incorporate honey and cinnamon for a sweet version.
- Try adding crushed red pepper for a spicy kick.
- Blend in a touch of garlic and olive oil for a Mediterranean twist.
Dietary Adaptations
- Gluten-free: Naturally gluten-free, so enjoy without worry.
- Dairy-free: Use a non-dairy milk and a vegan acid like lemon juice.
- Vegan/Vegetarian: Vegan options are available for a plant-based cheese.
- Low-carb/Keto: Great for low-carb diets as it is high in protein and low in carbs.
Storage and Reheating
Refrigerator
Store farmer’s cheese in an airtight container in the fridge.
- It will last up to one week.
- Keep it covered to maintain freshness.
Freezer
For longer storage, freeze the cheese in a freezer-safe container.
- It can last up to three months.
- Thaw in the refrigerator before use.
Reheating
Reheat gently if needed, but it is best served cold or at room temperature.
- Avoid high heat to keep the texture smooth.
- Use it directly from the fridge for optimal flavor.
Nutrition Information
| Nutrient | Amount |
|---|---|
| Calories | 100 |
| Total Fat | 6g |
| Saturated Fat | 4g |
| Carbohydrates | 4g |
| Fiber | 0g |
| Sugar | 3g |
| Protein | 8g |
| Sodium | 200mg |
| Cholesterol | 25mg |
Nutrition values may vary based on specific ingredients used.
Frequently Asked Questions
Can I use low-fat milk to make farmer’s cheese?
While you can use low-fat milk, the cheese will be less creamy and flavorful compared to whole milk.
Can I make this ahead of time?
Yes, farmer’s cheese can be made a few days in advance and stored in the refrigerator.
How should I store leftover cheese?
Store leftover farmer’s cheese in an airtight container in the fridge to keep it fresh.
What if my cheese is too crumbly?
If your cheese is crumbly, it may need more moisture; simply blend in a little cream to achieve a creamier texture.
Can I flavor the cheese?
Absolutely! You can add herbs, spices, or even sweeteners to customize the flavor to your liking.
Final Thoughts
Making your own farmer’s cheese can be an exciting and fulfilling experience. With its creamy texture and mild flavor, it’s a fantastic addition to your culinary repertoire.
So, roll up your sleeves and give this recipe a try. You might find yourself making it again and again. For more delicious cheese ideas, check out this cottage cheese flatbread recipe or this cottage cheese bagel recipe for additional inspiration!
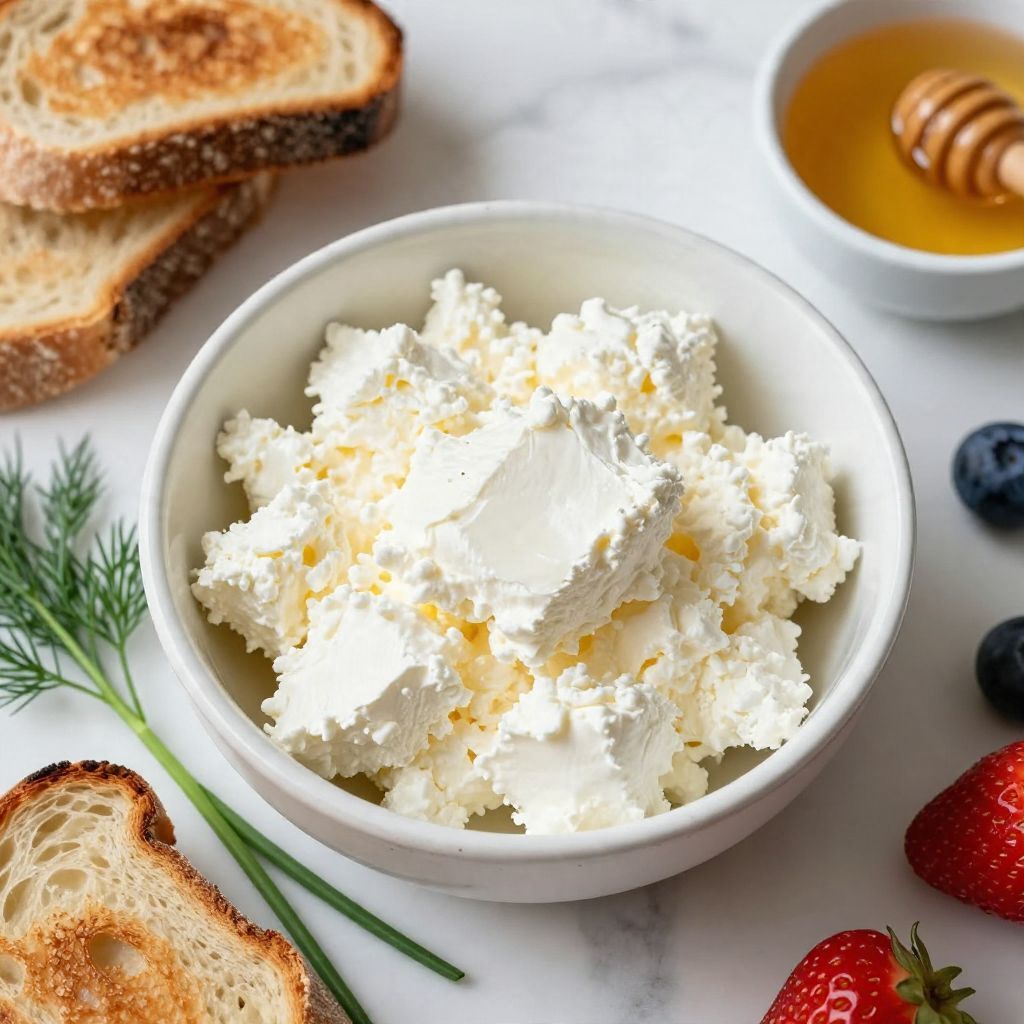
Farmer's Cheese
Ingredients
Equipment
Method
- Pour the whole milk into a large saucepan over medium heat. Stir gently and heat until it reaches just below boiling point, around 190°F, to avoid scorching.
- Once the milk is hot, remove it from heat and stir in the vinegar or lemon juice. This will help the milk curdle and separate into curds and whey.
- Cover the saucepan and let it sit for about 10 minutes. This resting time allows the curds to form fully.
- Place a fine mesh strainer or cheesecloth over a mixing bowl. Carefully pour the curdled milk into the strainer to separate the curds from the whey.
- Rinse the curds under cold running water. This removes any remaining whey and cools the curds for easier handling.
- Transfer the curds to a bowl and add salt. Mix gently to combine, adjusting the salt to your preferred taste.
- For a firmer cheese, gather the curds in cheesecloth and press out excess moisture. Shape it into a disc or pack it into a container for storage.
- Refrigerate the cheese for at least an hour before serving. This helps it firm up and enhances the flavor.