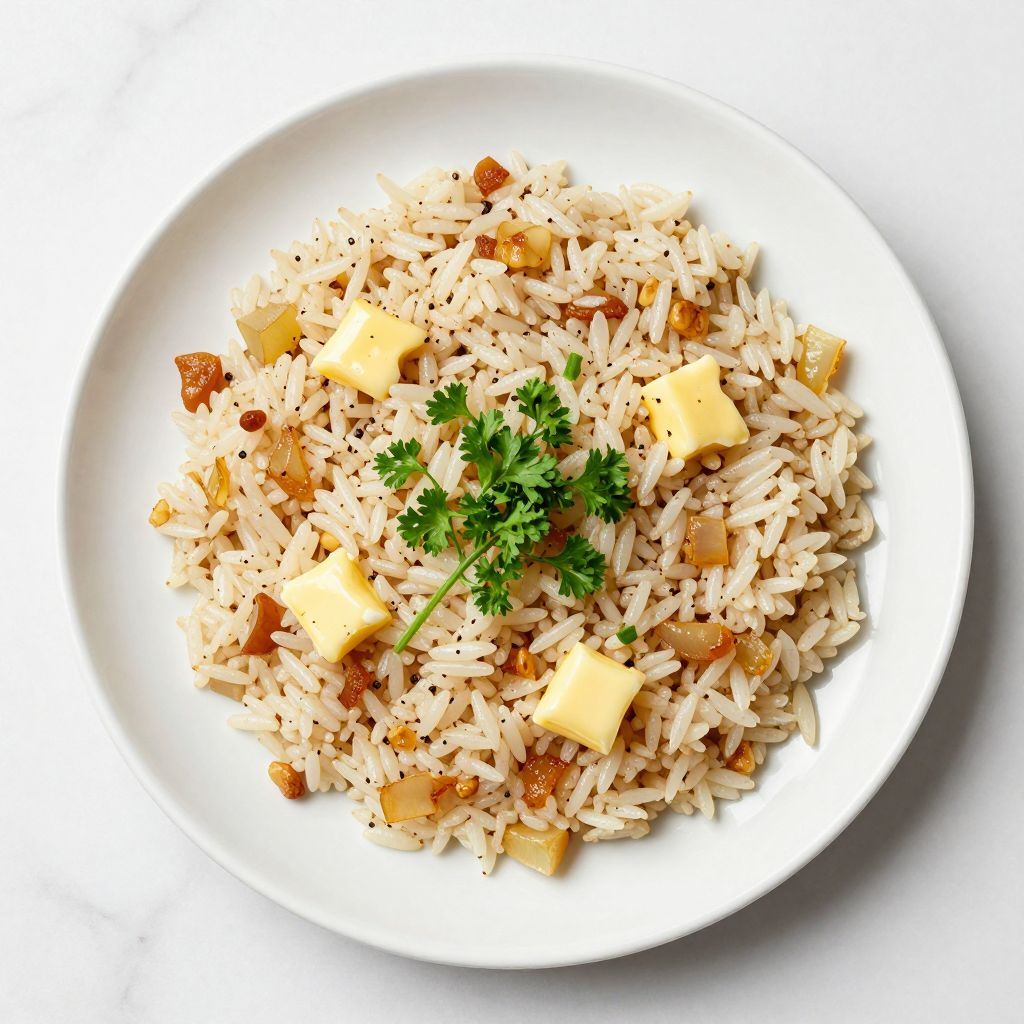
The smell of garlic and butter hitting hot rice is one of those kitchen moments that stops you mid-thought and makes you smile. Seasoned rice is the kind of side dish that transforms a plain dinner into something memorable, yet it takes only about 30 minutes from start to finish.
This recipe delivers fluffy, flavorful rice that pairs with virtually anything: grilled chicken, roasted vegetables, curries, or even on its own as a light lunch. The secret is toasting the rice first and building layers of flavor with aromatics and broth, so every grain absorbs taste rather than just sitting there doing its job.
What makes this version special is how simple it is to pull off restaurant-quality results at home, and how forgiving it becomes once you understand the basic technique. Let’s get into the ingredients and walk through how to make it perfectly every time.
Why You’ll Love This Recipe
Seasoned rice checks every box for a reliable, crowd-pleasing side that works for weeknight dinners and special occasions alike.
- Fluffy, perfectly cooked grains that never turn mushy or stick together
- Built-in flavor means you skip the bland rice and butter routine
- Takes 30 minutes total, so it fits any meal schedule
- Works as a base for stir-fries, curries, grain bowls, or served plain
- Comes together with pantry staples you probably already have on hand
My Experience Making This Recipe
I grew up watching my grandmother make seasoned rice for family dinners, and I remember being fascinated by how she toasted the grains in butter before adding liquid. The kitchen would fill with this nutty, toasty aroma that made my stomach rumble.
The first time I made it myself, I skipped the toasting step to save time, and the rice came out bland and slightly gummy. That mistake taught me that this recipe is less about fancy technique and more about respecting the process.
Now I make it regularly, and it’s become my go-to side for everything from quick weeknight tacos to holiday dinners. People always ask what makes it taste so good, and I love telling them it’s just about taking two extra minutes to toast the rice.
Recipe Overview
- Recipe Name: Seasoned Rice
- Servings: 4
- Prep Time: 5 minutes
- Cook Time: 25 minutes
- Total Time: 30 minutes
- Course: Side Dish
- Cuisine: American
- Calories per Serving: 185
Equipment You Will Need
- Medium saucepan with a lid
- Measuring cups and spoons
- Wooden spoon or rice paddle
- Fork for fluffing
- Cutting board and sharp knife
- Optional: rice cooker (follow manufacturer’s instructions if using)
Ingredients for Seasoned Rice
- 2 tablespoons butter
- 1 small onion, finely diced
- 2 cloves garlic, minced
- 1.5 cups long-grain white rice
- 3 cups chicken or vegetable broth
- 1 teaspoon salt
- 1/2 teaspoon black pepper
- 1/4 teaspoon garlic powder
- 1/4 teaspoon onion powder
- 1 bay leaf
- Fresh parsley (optional, for garnish)
Ingredient Notes and Substitutions
- Butter adds richness and helps toast the rice so it absorbs flavor evenly. Substitute with olive oil for a lighter taste, though the flavor profile shifts slightly.
- Long-grain white rice stays fluffy and separate when cooked properly. Short-grain or brown rice will require more liquid and longer cooking time.
- Chicken broth brings savory depth that water cannot match. Vegetable broth works equally well for a vegetarian version, and you can dilute store-bought broth with a pinch more salt if needed.
- Salt draws out flavors and seasons each grain from the inside. You can reduce this to 3/4 teaspoon if using salted broth, or taste and adjust at the end.
- Garlic powder and onion powder layer extra flavor without adding moisture. Fresh herbs like thyme or rosemary can replace these for a different flavor direction.
- The bay leaf adds subtle herbaceous notes that make the rice taste homemade. You can omit it, but it makes a noticeable difference in the final taste.
How to Make Seasoned Rice
Step 1: Prepare Your Ingredients
Measure out the rice, dice the onion into small pieces, and mince the garlic while you gather your broth and seasonings. Having everything ready means you can work quickly once you start cooking and won’t scramble to find something halfway through.
Step 2: Melt the Butter
Heat the butter in a medium saucepan over medium heat until it foams and smells nutty, about 1 minute. This tells you the butter is hot enough to toast the rice without burning.
Step 3: Saute the Aromatics
Add the diced onion to the melted butter and cook for about 2 minutes, stirring often, until it softens and becomes translucent. The onion releases natural sugars that add sweetness and depth to the rice.
Stir in the minced garlic and cook for another 30 seconds until fragrant. Garlic burns quickly, so watch it closely and don’t let it brown.
Step 4: Toast the Rice
Pour the rice into the saucepan and stir constantly for 2 to 3 minutes, coating each grain with butter. You’ll notice the rice turns slightly translucent and begins to smell nutty; this is exactly what you want.
Toasting the rice prevents it from absorbing too much liquid too fast, which keeps the grains separate and fluffy instead of mushy. This single step makes the biggest difference in texture.
Step 5: Season the Rice
Sprinkle the salt, pepper, garlic powder, onion powder, and bay leaf over the toasted rice. Stir well so the seasonings coat the grains evenly and don’t clump in one spot.
Step 6: Add the Broth
Pour the broth over the rice and stir once to make sure nothing sticks to the bottom of the pan. The liquid should cover the rice by about half an inch; if it doesn’t, add a touch more broth or water.
Using hot or warm broth helps the rice cook faster and more evenly, compared to cold broth which slows down the cooking process. This is a small detail that saves you a few minutes.
Step 7: Bring to a Boil
Turn the heat to high and bring the broth to a rolling boil, stirring once or twice. You’ll see small bubbles breaking the surface and hear a gentle roaring sound, which means the heat is right.
Step 8: Reduce Heat and Simmer
Once boiling, reduce the heat to low and place the lid on the saucepan. Simmer without lifting the lid or stirring for 18 to 20 minutes, until the rice is tender and the liquid is absorbed.
The lid traps steam, which cooks the rice gently and evenly. Resist the urge to peek or stir; each time you lift the lid, you release steam and interrupt the cooking process.
Step 9: Fluff and Rest
Remove the pan from heat and let it sit covered for 5 minutes. This resting period allows any remaining moisture to redistribute and the rice to firm up slightly.
Uncover the pan and use a fork to gently fluff the rice, breaking up any clumps and aerating the grains. This final step separates the rice and gives it a light, fluffy texture.
Step 10: Remove the Bay Leaf and Serve
Fish out the bay leaf before serving, as it’s not pleasant to bite into. Taste a grain and adjust seasoning if needed; if the rice tastes underseasoned, add a pinch more salt and stir.
Pro Tip: The moment you smell nutty toasted rice and see the grains turn translucent, you’ve nailed the foundation of this recipe; everything else follows naturally from there.
Tips for the Best Seasoned Rice
- Use fresh broth rather than water for noticeably richer flavor. Store-bought broth works perfectly; no need to make stock from scratch.
- Don’t wash the rice before cooking, as the starch coating helps the grains stay separate and fluffy. A quick rinse can actually make rice stickier.
- Keep the heat at medium when toasting the rice so you color it without burning the butter or scorching the grains. High heat happens fast and can ruin the whole batch.
- Measure your liquid accurately using the same measuring cup you used for rice; the ratio of 2 parts broth to 1 part rice is the golden rule. Too much liquid makes mushy rice, too little leaves it crunchy.
- If your rice cooker sits idle in a cabinet, this stovetop method gives you more control and better browning than most automatic cookers.
- Add fresh herbs like chopped parsley or cilantro right before serving to brighten the flavors and add color. These garnishes make the rice look more elegant with minimal effort.
Common Mistakes to Avoid
- Skipping the toasting step saves two minutes but costs you flavor and texture; the rice tastes flat and can turn out mushy.
- Lifting the lid repeatedly during cooking releases steam and throws off the timing, leaving you with undercooked or overcooked rice.
- Using cold broth instead of warm slows the cooking process and can create uneven texture with some grains overcooked and others still crunchy.
- Washing the rice removes the starch that keeps grains separate, and you end up with a sticky, clumpy batch instead of fluffy individual grains.
- Forgetting to remove the bay leaf before serving can surprise a diner, since it’s not pleasant to bite into and people don’t expect it to be there.
Serving Suggestions
Seasoned rice pairs beautifully with nearly any main protein and vegetable, making it a versatile addition to countless meals. Serve it warm right from the pan, or let it cool slightly for room-temperature rice salads.
- Alongside grilled chicken breast with roasted Brussels sprouts and a squeeze of lemon
- Under shredded pulled pork with coleslaw and hot sauce for a quick burrito bowl
- With baked salmon and steamed broccoli for an easy weeknight dinner
- Mixed into curry or stir-fry as the base grain that soaks up all the sauce
- Chilled and tossed with diced vegetables, olive oil, and vinegar for a light rice salad
Variations to Try
- Cilantro-Lime Rice: Add 1/2 teaspoon cumin during toasting, then stir in the zest and juice of one lime and a handful of chopped cilantro at the end for a bright, fresh twist that works great with Mexican and Thai-inspired dishes.
- Mushroom and Herb Rice: Dice 4 ounces of mushrooms and cook them with the onions before adding the rice, then add 1/2 teaspoon dried thyme and 1/4 teaspoon dried sage for an earthy, savory version.
- Tomato Rice: Replace one cup of broth with one cup of diced tomatoes (fresh or canned) for a slightly tangy, colored rice that pairs well with seafood and Mediterranean flavors.
- Coconut Rice: Swap half the broth for coconut milk and add a pinch of turmeric during toasting for a creamy, slightly sweet rice that complements curry and Asian-inspired meals.
- Wild Rice Blend: Mix 1 cup long-grain rice with 1/2 cup wild rice for a nuttier texture and deeper color, though you’ll need to increase broth to 3.5 cups and cooking time to 35 minutes.
Dietary Adaptations
- Gluten-Free: This recipe is naturally gluten-free as long as you use certified gluten-free broth and verify your spices are not cross-contaminated.
- Dairy-Free: Replace the butter with olive oil or avocado oil in the same amount; the flavor shifts to a lighter, Mediterranean style rather than rich and buttery.
- Vegan: Use vegetable broth instead of chicken broth and dairy-free butter or oil; the rice tastes equally delicious and works for plant-based meals.
- Low-Carb or Keto: This recipe is not suitable for strict low-carb diets, but you can replace half the rice with cauliflower rice for a lower-carb version that cooks in about 10 minutes instead of 30.
Storage and Reheating
Refrigerator
Store leftover rice in an airtight container in the refrigerator for up to 4 days. The rice gradually dries out and hardens over time, so eat it sooner rather than later for the best texture.
- Let the rice cool to room temperature before refrigerating to prevent condensation and mushiness.
- Transfer to a container with a tight-fitting lid to keep out odors and prevent drying.
Freezer
Seasoned rice freezes well for up to 3 months when stored properly. Spread cooled rice on a baking sheet, freeze it solid, then transfer to a freezer-safe container or bag to save space.
- Frozen rice thaws and reheats faster if you freeze it in a thin layer first.
- Label your container with the date so you remember when you made it.
Reheating
Reheat refrigerated rice on the stovetop with a splash of broth or water to restore moisture and fluffiness. Microwave reheating works too but can dry out the rice if you’re not careful.
- Stovetop: Heat in a covered saucepan over medium heat with 2 to 3 tablespoons of broth per cup of rice for about 5 minutes, stirring occasionally.
- Microwave: Place rice in a microwave-safe bowl, cover loosely, and heat for 1 to 2 minutes, stirring halfway through; add a tablespoon of water if needed.
- Frozen rice: Thaw overnight in the refrigerator, then reheat using either method above.
Nutrition Information
| Nutrient | Amount |
|---|---|
| Calories | 185 |
| Total Fat | 6g |
| Saturated Fat | 3.5g |
| Carbohydrates | 28g |
| Fiber | 0g |
| Sugar | 1g |
| Protein | 4g |
| Sodium | 520mg |
| Cholesterol | 15mg |
These values are approximate and based on standard ingredients; nutrition varies slightly depending on your specific broth brand and how you measure ingredients. If you’re tracking macros carefully, weigh your ingredients for the most accurate totals.
Frequently Asked Questions
Can I use brown rice instead of white rice?
Yes, but brown rice requires more liquid and longer cooking time. Use 3.5 cups of broth and simmer for 35 to 40 minutes instead of 18 to 20.
What if my rice turns out mushy?
You either used too much liquid, cooked it too long, or didn’t toast it properly beforehand. Next time, measure the broth carefully and start checking for doneness at 15 minutes instead of 18.
Can I make this ahead of time?
Absolutely; cook it completely, cool to room temperature, then refrigerate or freeze. Reheat gently with a splash of broth to restore the texture.
Why does my rice come out sticky?
Stickiness usually comes from rinsing the rice before cooking, using too much liquid, or stirring too much during cooking. Skip the rinse, measure carefully, and let the rice cook undisturbed under a lid.
Can I double this recipe?
Yes; simply double all ingredients and increase the simmer time to 22 to 25 minutes. The larger volume of liquid takes slightly longer to absorb.
What broth tastes best?
Homemade broth is wonderful if you have it, but quality store-bought broth works beautifully. Avoid “broth” labeled as extra-salty or low-sodium versions, as these throw off the seasoning balance.
Final Thoughts
Seasoned rice is one of those recipes that feels small but changes how you cook at home. Once you understand how to toast the rice and respect the ratio of liquid to grain, you can make it perfectly every time without thinking too hard about it.
This recipe deserves a spot in your regular rotation, whether you’re cooking for yourself or feeding a crowd. Try it this week alongside your favorite protein and taste how a few simple steps and pantry ingredients come together to create something truly delicious.
Seasoned Rice
Ingredients
Equipment
Method
- Measure out the rice, dice the onion into small pieces, and mince the garlic while you gather your broth and seasonings.
- Heat the butter in a medium saucepan over medium heat until it foams and smells nutty, about 1 minute.
- Add the diced onion to the melted butter and cook for about 2 minutes, stirring often, until it softens and becomes translucent.
- Stir in the minced garlic and cook for another 30 seconds until fragrant. Watch it closely and don't let it brown.
- Pour the rice into the saucepan and stir constantly for 2 to 3 minutes, coating each grain with butter. The rice should turn slightly translucent and begin to smell nutty.
- Sprinkle the salt, pepper, garlic powder, onion powder, and bay leaf over the toasted rice. Stir well so the seasonings coat the grains evenly.
- Pour the broth over the rice and stir once to make sure nothing sticks to the bottom of the pan.
- Turn the heat to high and bring the broth to a rolling boil, stirring once or twice.
- Once boiling, reduce the heat to low and place the lid on the saucepan. Simmer without lifting the lid or stirring for 18 to 20 minutes, until the rice is tender and the liquid is absorbed.
- Remove the pan from heat and let it sit covered for 5 minutes.
- Uncover the pan and use a fork to gently fluff the rice, breaking up any clumps and aerating the grains.
- Remove the bay leaf before serving. Taste and adjust seasoning if needed. Garnish with fresh parsley if desired.