Ingredients
Equipment
Method
- Place your KitchenAid ice cream maker bowl in the freezer at least 24 hours before you plan to churn.
- Pour the cold heavy cream and whole milk into a large mixing bowl. Whisk them together gently until combined.
- In a small bowl, whisk together the granulated sugar and corn syrup until completely blended with no lumps.
- Add about one cup of the cream mixture to a shallow baking dish and whisk in the sugar mixture gradually until fully dissolved and smooth.
- Slowly whisk the sugar-cream mixture back into the remaining cream and milk, stirring constantly.
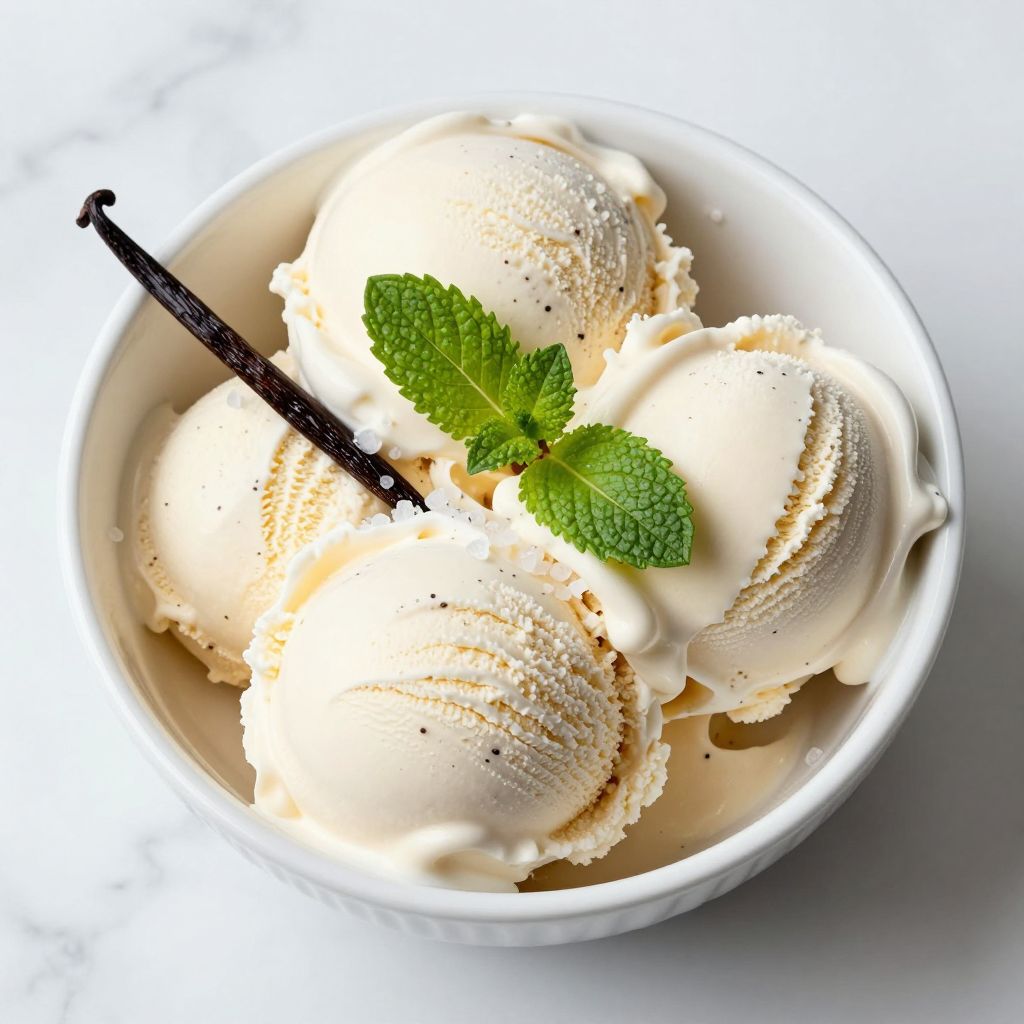
- Stir in the vanilla extract and sea salt, mixing thoroughly. If using a vanilla bean, scrape the seeds into the mixture and add the pod.
- Cover the bowl with plastic wrap and refrigerate the mixture for at least 4 hours, or preferably overnight.
- Remove the ice cream maker bowl from the freezer and attach it securely to your KitchenAid stand mixer. Insert the dasher attachment.
- Turn the mixer to medium speed and slowly pour the chilled ice cream base into the frozen bowl. Churn for 20 to 30 minutes until it reaches soft-serve consistency.
- Turn off the mixer and scoop the ice cream into an airtight freezer-safe container using a rubber spatula. Press plastic wrap directly onto the surface, then cover with the lid.
- Place the container in the freezer for at least 2 more hours until the ice cream is firm enough to scoop.
Notes
The tempering step is what separates silky homemade ice cream from grainy batches, so don't skip it. Add mix-ins like chocolate chips or cookie crumbles after churning but before the final freeze. Let ice cream sit at room temperature for 5 minutes before scooping if it's too hard. Homemade ice cream lasts up to one month in the freezer when properly stored.