Creme fraiche is a luxurious cultured cream that transforms simple dishes into restaurant-quality meals with its tangy richness and silky texture. Making your own creme fraiche at home requires just two ingredients and minimal effort, giving you a versatile ingredient perfect for topping soups, enriching sauces, or serving alongside fresh berries.
This cultured dairy delight costs a fraction of store-bought versions and tastes infinitely better. Let me show you how easy it is to create this French staple in your own kitchen.
Why You’ll Love This Recipe
This homemade creme fraiche beats store-bought versions in flavor, cost, and satisfaction. You control the tanginess and thickness by adjusting the culturing time.
- Requires only two simple ingredients you can find at any grocery store
- Takes less than 5 minutes of active work with no special equipment needed
- Costs about 60% less than purchasing pre-made creme fraiche
- Lasts up to two weeks in the refrigerator when stored properly
- Works beautifully in both sweet and savory applications without curdling when heated
My Experience Making This Recipe
I started making creme fraiche years ago after spending a small fortune on tiny containers at specialty stores. The first time I stirred together cream and buttermilk, I felt skeptical that this simple mixture would transform into something special.
Twenty-four hours later, I opened the jar to find thick, tangy cream that rivaled anything I had purchased. The flavor was clean and bright, without the slightly sour aftertaste some commercial versions have.
Now I keep a jar in my fridge at all times because it elevates everything from baked potatoes to fruit tarts. My guests always ask what makes my dishes taste so good, and they never guess the secret is this ridiculously simple homemade ingredient.
Recipe Overview
- Recipe Name: Homemade Creme Fraiche
- Servings: 16 servings (2 tablespoons each)
- Prep Time: 5 minutes
- Cook Time: 0 minutes
- Culturing Time: 12 to 24 hours
- Total Time: 12 to 24 hours
- Course: Condiment
- Cuisine: French
- Calories per Serving: 102
Equipment You Will Need
- Clean glass jar with lid (pint-sized or larger)
- Measuring cups and spoons
- Whisk or spoon for stirring
- Clean kitchen towel or cheesecloth
- Rubber band
Ingredients for Creme Fraiche Recipe
- 2 cups heavy cream (preferably not ultra-pasteurized)
- 2 tablespoons buttermilk (with active cultures)
Ingredient Notes and Substitutions
- Heavy cream: The high fat content creates the rich, thick texture that defines creme fraiche. Avoid ultra-pasteurized cream if possible, as it can take longer to culture, though it will still work if that’s all you can find.
- Buttermilk: Provides the live cultures that ferment the cream and create that signature tangy flavor. You can substitute plain yogurt with active cultures or a powdered creme fraiche starter culture in the same amount.
How to Make Creme Fraiche Recipe
Step 1: Warm the Cream
Pour the heavy cream into a clean glass jar and let it sit at room temperature for about 30 minutes. This gentle warming activates the cultures more effectively than cold cream straight from the refrigerator.
The ideal temperature is between 70 and 75 degrees Fahrenheit, which encourages bacterial growth without creating food safety concerns. Skip the microwave here, as you want a gentle, even temperature throughout.
Step 2: Add the Buttermilk
Stir the buttermilk into the room-temperature cream using a clean whisk or spoon. Mix thoroughly for about 30 seconds to distribute the active cultures evenly throughout the cream.
Every bit of cream needs contact with those cultures to transform properly. Uneven mixing creates inconsistent texture with some parts thick and others still liquid.
Step 3: Cover the Jar
Place a clean kitchen towel or double layer of cheesecloth over the jar opening and secure it with a rubber band. This covering allows air circulation while keeping out dust and insects.
Never use an airtight lid during culturing because the bacteria need oxygen to do their work. A sealed jar can also build up pressure from fermentation gases.
Step 4: Culture at Room Temperature
Set the covered jar in a warm spot away from direct sunlight for 12 to 24 hours. I place mine on top of the refrigerator or in a kitchen cabinet where the temperature stays consistently warm.
The cream will gradually thicken as the cultures multiply and consume the lactose. Warmer rooms speed up the process, while cooler environments take longer.
Step 5: Check for Doneness
After 12 hours, gently tilt the jar to check the consistency. Properly cultured creme fraiche should be thick enough that it doesn’t immediately run when the jar tilts, with a texture similar to sour cream.
If it’s still too liquid, re-cover and let it sit for another 4 to 12 hours. The tanginess will increase the longer it cultures, so taste and decide when it reaches your preferred flavor.
Step 6: Stir and Taste
Once thickened, remove the cloth cover and stir the creme fraiche thoroughly with a clean spoon. The texture should be smooth and creamy with a pleasant tang that’s less sharp than sour cream.
Give it a taste test at this point. If you want more tang, leave it out for a few more hours; if it’s perfect, move on to chilling.
Step 7: Refrigerate
Screw a proper lid onto the jar and refrigerate the creme fraiche for at least 4 hours before using. Chilling halts the culturing process and allows the cream to thicken even more.
The cold temperature firms up the butterfat, giving you that luxurious, spoonable consistency. It will continue to thicken slightly over the first day in the fridge.
Step 8: Store Properly
Keep your finished creme fraiche in an airtight container in the coldest part of your refrigerator. Always use a clean spoon when scooping to prevent introducing bacteria that could spoil the batch.
Well-made creme fraiche stays fresh for 10 to 14 days when handled with clean utensils. A slightly yellowed surface or small amount of liquid separation is normal and can be stirred back in.
Pro Tip: Always use the freshest heavy cream you can find with the furthest expiration date, as this gives your creme fraiche the longest possible shelf life after culturing. Cream that’s already close to its expiration date will produce creme fraiche that spoils much faster.
Tips for the Best Creme Fraiche Recipe
- Choose cream that’s not ultra-pasteurized whenever possible, as the gentler pasteurization process leaves more proteins intact that help with thickening. Ultra-pasteurized cream works but may take up to 36 hours to culture properly.
- Keep everything scrupulously clean to prevent bad bacteria from competing with your buttermilk cultures. Wash your jar and utensils in hot, soapy water and dry them completely before starting.
- Place a note on the jar with the start time so you don’t forget when you began culturing. I’ve lost track before and ended up with creme fraiche that was tangier than I intended.
- Check the buttermilk label to confirm it contains live, active cultures, as some brands are cultured then pasteurized again, killing the bacteria you need. Look for phrases like “contains active cultures” on the container.
- If your kitchen runs cold, place the jar inside your oven with just the oven light on for gentle, consistent warmth. This creates an ideal culturing environment without any hot spots.
- Save 2 tablespoons of your finished batch to culture your next batch instead of buying new buttermilk each time. This works for about 3 to 4 generations before the cultures weaken.
Common Mistakes to Avoid
- Using ultra-pasteurized cream without adjusting your expectations for timing, which leads to frustration when it doesn’t thicken in 24 hours. Be patient and give it up to 36 hours if needed.
- Sealing the jar with an airtight lid during culturing, which starves the bacteria of oxygen and creates a weird, off-tasting result. The breathable cover is non-negotiable.
- Culturing in a refrigerator or very cold room, which essentially pauses bacterial activity and prevents the cream from thickening. Room temperature of 68 to 75 degrees works best.
- Using old buttermilk that’s past its prime, as the cultures may be weak or dead and won’t effectively transform your cream. Fresh buttermilk gives you strong, active cultures.
- Stirring or disturbing the jar repeatedly during culturing, which can break up the developing structure and result in thin, runny creme fraiche. Let it sit undisturbed until you check for doneness.
Serving Suggestions
Creme fraiche shines in applications where sour cream would curdle, making it perfect for finishing hot soups and pan sauces. Its subtle tang complements both delicate and bold flavors beautifully.
- Dollop onto baked potatoes, chili, or tacos for richness without the sharp bite of sour cream
- Stir into hot pasta sauces or risotto at the end of cooking for silky, restaurant-quality texture
- Spread on smoked salmon bagels or blinis with caviar for an elegant brunch
- Serve alongside fresh berries and honey for a simple, sophisticated dessert
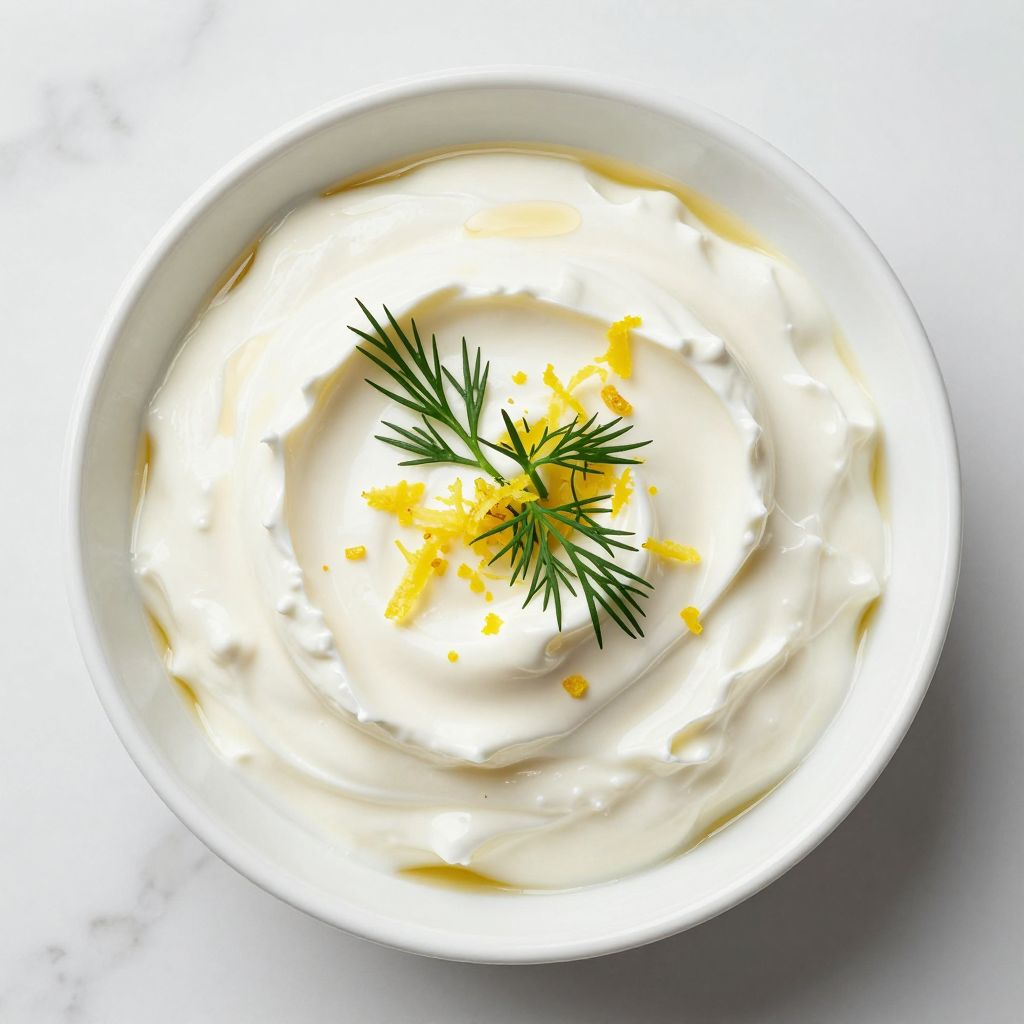
- Mix with herbs and lemon zest to create a quick sauce for grilled fish or roasted vegetables
Variations to Try
- Herbed creme fraiche: Fold in fresh chopped dill, chives, parsley, and tarragon after refrigeration for a versatile topping for vegetables and proteins. The herbs stay bright and fresh-tasting in the tangy cream.
- Sweet creme fraiche: Stir in vanilla extract and a tablespoon of powdered sugar for a luxurious topping for pies, cakes, and fruit desserts. This version stays stable on warm desserts without melting immediately like whipped cream.
- Spiced creme fraiche: Add a pinch of smoked paprika, cumin, and lime zest for a Mexican-inspired topping perfect for tacos and enchiladas. The smokiness pairs beautifully with grilled meats.
- Horseradish creme fraiche: Mix in prepared horseradish and a squeeze of lemon juice to create a punchy sauce for roast beef or grilled steak. Start with a teaspoon and adjust to your heat preference.
- Honey lavender creme fraiche: Infuse the cream with dried lavender before culturing, then strain and sweeten with honey after refrigeration. This elegant variation transforms simple cakes and scones into something special.
Dietary Adaptations
- Gluten-free: This recipe is naturally gluten-free as written, containing only dairy ingredients. Just verify your buttermilk brand doesn’t have any unexpected additives.
- Dairy-free: True creme fraiche cannot be made dairy-free, but you can culture full-fat coconut cream with probiotic capsules for a similar tangy, thick result. The flavor will be distinctly coconut-forward rather than neutral.
- Vegetarian: This recipe is already vegetarian-friendly with no animal rennet or gelatin involved. The culturing process uses only bacterial cultures.
- Low-carb/Keto: Creme fraiche fits perfectly into low-carb and keto diets with only 1 gram of carbs per 2-tablespoon serving. The culturing process consumes most of the lactose, reducing the sugar content.
Storage and Reheating
Refrigerator
Store creme fraiche in an airtight container in the coldest part of your refrigerator for up to 2 weeks. Always check for any off smells or mold before using older batches.
- Use clean utensils every time you scoop to prevent contamination
- Press plastic wrap directly onto the surface before sealing to minimize air exposure
- Stir any separated liquid back into the cream rather than pouring it off
Freezer
Freezing creme fraiche changes the texture significantly, causing it to separate and become grainy when thawed. I don’t recommend freezing unless you plan to use it only in cooked applications where the texture won’t matter.
- Freeze in ice cube trays for pre-portioned amounts to add to soups and sauces
- Label containers with the date and use within 2 months for best quality
- Thaw overnight in the refrigerator and whisk vigorously before using
Reheating
One of creme fraiche’s best qualities is its ability to be heated without curdling like sour cream or yogurt. Add it to hot dishes just before serving for the best texture and flavor.
- Stir into hot soups and sauces off the heat to prevent boiling, which can thin the texture
- Warm gently over low heat if using as a sauce base, stirring constantly
- Add to pan sauces after removing meat to create silky, restaurant-quality results
Nutrition Information
| Nutrient | Amount |
|---|---|
| Calories | 102 |
| Total Fat | 11g |
| Saturated Fat | 7g |
| Carbohydrates | 1g |
| Fiber | 0g |
| Sugar | 1g |
| Protein | 1g |
| Sodium | 12mg |
| Cholesterol | 41mg |
Nutritional values are estimates based on standard ingredient databases and may vary depending on specific brands used. The culturing process reduces lactose content, making creme fraiche easier to digest for some people with mild lactose sensitivity.
Frequently Asked Questions
Can I use regular milk instead of heavy cream?
Regular milk won’t work because it lacks the high fat content needed to create the thick, rich texture of creme fraiche. The result would be thin, cultured milk similar to drinkable yogurt rather than spoonable cream.
How do I know if my creme fraiche has gone bad?
Spoiled creme fraiche develops an unpleasant sour smell different from the pleasant tanginess of fresh batches, and you may see mold or pink/orange discoloration. Trust your nose and eyes; when in doubt, throw it out.
Can I make this recipe ahead for a party?
Absolutely, and you should make it at least 2 days before your event to allow proper culturing and chilling time. Creme fraiche actually improves over the first few days as the flavors mellow and develop.
Why is my creme fraiche still liquid after 24 hours?
Ultra-pasteurized cream, weak cultures in old buttermilk, or a too-cold culturing environment are the usual culprits. Give it another 12 hours in a warmer spot, and make sure your cream isn’t ultra-pasteurized next time.
Can I use this in baking like I would use sour cream?
Yes, creme fraiche works beautifully in baking and actually provides more moisture and richness than sour cream due to its higher fat content. Substitute it one-to-one in any recipe calling for sour cream.
What’s the difference between creme fraiche and sour cream?
Creme fraiche has a higher fat content (around 30% versus 20% for sour cream) and a milder, less acidic flavor. The higher fat content means it won’t curdle when heated, making it more versatile for cooking.
Do I need to sterilize my jar before making creme fraiche?
Sterilization isn’t required, but the jar must be very clean and completely dry. Washing in hot, soapy water and air-drying thoroughly provides enough cleanliness for successful culturing without competing bacteria.
Final Thoughts
Making your own creme fraiche transforms you from someone who buys expensive specialty ingredients to someone who creates them effortlessly at home. The confidence that comes from mastering this simple fermentation opens doors to making other cultured foods.
Now that you know how ridiculously easy this is, you’ll never want to pay premium prices for tiny store-bought containers again. Give this recipe a try and discover how this versatile French staple elevates everything it touches.
Homemade Creme Fraiche
Ingredients
Equipment
Method
- Pour the heavy cream into a clean glass jar and let it sit at room temperature for about 30 minutes. The ideal temperature is between 70 and 75 degrees Fahrenheit.
- Stir the buttermilk into the room-temperature cream using a clean whisk or spoon. Mix thoroughly for about 30 seconds to distribute the active cultures evenly throughout the cream.
- Place a clean kitchen towel or double layer of cheesecloth over the jar opening and secure it with a rubber band. This covering allows air circulation while keeping out dust and insects.
- Set the covered jar in a warm spot away from direct sunlight for 12 to 24 hours. Place on top of the refrigerator or in a kitchen cabinet where the temperature stays consistently warm.
- After 12 hours, gently tilt the jar to check the consistency. Properly cultured creme fraiche should be thick enough that it doesn't immediately run when the jar tilts, with a texture similar to sour cream. If still too liquid, re-cover and let it sit for another 4 to 12 hours.
- Once thickened, remove the cloth cover and stir the creme fraiche thoroughly with a clean spoon. The texture should be smooth and creamy with a pleasant tang.
- Screw a proper lid onto the jar and refrigerate the creme fraiche for at least 4 hours before using. Chilling halts the culturing process and allows the cream to thicken even more.
- Keep your finished creme fraiche in an airtight container in the coldest part of your refrigerator. Always use a clean spoon when scooping to prevent introducing bacteria that could spoil the batch. Stays fresh for 10 to 14 days.


