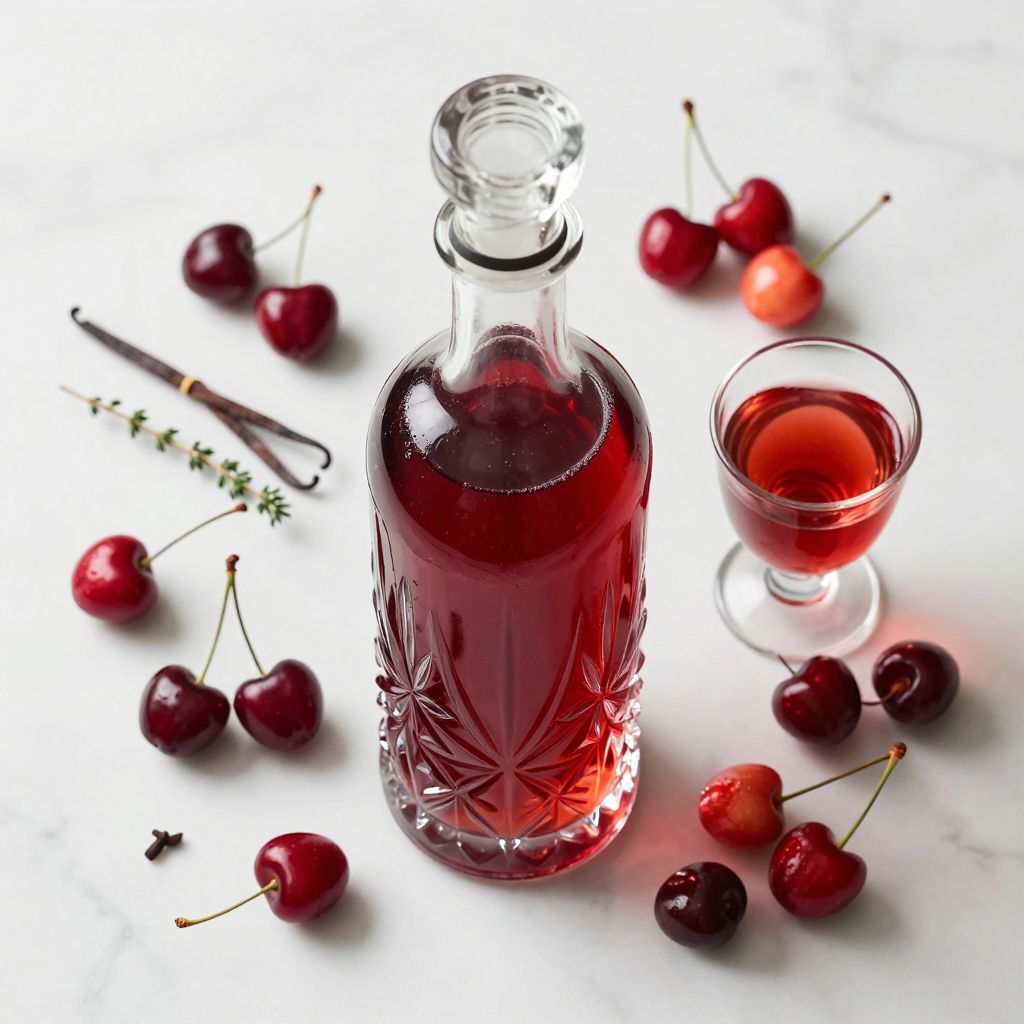
Cherry Bounce is a luscious, old-fashioned liqueur made by steeping fresh cherries in bourbon or brandy with sugar until you have a beautifully ruby-hued spirit perfect for sipping or gifting. This historic American cordial dates back to colonial times and transforms simple summer cherries into a sophisticated drink that gets better with age. If you’re looking for a way to preserve peak-season cherries while creating something truly special, this recipe delivers with minimal effort and maximum reward.
The process is incredibly forgiving and the results are consistently impressive. Let’s walk through how to craft your own batch of this timeless classic.
Why You’ll Love This Recipe
Cherry Bounce combines the best of preservation, flavor infusion, and cocktail crafting into one simple jar. The magic happens slowly as the fruit surrenders its essence to the spirits.
- Requires only three ingredients and no cooking or special equipment
- Improves with time, making it perfect for advance preparation or aging
- Creates a versatile liqueur for sipping neat, mixing into cocktails, or drizzling over desserts
- Makes an impressive homemade gift that looks as gorgeous as it tastes
- Uses fresh cherries at their peak, preserving summer in a bottle
My Experience Making This Recipe
I first made Cherry Bounce after inheriting a glut of sour cherries from a neighbor’s tree. The deep garnet liquid that emerged after just two weeks looked like liquid jewels in the sunlight streaming through my kitchen window.
What surprised me most was how the bourbon mellowed and sweetened while the cherries became these boozy little flavor bombs. I’ve served it to skeptical guests who expected something cloying or medicinal, but they always ask for the recipe after the first sip. The balance between tart fruit, warming spirits, and just-right sweetness converts everyone.
Now I make multiple batches each June, experimenting with different cherry varieties and spirits. Each version tells a slightly different story, but all of them disappear faster than I’d like.
Recipe Overview
- Recipe Name: Cherry Bounce
- Yield: Approximately 4 cups (1 quart)
- Prep Time: 20 minutes
- Infusion Time: 2 to 3 months
- Total Time: 2 to 3 months plus 20 minutes active prep
- Course: Beverage, Digestif
- Cuisine: American, Colonial
- Calories per Serving: 95 calories (per 2 oz serving)
Equipment You Will Need
- Two 1-quart glass jars with tight-fitting lids
- Cherry pitter (optional but helpful)
- Sharp paring knife
- Fine-mesh strainer or cheesecloth
- Funnel
- Bottles for storing the finished liqueur
- Labels for dating your batch
Ingredients for Cherry Bounce
- 2 pounds fresh cherries (sour cherries, sweet cherries, or a combination), pitted
- 1 to 1.5 cups granulated sugar (adjust based on cherry sweetness and personal preference)
- 750 ml bourbon or brandy (mid-range quality works perfectly)
Ingredient Notes and Substitutions
- Cherries: Fresh cherries provide the purest flavor and best color extraction, but you can use thawed frozen cherries if fresh aren’t available. The texture of the soaked fruit won’t be quite as firm, but the liqueur itself will be delicious.
- Sugar: Granulated white sugar is traditional and lets the cherry flavor shine, but you can experiment with light brown sugar for a deeper, more caramelized note. Start with less sugar if using sweet cherries and adjust after tasting at the two-week mark.
- Spirits: Bourbon creates a warm, vanilla-tinged bounce while brandy yields a more refined, fruit-forward result. Rye whiskey adds spice, and dark rum brings molasses undertones. Avoid anything too expensive since the fruit will mask subtle spirit nuances.
How to Make Cherry Bounce
Step 1: Prepare the Cherries
Rinse the cherries thoroughly under cool water and remove any stems or leaves. Pit each cherry using a cherry pitter or by carefully slicing around the pit with a sharp knife and twisting the halves apart. Removing the pits prevents any bitter almond flavor from developing during the long infusion period.
Step 2: Combine Cherries and Sugar
Place the pitted cherries in a large, clean glass jar and add the sugar directly on top. Start with 1 cup of sugar if using sour cherries or 3/4 cup for sweet varieties. The sugar will draw out the cherry juices through osmosis, creating a syrupy base that helps distribute flavor evenly throughout the spirits.
Step 3: Add the Spirits
Pour the bourbon or brandy over the cherries and sugar, making sure all the fruit is completely submerged. Leave about an inch of headspace at the top of the jar. The alcohol acts as both a preservative and a solvent, extracting the color, flavor, and aromatic compounds from the cherries over time.
Step 4: Seal and Shake
Secure the lid tightly and shake the jar vigorously for about 30 seconds to begin dissolving the sugar. This initial agitation jumpstarts the infusion process. You’ll notice the liquid already taking on a pale pink hue immediately after shaking.
Step 5: Store and Shake Daily
Place the jar in a cool, dark location like a pantry or cupboard away from direct sunlight. Shake the jar once daily for the first two weeks to help the sugar dissolve completely and encourage even extraction. The daily agitation prevents the fruit from settling and ensures consistent flavor development throughout the batch.
Step 6: Taste and Adjust After Two Weeks
After two weeks, open the jar and taste the liqueur carefully. If it needs more sweetness, add sugar in 1/4 cup increments, shaking well to dissolve. The flavor will be fairly strong at this point but will mellow considerably with additional aging.
Step 7: Continue Infusing
Reseal the jar and return it to your storage spot for at least another 6 weeks, though 3 months total yields the best results. Shake the jar weekly during this period. The cherries will gradually lose their vibrant color as they transfer their essence to the liquid, which deepens to a gorgeous ruby or mahogany shade.
Step 8: Strain and Bottle
When you’re satisfied with the flavor, strain the liqueur through a fine-mesh strainer or several layers of cheesecloth into a clean bowl or pitcher. Press gently on the cherries to extract all the precious liquid, but don’t squeeze too hard or you’ll get cloudy sediment. Use a funnel to transfer the finished Cherry Bounce into clean bottles, label with the date, and store in a cool, dark place where it will keep indefinitely.
Pro Tip: Don’t discard those boozy cherries after straining. They’re phenomenal chopped and folded into ice cream, spooned over pound cake, or baked into brownies. Just warn your guests they pack an alcoholic punch.
Tips for the Best Cherry Bounce
- Use a mix of sweet and sour cherries for the most complex flavor profile, balancing bright tartness with deeper fruit sweetness.
- Prick each cherry a few times with a sterilized needle if you’re leaving them whole, which helps the juices release more readily into the spirits.
- Taste your bounce every few weeks during infusion and keep notes on how the flavor develops so you can decide your preferred aging time for future batches.
- Store finished Cherry Bounce in dark glass bottles to preserve the beautiful color, as light exposure can gradually fade the vibrant hue over many months.
- Start your batch in early summer when cherries are at peak ripeness and most affordable, then it will be ready for holiday gifting.
- Add a cinnamon stick, a few cloves, or a vanilla bean to the infusion for a spiced variation that’s particularly nice in cold weather.
Common Mistakes to Avoid
- Using expensive top-shelf spirits wastes money since the fruit infusion masks the subtle characteristics that make premium bottles special. Save those for neat sipping.
- Forgetting to pit the cherries can result in a bitter, almond-like flavor from the pits leaching into the liqueur over the long infusion period.
- Adding too much sugar at the start makes it difficult to correct later, so begin conservatively and add more after tasting at the two-week mark.
- Storing the jar in direct sunlight or a warm location speeds degradation and can create off flavors instead of the smooth, mellow character you want.
- Rushing the infusion by straining too early means you’ll miss out on the deep, rounded flavor that only develops after at least 6 to 8 weeks of patient waiting.
Serving Suggestions
Cherry Bounce shines as an after-dinner sipper served neat in small cordial glasses, but it’s also brilliant in cocktails or as a dessert component. The versatility makes it a staple in any home bar.
- Serve chilled in small glasses as a digestif after rich meals
- Mix with bourbon and bitters for a cherry-forward Old Fashioned variation
- Drizzle over vanilla ice cream or panna cotta for an instant grown-up dessert
- Add a splash to sparkling wine for a festive cherry Kir Royale
- Use as the base for a Manhattan, replacing the vermouth for a fruitier take on the classic
Variations to Try
- Spiced Cherry Bounce: Add a cinnamon stick, 4 whole cloves, and 3 allspice berries to the infusion for a warming, holiday-spiced version perfect for cold weather sipping.
- Almond Cherry Bounce: Include 1/4 cup of slivered almonds along with the cherries to amplify the natural almond notes and create a more amaretto-like profile.
- Chocolate Cherry Bounce: Add 2 ounces of chopped dark chocolate and a split vanilla bean during the last two weeks of infusion for a decadent Black Forest-inspired liqueur.
- Herbal Cherry Bounce: Toss in a few sprigs of fresh thyme or rosemary for an unexpected savory note that plays beautifully with the sweet-tart cherries.
- Mixed Berry Bounce: Replace half the cherries with raspberries or blackberries for a more complex, layered berry flavor that’s less intensely cherry-forward.
Dietary Adaptations
- Lower Sugar: Reduce the sugar to 1/2 cup for a less sweet, more spirit-forward bounce that lets the natural cherry tartness shine through, though it will be quite dry.
- Vegan: This recipe is naturally vegan as written, containing no animal products, just fruit, sugar, and spirits.
- Gluten-Free: Use potato vodka, rum, or brandy instead of bourbon or whiskey to avoid any gluten concerns, though most distilled spirits are considered gluten-free.
- Sugar-Free: Substitute with a granulated sugar alternative like erythritol or allulose, though the texture and preservation qualities may differ slightly from traditional recipes.
Storage and Reheating
Refrigerator
Store opened bottles of Cherry Bounce in the refrigerator where they’ll maintain optimal flavor for up to 2 years. The high alcohol content acts as a preservative, preventing spoilage.
- Keep the bottle tightly sealed between pours to prevent oxidation
- The cold temperature enhances the sipping experience when serving neat
Pantry Storage
Unopened or well-sealed bottles can be stored in a cool, dark pantry for several years without refrigeration. The flavor actually continues to mellow and improve over time.
- Choose dark glass bottles to protect the color from light degradation
- Store away from heat sources and direct sunlight
- The liqueur is shelf-stable indefinitely due to the alcohol content
Not Applicable
Cherry Bounce is served chilled or at room temperature and requires no reheating. If you want to use it in a warm application like a sauce or glaze, heat it gently to preserve the alcohol and prevent burning off all the flavor.
Nutrition Information
| Nutrient | Amount |
|---|---|
| Calories | 95 |
| Total Fat | 0g |
| Saturated Fat | 0g |
| Carbohydrates | 11g |
| Fiber | 0g |
| Sugar | 10g |
| Protein | 0g |
| Sodium | 1mg |
| Cholesterol | 0mg |
Nutritional values are approximate and based on a 2-ounce serving size. Actual values will vary based on the specific spirits and amount of sugar used in your recipe.
Frequently Asked Questions
Can I use frozen cherries instead of fresh?
Frozen cherries work well and are often more affordable than fresh out of season. Thaw them completely and include any released juices in the jar, though the final texture of the fruit itself will be softer than with fresh.
How long does Cherry Bounce need to infuse before it’s drinkable?
You can taste it after two weeks, but the flavor really develops and mellows between 6 and 12 weeks of infusion. Patience pays off with a smoother, more complex liqueur that’s worth the wait.
Do I need to refrigerate Cherry Bounce during infusion?
No, the high alcohol content preserves the fruit at room temperature. Store it in a cool, dark pantry during infusion and only refrigerate after straining and bottling if you prefer serving it chilled.
Why is my Cherry Bounce cloudy instead of clear?
Cloudiness usually comes from pressing the fruit too hard during straining or from pectin released by the cherries. Strain it again through several layers of cheesecloth or let it settle for a few days, then carefully decant the clear liquid off the sediment.
Can I reuse the cherries to make a second batch?
The cherries have given up most of their flavor to the first batch, so a second infusion will be weak and disappointing. Better to eat those boozy cherries or use them in baking rather than trying to extract more from them.
What’s the shelf life of homemade Cherry Bounce?
Properly strained and bottled Cherry Bounce keeps indefinitely in a cool, dark place. The alcohol content prevents spoilage, and the flavor continues to develop and mellow over years.
Can I speed up the infusion process?
Gentle heat can accelerate extraction, but it risks cooking off alcohol and creating harsh flavors instead of the smooth character that slow infusion provides. Some people use sous vide at low temperatures, but traditional cool infusion yields the best results.
Final Thoughts
Cherry Bounce connects you to centuries of American drinking tradition while giving you a project that rewards patience with liquid luxury. The satisfaction of pouring a glass of something you crafted months earlier, watching that deep ruby color catch the light, never gets old.
Start a jar this weekend and mark your calendar for the tasting date. Your future self will thank you when you’re sipping this gorgeous cordial or impressing guests with homemade gifts that actually took less than 30 minutes of hands-on work.
Cherry Bounce
Ingredients
Equipment
Method
- Rinse the cherries thoroughly under cool water and remove any stems or leaves. Pit each cherry using a cherry pitter or by carefully slicing around the pit with a sharp knife and twisting the halves apart.
- Place the pitted cherries in a large, clean glass jar and add the sugar directly on top. Start with 1 cup of sugar if using sour cherries or 3/4 cup for sweet varieties.
- Pour the bourbon or brandy over the cherries and sugar, making sure all the fruit is completely submerged. Leave about an inch of headspace at the top of the jar.
- Secure the lid tightly and shake the jar vigorously for about 30 seconds to begin dissolving the sugar.
- Place the jar in a cool, dark location like a pantry or cupboard away from direct sunlight. Shake the jar once daily for the first two weeks to help the sugar dissolve completely and encourage even extraction.
- After two weeks, open the jar and taste the liqueur carefully. If it needs more sweetness, add sugar in 1/4 cup increments, shaking well to dissolve.
- Reseal the jar and return it to your storage spot for at least another 6 weeks, though 3 months total yields the best results. Shake the jar weekly during this period.
- When you're satisfied with the flavor (after 2-3 months), strain the liqueur through a fine-mesh strainer or several layers of cheesecloth into a clean bowl or pitcher. Press gently on the cherries to extract all the liquid.
- Use a funnel to transfer the finished Cherry Bounce into clean bottles, label with the date, and store in a cool, dark place where it will keep indefinitely.


