
Picture a cozy kitchen filled with the warm aroma of spiced apples, just like the ones your grandmother used to make. This apple filling recipe is a delightful blend of sweet and tart apples, perfectly spiced, and ready to elevate any dessert you create. Its versatility makes it perfect for pies, tarts, or even as a topping for pancakes. With a few simple ingredients and steps, you can have this delicious filling ready in no time, bringing comfort and nostalgia to your table.
Why You’ll Love This Recipe
This apple filling recipe is both simple and satisfying, making it an instant favorite.
- Quick to prepare with minimal ingredients.
- Perfect balance of sweet and tart flavors.
- Versatile for various desserts and breakfasts.
- Can be made ahead and stored for later use.
- Brings a touch of homemade goodness to any dish.
My Experience Making This Recipe
The first time I made this apple filling, I was surprised by how quickly the kitchen filled with that familiar, inviting scent. It reminded me of family gatherings and the joy of sharing homemade treats.
Each bite of the filling brought back memories of crisp autumn days and warm desserts, making it an instant hit with my family. I’ve since made it dozens of times, and it never fails to impress.
Recipe Overview
- Recipe Name: Apple Filling
- Servings: 4 cups
- Prep Time: 15 minutes
- Cook Time: 20 minutes
- Total Time: 35 minutes
- Course: Dessert
- Cuisine: American
- Calories per Serving: 150
Equipment You Will Need
- Large mixing bowl
- Medium saucepan
- Wooden spoon or spatula
- Peeler and knife
- Measuring cups and spoons
Ingredients for Apple Filling
- 6 cups of peeled and sliced apples (Granny Smith or Honeycrisp work well)
- 1 cup of granulated sugar
- 2 tablespoons of lemon juice
- 1 teaspoon of ground cinnamon
- 1/4 teaspoon of ground nutmeg
- 2 tablespoons of cornstarch
- 1/4 teaspoon of salt
Ingredient Notes and Substitutions
- Apples: They add texture and flavor; you can substitute with pears or peaches for a different taste.
- Sugar: Balances the tartness; you can use brown sugar for a richer flavor.
- Lemon juice: Adds brightness; apple cider vinegar works as an alternative.
- Cinnamon and nutmeg: Provide warmth; try pumpkin pie spice for a unique twist.
- Cornstarch: Thickens the filling; flour can be used but may alter the texture slightly.
How to Make Apple Filling
Step 1: Prepare the Apples
Start by peeling, coring, and slicing the apples into thin pieces. This ensures they cook evenly and become tender.
Step 2: Mix the Ingredients
In a large mixing bowl, combine the sliced apples, sugar, lemon juice, cinnamon, nutmeg, cornstarch, and salt. Stir until the apples are well-coated and the mixture is evenly combined.
Step 3: Cook the Filling
Transfer the apple mixture to a medium saucepan over medium heat. Cooking the filling helps to soften the apples and meld the flavors together.
Step 4: Simmer
Allow the mixture to simmer for about 10-15 minutes, stirring occasionally. You want the apples to become tender but still hold their shape.
Step 5: Thicken the Filling
Continue cooking until the mixture thickens, about 5 more minutes. The cornstarch activates and gives the filling a lovely consistency.
Step 6: Cool the Filling
Remove the saucepan from heat and let the filling cool to room temperature. This step is crucial if you plan to use it in a pie or tart, as it prevents a soggy crust.
Step 7: Store or Use
Once cooled, you can use the filling immediately or store it in an airtight container. If storing, be sure to refrigerate it for up to a week.
Step 8: Enjoy!
Now that you have your apple filling ready, use it in your favorite recipes or enjoy it on its own. The possibilities are endless!
Pro Tip: Make sure to slice your apples evenly for consistent cooking, and don’t skip the lemon juice—it keeps the apples from browning!
Tips for the Best Apple Filling
- Choose a mix of sweet and tart apples for depth of flavor.
- Let the filling cool before using to maintain the texture.
- Adjust the sugar based on the sweetness of your apples.
- Feel free to add raisins or cranberries for extra flavor.
- For a richer taste, incorporate a splash of vanilla extract.
Common Mistakes to Avoid
- Not peeling the apples: The skin can make the filling tough and chewy.
- Overcooking the apples: This can lead to mushy filling; aim for tender but firm.
- Skipping the cornstarch: Without it, your filling may be runny and watery.
- Using only one type of apple: A variety adds complexity and balance.
- Not tasting the filling: Always taste to adjust sugar and spice levels to your preference.
Serving Suggestions
This apple filling is incredibly versatile and pairs beautifully with various dishes.
- Serve it warm over vanilla ice cream.
- Use it as a filling for homemade apple pie.
- Top pancakes or waffles for a delicious breakfast treat.
- Stir into oatmeal for a comforting morning boost.
- Spread on toast for a simple yet tasty snack.
Variations to Try
- Add a tablespoon of bourbon or rum for a warm, rich flavor.
- Incorporate chopped nuts for added texture and crunch.
- Mix in some caramel sauce for a decadent twist.
- Use different spices like cardamom or ginger for a unique flavor profile.
- Try adding a touch of honey instead of sugar for a natural sweetness.
Dietary Adaptations
- Gluten-free: This recipe is naturally gluten-free, perfect for everyone!
- Dairy-free: Suitable for dairy-free diets without any adjustments.
- Vegan: This recipe is inherently vegan, making it an excellent choice.
- Low-carb/keto: Substitute sugar with a low-carb sweetener for keto-friendly filling.
Storage and Reheating
Refrigerator
Store the apple filling in an airtight container in the fridge. It will last up to one week.
- Make sure it’s completely cooled before sealing.
- Label the container with the date for easy tracking.
Freezer
This filling freezes well for up to three months. Portion it into freezer-safe bags or containers for convenience.
- Leave space in the container for expansion when freezing.
- Thaw overnight in the fridge before using.
Reheating
Reheat gently on the stove over low heat or in the microwave. Stir occasionally to ensure even heating.
- For the best texture, avoid overheating.
- Consider adding a splash of water or apple juice if it feels too thick.
Nutrition Information
| Nutrient | Amount |
|---|---|
| Calories | 150 |
| Total Fat | 0g |
| Saturated Fat | 0g |
| Carbohydrates | 40g |
| Fiber | 3g |
| Sugar | 30g |
| Protein | 0g |
| Sodium | 5mg |
| Cholesterol | 0mg |
This nutrition information is an estimate and can vary based on specific ingredients used and portion sizes.
Frequently Asked Questions
Can I use frozen apples for this filling?
Yes, frozen apples can be used, but make sure to thaw and drain excess moisture before cooking.
Can I make this filling ahead of time?
Absolutely! This filling can be made a few days in advance and stored in the refrigerator.
How should I store leftovers?
Store leftovers in an airtight container in the refrigerator for up to a week or freeze for longer storage.
Can I adjust the sweetness?
Yes, feel free to adjust the sugar based on your taste preference and the sweetness of the apples.
What if my filling is too runny?
If the filling is too runny, you can simmer it longer to reduce the liquid, or add a bit more cornstarch mixed with water.
Final Thoughts
This apple filling recipe is sure to become a staple in your kitchen, bringing warmth and sweetness to your meals. I hope you enjoy making it as much as I do.
For more delicious ideas, check out my recipes for apple pie filling or apple compote. Happy cooking!
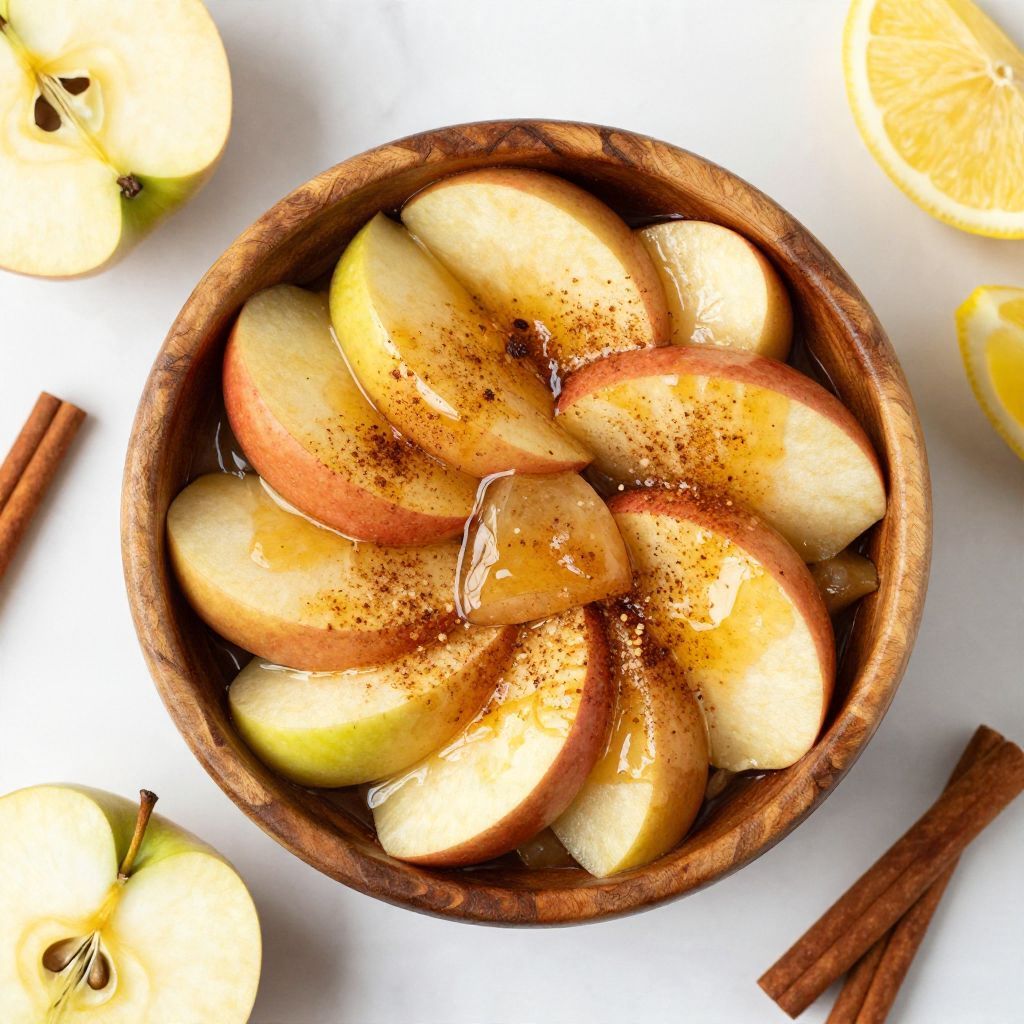
Apple Filling
Ingredients
Equipment
Method
- Start by peeling, coring, and slicing the apples into thin pieces.
- In a large mixing bowl, combine the sliced apples, sugar, lemon juice, cinnamon, nutmeg, cornstarch, and salt. Stir until well-coated.
- Transfer the apple mixture to a medium saucepan over medium heat.
- Allow the mixture to simmer for about 10-15 minutes, stirring occasionally.
- Continue cooking until the mixture thickens, about 5 more minutes.
- Remove the saucepan from heat and let the filling cool to room temperature.
- Once cooled, use immediately or store in an airtight container.