
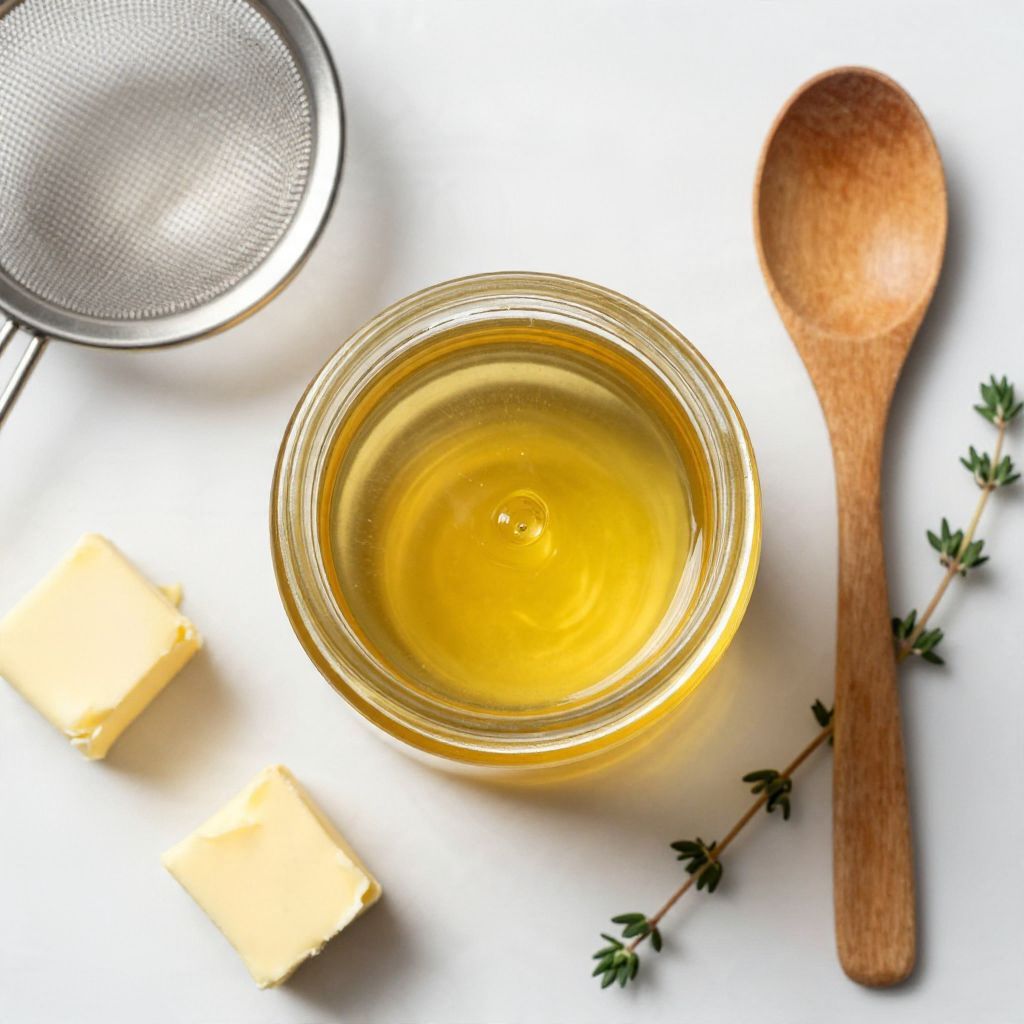
Picture this: a golden pool of rich, buttery goodness that melts effortlessly into your favorite dishes. Making your own clarified butter is not just a cooking technique; it’s a way to elevate flavors and add a depth that regular butter simply can’t achieve. This recipe is special because it’s incredibly easy and versatile, ideal for sautéing, roasting, or even drizzling over popcorn. You’ll love the nutty aroma and the fact that clarified butter has a higher smoke point, making it perfect for high-heat cooking. Let’s get right into what you need to whip up this kitchen staple!
Why You’ll Love This Recipe
This clarified butter recipe is a must-have in your culinary toolkit. Here’s why:
- Simple and quick to prepare with minimal ingredients.
- Enhances the flavor of dishes with its nutty undertones.
- Has a higher smoke point than regular butter, perfect for cooking.
- Can be stored for a longer period without refrigeration.
- Versatile for both sweet and savory recipes.
My Experience Making This Recipe
The first time I made clarified butter, I was amazed at how easily it transformed my cooking. The aroma that filled my kitchen was nothing short of heavenly, reminding me of my childhood memories of baking.
When I used it to sauté vegetables, the difference was clear; they caramelized beautifully, and the flavors were elevated. Everyone at the table asked what my secret was, and I couldn’t help but smile as I revealed the simple process.
Recipe Overview
- Recipe Name: Clarified Butter
- Servings: Varies
- Prep Time: 5 minutes
- Cook Time: 15 minutes
- Total Time: 20 minutes
- Course: Condiment
- Cuisine: Various
- Calories per Serving: 100
Equipment You Will Need
- Heavy-bottomed saucepan
- Fine mesh strainer or cheesecloth
- Glass jar or container for storage
- Wooden spoon or spatula
Ingredients for Clarified Butter
- 1 pound unsalted butter
Ingredient Notes and Substitutions
- Unsalted butter: This is preferred to control salt levels. Salted butter can also be used, but it will alter the flavor.
How to Make Clarified Butter
Step 1: Cut the Butter
Start by cutting the unsalted butter into small cubes. This helps it melt evenly and quickly.
Step 2: Melt the Butter
Place the butter in a heavy-bottomed saucepan over low heat. Low heat prevents the butter from burning and allows the solids to separate properly.
Step 3: Observe the Separation
As the butter melts, you’ll notice foam forming on the surface. This foam consists of water and milk solids that will be removed later.
Step 4: Skim the Foam
Once the butter is fully melted, use a spoon to carefully skim off the foam. This step is essential for achieving a clear clarified butter.
Step 5: Continue Heating
Let the butter simmer gently for about 10 minutes. You’ll see the milk solids settle at the bottom of the pan, and the butter will begin to look clearer.
Step 6: Strain the Butter
Remove the pan from the heat and let it cool for a few minutes. Then, strain the liquid through a fine mesh strainer or cheesecloth into a glass jar, leaving the solids behind.
Step 7: Store the Clarified Butter
Allow the clarified butter to cool completely before sealing the jar. Store it in the refrigerator for up to a month.
Step 8: Enjoy Your Creation
Use your clarified butter in various dishes, from sautéing vegetables to drizzling over fish. It’s a delightful addition to your cooking repertoire!
Pro Tip: Make sure to keep the heat low throughout the process to avoid burning the milk solids.
Tips for the Best Clarified Butter
- Use high-quality butter for the best flavor.
- Keep a close eye on the butter while it melts to prevent it from browning.
- For a more intense flavor, try using cultured butter.
- Label your jar with the date to keep track of freshness.
- Store clarified butter in smaller jars for easy access and use.
Common Mistakes to Avoid
- Using high heat: This can burn the butter and ruin the flavor.
- Not skimming enough: Leaving too much foam can affect the clarity and taste.
- Poor straining: Not using a fine mesh strainer can leave milk solids in your butter.
- Not cooling before sealing: This can lead to condensation and spoilage.
Serving Suggestions
Clarified butter is incredibly versatile and can be used in many dishes. Here are some great pairings:
- Drizzled over steamed vegetables.
- Used for frying eggs for a delicious twist.
- As a base for sauces like beurre blanc.
- On popcorn for a gourmet snack.
- In place of oil for sautéing meats.
Variations to Try
- Add herbs like thyme or rosemary during the melting process for infused butter.
- Mix in garlic for a flavorful twist.
- Try using ghee for a slightly different flavor and texture.
- Incorporate spices such as paprika for added complexity.
Dietary Adaptations
- Gluten-free: Clarified butter is naturally gluten-free.
- Dairy-free: For a dairy-free option, consider using coconut oil instead.
- Low-carb/keto: Perfect for low-carb diets as it is pure fat.
Storage and Reheating
Refrigerator
Store clarified butter in an airtight jar in the refrigerator for up to a month.
- Keep it tightly sealed to prevent absorption of odors.
- Label with the date for freshness tracking.
Freezer
You can freeze clarified butter for up to six months.
- Portion it into ice cube trays for easy use.
- Transfer to a freezer-safe container once frozen.
Reheating
To reheat, simply warm it gently in a saucepan or microwave.
- Avoid high heat to maintain the flavor.
- Use it directly from the refrigerator for cooking without reheating.
Nutrition Information
| Nutrient | Amount |
|---|---|
| Calories | 100 |
| Total Fat | 11g |
| Saturated Fat | 7g |
| Carbohydrates | 0g |
| Fiber | 0g |
| Sugar | 0g |
| Protein | 0g |
| Sodium | 0mg |
| Cholesterol | 30mg |
This nutritional information is approximate and may vary based on brands and preparation methods.
Frequently Asked Questions
Can I use salted butter for this recipe?
Yes, but it will change the flavor of the clarified butter and may not be suitable for every dish.
Can I make it ahead of time?
Absolutely! Clarified butter can be made in advance and stored for later use.
How do I know if I’ve cooked it long enough?
When the milk solids settle at the bottom and the liquid is clear, you’ve cooked it long enough.
Will it solidify in the fridge?
Yes, clarified butter will solidify in the fridge but will return to liquid when warmed.
Can I infuse flavors into clarified butter?
Yes, you can infuse herbs or spices during the melting process for added flavor.
Final Thoughts
Making your own clarified butter is a simple way to enhance your cooking. Once you try it, you’ll wonder how you ever cooked without it!
For more delicious ideas, check out my recipes for Cowboy Butter and Butter Swim Biscuits for more buttery goodness!
Clarified Butter
Ingredients
Equipment
Method
- Cut the unsalted butter into small cubes.
- Place the butter in a heavy-bottomed saucepan over low heat.
- Observe the foam forming on the surface as the butter melts.
- Once melted, skim off the foam using a spoon.
- Let the butter simmer gently for about 10 minutes.
- Remove the pan from heat and let it cool for a few minutes.
- Strain the liquid through a fine mesh strainer or cheesecloth into a glass jar.
- Allow the clarified butter to cool completely before sealing the jar.