
There’s something magical about watching vanilla ice cream churn slowly in a machine, the sweet aroma filling the kitchen. Making your own ice cream at home, especially a Cuisinart Vanilla Ice Cream, is not just about satisfying a craving; it’s about creating a creamy, dreamy treat that feels like a warm hug on a hot day.
Why You’ll Love This Recipe
This recipe is a delightful way to indulge your sweet tooth with just a few simple ingredients. You’ll find that homemade ice cream is creamier and more flavorful than any store-bought version.
- Rich and creamy texture that melts in your mouth.
- Simple ingredients you probably have on hand.
- Customizable flavors to suit your taste.
- Perfect for special occasions or a quiet evening.
- Quick to make with minimal fuss.
My Experience Making This Recipe
When I first made this ice cream, I couldn’t believe how easy it was. The rich, velvety texture and the fragrant vanilla aroma brought back memories of childhood summers.
Each scoop was a reminder of why homemade ice cream is worth every minute. My family couldn’t get enough, and I found myself making batch after batch just to keep up!
Recipe Overview
- Recipe Name: Cuisinart Vanilla Ice Cream
- Servings: 4-6
- Prep Time: 10 minutes
- Cook Time: 20 minutes
- Total Time: 30 minutes
- Course: Dessert
- Cuisine: American
- Calories per Serving: 250
Equipment You Will Need
- Cuisinart ice cream maker
- Mixing bowl
- Whisk
- Measuring cups and spoons
- Spatula
Ingredients for Cuisinart Vanilla Ice Cream
- 2 cups heavy cream
- 1 cup whole milk
- 3/4 cup granulated sugar
- 1 tablespoon pure vanilla extract
- 1 pinch of salt
Ingredient Notes and Substitutions
- Heavy cream: This gives the ice cream its rich and creamy texture. You can substitute with half-and-half for a lighter version.
- Whole milk: Adds creaminess and balance. Low-fat milk can be used, but the texture may be less creamy.
- Granulated sugar: Sweetens the ice cream. Consider using coconut sugar for a different flavor profile.
- Pure vanilla extract: Essential for flavor. Vanilla bean paste can provide a more intense flavor.
- Salt: Enhances sweetness. Sea salt can be a delightful alternative.
How to Make Cuisinart Vanilla Ice Cream
Step 1: Prepare the Ice Cream Base
In a mixing bowl, whisk together the heavy cream, whole milk, sugar, vanilla extract, and salt. This forms the base and blending these ingredients thoroughly ensures a smooth texture.
Step 2: Chill the Mixture
Cover the bowl and refrigerate the mixture for at least 2 hours or overnight. Chilling allows the flavors to meld and helps the ice cream churn better.
Step 3: Set Up the Ice Cream Maker
Ensure your Cuisinart ice cream maker bowl is fully frozen if it requires pre-freezing. This step is crucial for achieving that soft-serve consistency.
Step 4: Begin Churning
Pour the chilled mixture into the ice cream maker and turn it on. Churning incorporates air, creating a light and fluffy texture.
Step 5: Monitor the Churning
Let the machine run for about 20-25 minutes. You’ll notice the mixture thickening and doubling in volume, which is a good sign.
Step 6: Test the Consistency
Check the ice cream’s consistency; it should be soft and creamy. If you want a firmer texture, transfer it to a container and freeze for 2-4 hours.
Step 7: Serve or Store
Once the desired consistency is reached, serve immediately for a soft-serve texture or transfer to an airtight container for later. This ice cream is best enjoyed fresh but can be stored for a week.
Step 8: Enjoy!
Scoop into bowls or cones, and enjoy your homemade treat! Pairing it with toppings like chocolate sauce or fresh fruit adds a special touch.
Pro Tip: Always chill your ice cream mixture thoroughly for the best texture.
Tips for the Best Cuisinart Vanilla Ice Cream
- Use high-quality vanilla extract for the best flavor.
- Don’t skip the chilling step; it makes a noticeable difference.
- Experiment with different add-ins like chocolate chips or nuts.
- Keep the ice cream maker bowl in the freezer for spontaneous cravings.
- Let the ice cream soften at room temperature for a few minutes before serving.
Common Mistakes to Avoid
- Not chilling the mixture long enough; this can lead to icy texture.
- Overfilling the ice cream maker; leave space for expansion.
- Skipping the salt; it enhances the sweetness immensely.
- Using low-fat ingredients; they can make the ice cream less creamy.
- Neglecting to stir the mixture before churning; this helps distribute the sugar.
Serving Suggestions
This vanilla ice cream is a versatile treat that pairs beautifully with many desserts. Consider these delightful pairings for a complete dessert experience.
- Warm brownies or chocolate cake
- Fresh fruit like strawberries or peaches
- Chocolate or caramel sauce drizzled on top
- Crumbled cookies for added texture
- Sprinkles for a fun touch
Variations to Try
- For a chocolate version, add cocoa powder to the base mixture.
- Mix in crushed cookies for a cookies and cream flavor.
- Add a swirl of fruit puree for a fruity twist.
- Incorporate coffee for a mocha ice cream experience.
- Add spices like cinnamon or nutmeg for a warm flavor profile.
Dietary Adaptations
- Gluten-free: All ingredients are naturally gluten-free.
- Dairy-free: Substitute coconut cream and almond milk for a creamy result.
- Vegan: Use plant-based milk and a vegan sweetener.
- Low-carb/keto: Use heavy cream with a low-carb sweetener.
Storage and Reheating
Refrigerator
Ice cream can be stored in the refrigerator for a few days, but it may lose texture.
- Keep it tightly covered.
- Use a shallow container for less air exposure.
Freezer
Store in the freezer for up to a week for the best flavor and texture.
- Transfer to an airtight container.
- Press plastic wrap against the surface before sealing.
Reheating
There’s no need to reheat ice cream, but if it becomes too hard, let it sit at room temperature for a few minutes.
- Scoop with a warm spoon for easier serving.
- Never microwave directly; it can melt unevenly.
Nutrition Information
| Nutrient | Amount |
|---|---|
| Calories | 250 |
| Total Fat | 20g |
| Saturated Fat | 12g |
| Carbohydrates | 20g |
| Fiber | 0g |
| Sugar | 18g |
| Protein | 3g |
| Sodium | 50mg |
| Cholesterol | 70mg |
This nutritional information is estimated and may vary based on specific ingredients used.
Frequently Asked Questions
Can I substitute the heavy cream?
Yes, you can use half-and-half for a lighter version, but the texture will be less creamy.
How far in advance can I make this?
You can prepare the ice cream base a day ahead and churn it when ready to serve.
How should I store leftover ice cream?
Store it in an airtight container in the freezer for up to a week.
Why is my ice cream hard after freezing?
If it’s too hard, it may need to sit at room temperature for a few minutes before scooping.
Can I add mix-ins while churning?
Yes, add mix-ins during the last few minutes of churning for even distribution.
Final Thoughts
Making your own Cuisinart Vanilla Ice Cream is a rewarding experience that brings joy with every scoop. I encourage you to try this recipe and savor the luxurious flavor of homemade ice cream.
For more delightful ice cream ideas, check out this KitchenAid ice cream recipe or make your own vanilla extract with this vanilla bean paste recipe.
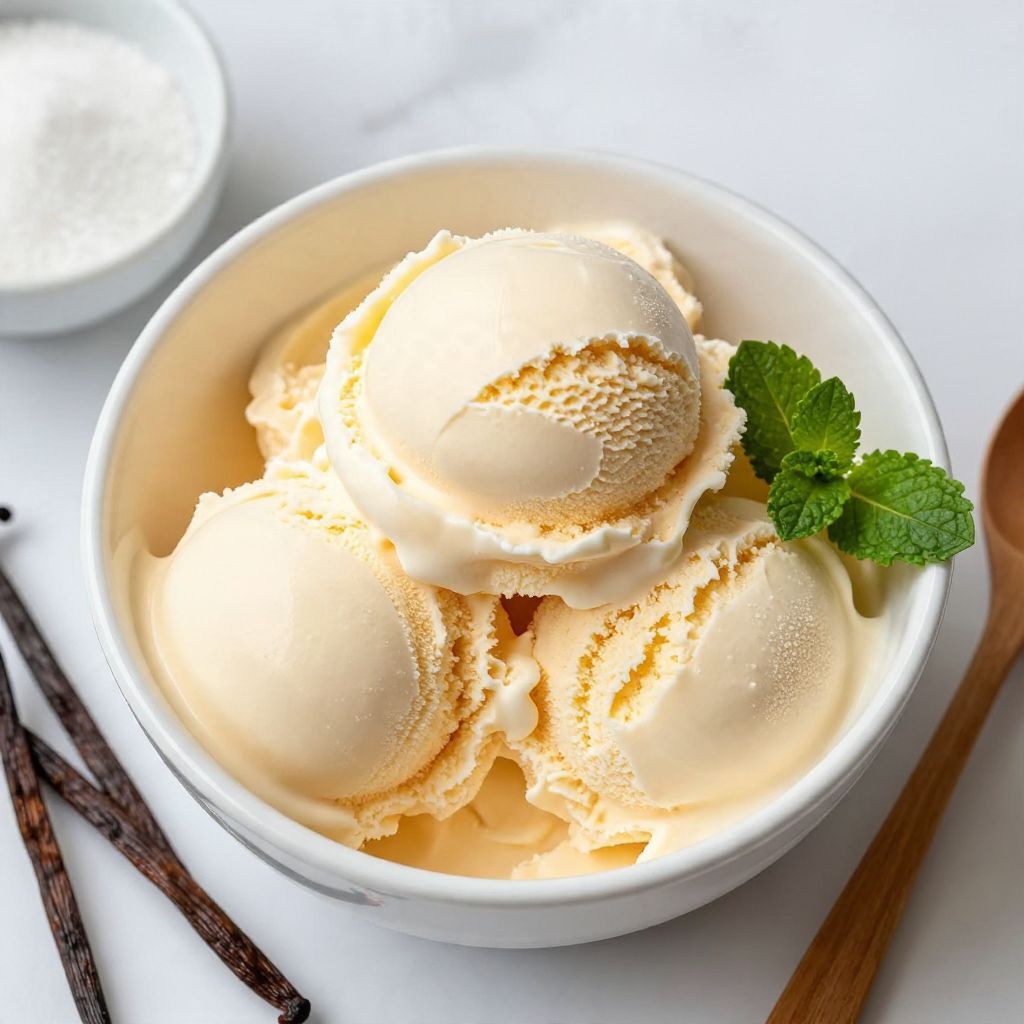
Cuisinart Vanilla Ice Cream
Ingredients
Equipment
Method
- In a mixing bowl, whisk together the heavy cream, whole milk, sugar, vanilla extract, and salt.
- Cover the bowl and refrigerate the mixture for at least 2 hours or overnight.
- Ensure your Cuisinart ice cream maker bowl is fully frozen.
- Pour the chilled mixture into the ice cream maker and turn it on.
- Let the machine run for about 20-25 minutes.
- Check the ice cream's consistency; it should be soft and creamy.
- Serve immediately for a soft-serve texture or transfer to an airtight container and freeze for 2-4 hours.
- Scoop into bowls or cones, and enjoy your homemade treat.