
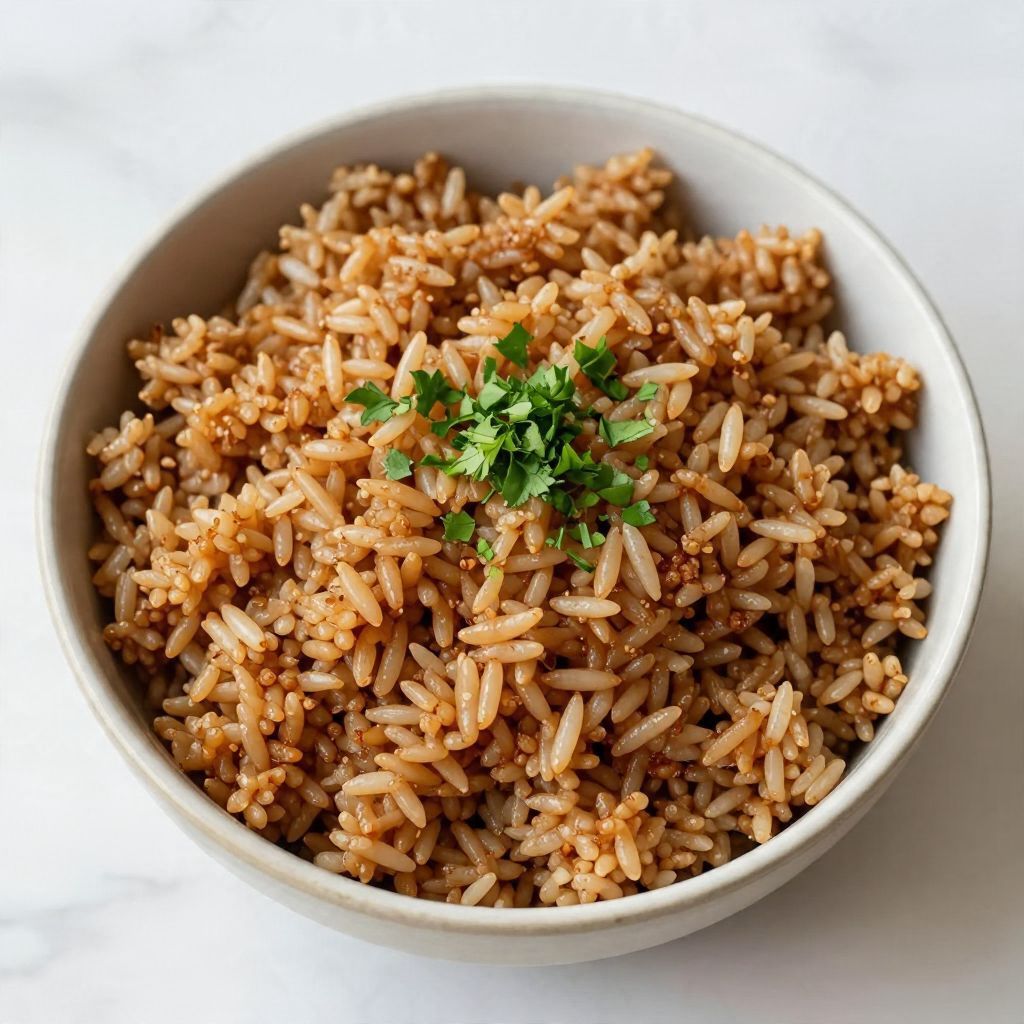
Picture this: a warm bowl of perfectly cooked brown rice, fluffy and nutty, ready to soak up your favorite stir-fry or curry. Cooking brown rice can be a hassle, but with the Instant Pot, it becomes a breeze. This recipe is your ticket to a hassle-free side dish that’s versatile and nutritious, making it a staple in any kitchen. The Instant Pot locks in flavor and moisture, ensuring that your brown rice comes out tender every time. Let’s get started and elevate your rice game!
Why You’ll Love This Recipe
This Instant Pot Brown Rice recipe is a total win for busy cooks. It’s quick, straightforward, and yields perfect results with minimal effort.
- Hands-free cooking with the Instant Pot.
- Perfectly fluffy rice every time.
- Healthy whole grain packed with fiber.
- Versatile for a range of dishes.
- Minimal prep and clean-up required.
My Experience Making This Recipe
The first time I made brown rice in my Instant Pot, I was honestly amazed. I had always struggled with overcooked or undercooked rice, but this method changed everything.
The rice turned out so fluffy and flavorful that I wondered why I had ever bothered with the stovetop. It paired beautifully with a spicy vegetable stir-fry, and my family devoured it!
Recipe Overview
- Recipe Name: Instant Pot Brown Rice
- Servings: 4
- Prep Time: 5 minutes
- Cook Time: 22 minutes
- Total Time: 27 minutes
- Course: Side Dish
- Cuisine: Healthy
- Calories per Serving: 215
Equipment You Will Need
- Instant Pot
- Measuring cups
- Measuring spoons
- Spoon for stirring
- Serving bowl
Ingredients for Instant Pot Brown Rice
- 1 cup of brown rice
- 1 ¼ cups of water
- ½ teaspoon of salt
Ingredient Notes and Substitutions
- Brown Rice: This grain is rich in fiber and nutrients. You can substitute with white rice, but cooking times will vary.
- Water: Essential for cooking the rice to fluffy perfection. You can use vegetable broth for added flavor.
- Salt: Enhances the rice’s natural flavors. Omit if you prefer a low-sodium option.
How to Make Instant Pot Brown Rice
Step 1: Rinse the Rice
Start by rinsing the brown rice under cold water. This removes excess starch and helps prevent it from becoming gummy.
Step 2: Add Ingredients to the Instant Pot
In your Instant Pot, combine the rinsed rice, water, and salt. This simple mixture is all you need for perfectly cooked rice.
Step 3: Seal the Instant Pot
Ensure the lid is secured tightly and set the valve to the sealing position. This step is crucial for building pressure and cooking the rice evenly.
Step 4: Set the Cooking Time
Select the manual setting on your Instant Pot and set the cooking time for 22 minutes. This timing is key for achieving that fluffy texture.
Step 5: Natural Pressure Release
After the cooking time is up, let the Instant Pot naturally release pressure for 10 minutes. This allows the rice to finish cooking gently.
Step 6: Quick Release Remaining Pressure
After 10 minutes, carefully turn the valve to the venting position to release any remaining pressure. Be cautious of the steam!
Step 7: Fluff the Rice
Open the lid and use a fork to fluff the rice gently. This helps separate the grains and enhances the overall texture.
Step 8: Serve and Enjoy
Your brown rice is now ready to be served! Enjoy it as a hearty side or as a base for your favorite dishes.
Pro Tip: For extra flavor, consider adding a bay leaf or a splash of olive oil to the water before cooking.
Tips for the Best Instant Pot Brown Rice
- Always rinse your rice to achieve the best texture.
- Adjust water slightly for softer or firmer rice based on your preference.
- Experiment with seasonings or broth for additional flavor.
- Use a fork to fluff the rice, not a spoon, to keep it from becoming mushy.
- Store leftover rice in an airtight container for up to five days.
Common Mistakes to Avoid
- Skipping the rinsing step can lead to gummy rice.
- Not sealing the lid properly results in uneven cooking.
- Using too little water can cause the rice to be undercooked.
- Forgetting the natural pressure release can make the rice crunchy.
Serving Suggestions
This brown rice pairs wonderfully with a variety of dishes, making it incredibly versatile. Here are some great options:
- Stir-fried vegetables
- Curries
- Grilled chicken or fish
- Salads
- Bean dishes
Variations to Try
- Add spices like cumin or turmeric for a flavor twist.
- Mix in sautéed onions and garlic for extra depth.
- Incorporate vegetables such as peas or carrots during cooking.
- Top with fresh herbs like cilantro or parsley just before serving.
Dietary Adaptations
- Gluten-free: This recipe is naturally gluten-free and perfect for all diets.
- Dairy-free: No dairy ingredients are used, making it suitable for vegan diets.
- Low-carb/keto: While brown rice is not low-carb, you can substitute with cauliflower rice.
Storage and Reheating
Refrigerator
Store leftover brown rice in an airtight container in the fridge. It will last for up to five days.
- Cool the rice to room temperature before refrigerating.
- Label containers with the date for easy tracking.
Freezer
Brown rice can also be frozen for longer storage. It will keep well for up to three months.
- Portion the rice into freezer-safe bags or containers.
- Remove excess air to prevent freezer burn.
Reheating
To reheat, simply microwave the rice with a splash of water to restore moisture. Stir occasionally for even heating.
- Cover the bowl to trap steam while reheating.
- Check the temperature to ensure it’s heated through.
Nutrition Information
| Nutrient | Amount |
|---|---|
| Calories | 215 |
| Total Fat | 1.5g |
| Saturated Fat | 0.3g |
| Carbohydrates | 45g |
| Fiber | 3.5g |
| Sugar | 0.5g |
| Protein | 5g |
| Sodium | 200mg |
| Cholesterol | 0mg |
Nutrition values may vary based on specific ingredients used.
Frequently Asked Questions
Can I use white rice instead of brown rice?
Yes, but you will need to adjust the cooking time as white rice cooks faster.
Can I make this recipe ahead of time?
Absolutely! Brown rice can be cooked in advance and stored in the refrigerator or freezer.
How do I prevent the rice from being mushy?
Make sure to rinse the rice thoroughly before cooking and follow the water-to-rice ratio accurately.
What if my rice is undercooked?
If it’s undercooked, simply add a bit more water and return it to the Instant Pot for a few more minutes.
Can I add other ingredients while cooking?
Yes! You can add spices or vegetables for added flavor, just make sure they won’t affect the water ratio too much.
Final Thoughts
This Instant Pot Brown Rice recipe transforms a simple grain into a delicious side that complements countless meals. Once you try it, you’ll appreciate how easy it is to get that perfect texture.
So grab your Instant Pot and give this recipe a try — you might just discover your new favorite way to enjoy rice. For more delicious rice ideas, check out this seasoned rice recipe or try the Puerto Rican rice recipe for a flavorful twist!
Instant Pot Brown Rice
Ingredients
Equipment
Method
- Rinse the brown rice under cold water.
- In your Instant Pot, combine the rinsed rice, water, and salt.
- Ensure the lid is secured tightly and set the valve to the sealing position.
- Select the manual setting on your Instant Pot and set the cooking time for 22 minutes.
- After the cooking time is up, let the Instant Pot naturally release pressure for 10 minutes.
- Carefully turn the valve to the venting position to release any remaining pressure.
- Open the lid and use a fork to fluff the rice gently.
- Your brown rice is now ready to be served!