
There’s something magical about the aroma of simmering pears wafting through your kitchen, isn’t there? Making pear jam is a delightful way to capture the essence of fresh pears, turning them into a sweet spread that brightens your morning toast or elevates a simple cheese platter.
Why You’ll Love This Recipe
This pear jam recipe is a charming blend of sweet and tart, making it incredibly versatile. You’ll appreciate how simple it is to prepare with just a few ingredients.
- Rich, fruity flavor with subtle spices.
- Easy to make, perfect for beginners.
- Great for gifting or preserving seasonal fruits.
- Minimal cooking time, maximum flavor.
- Can be easily customized with other fruits or spices.
My Experience Making This Recipe
The first time I made this jam, my kitchen transformed into a cozy haven of sweet pear goodness. Friends and family couldn’t resist coming in to see what was cooking, and the taste test? Pure bliss.
Every spoonful of this jam brings back memories of warm summer afternoons spent picking ripe pears, and it’s so satisfying to spread that nostalgia on a piece of toast. Trust me, it’s a treat worth making!
Recipe Overview
- Recipe Name: Pear Jam
- Servings: About 4 cups
- Prep Time: 15 minutes
- Cook Time: 30 minutes
- Total Time: 45 minutes
- Course: Preserves
- Cuisine: American
- Calories per Serving: 100
Equipment You Will Need
- Large pot
- Wooden spoon
- Measuring cups and spoons
- Potato masher or immersion blender
- Clean jars with lids
- Canning funnel (optional)
Ingredients for Pear Jam
- 4 cups ripe pears, peeled and chopped
- 2 cups granulated sugar
- 1/4 cup lemon juice
- 1 teaspoon vanilla extract
- 1/2 teaspoon ground cinnamon (optional)
Ingredient Notes and Substitutions
- Pears: They provide the jam’s sweet base; use ripe, juicy pears for the best flavor. Substitute with apples if you prefer a different fruit.
- Sugar: This balances the tartness; adjust to taste. Honey can be used instead for a different sweetness profile.
- Lemon juice: It adds acidity, enhancing flavor and preserving color; lime juice works as a substitute.
- Vanilla extract: It lends a warm note; feel free to omit for a more traditional jam flavor.
- Cinnamon: This adds warmth and depth; nutmeg can be an interesting alternative.
How to Make Pear Jam
Step 1: Prepare the Pears
Start by peeling and chopping the pears into small pieces. This helps them cook down evenly and ensures a smooth texture in your jam.
Step 2: Combine Ingredients
In a large pot, combine the chopped pears, sugar, lemon juice, vanilla extract, and cinnamon. This mixture will create the sweet base for your jam.
Step 3: Cook the Mixture
Bring the pot to a gentle boil over medium heat. Stir frequently to prevent sticking, and allow the mixture to bubble and break down the pears.
Step 4: Mash the Pears
Once the pears have softened, use a potato masher or immersion blender to reach your desired consistency. This step adds a lovely texture to the jam.
Step 5: Continue Cooking
Return the pot to the heat and continue cooking for about 15-20 minutes. This allows the jam to thicken and the flavors to meld beautifully.
Step 6: Test for Doneness
To check if the jam is ready, place a spoonful on a plate and let it cool for a minute. If it sets up nicely, you are good to go!
Step 7: Jar the Jam
Using a canning funnel, carefully pour the hot jam into clean jars, leaving about 1/4 inch headspace. This helps with sealing and storage.
Step 8: Seal and Store
Wipe the rims of the jars and seal them with lids. Allow the jars to cool at room temperature, then store them in the refrigerator or process them in a water bath for longer shelf life.
Pro Tip: Always taste your jam before jarring it; you can adjust sweetness or acidity as needed!
Tips for the Best Pear Jam
- Use ripe pears for the richest flavor and best texture.
- Don’t rush the cooking process; let the flavors develop fully.
- Keep jars and lids hot before filling to ensure a good seal.
- Experiment with adding spices like ginger for a unique twist.
- Label jars with the date to keep track of freshness.
Common Mistakes to Avoid
- Not using enough sugar can lead to a runny consistency.
- Skipping the lemon juice may result in a jam that doesn’t set well.
- Overcooking can cause caramelization, which alters the flavor.
- Filling jars too full can prevent proper sealing.
- Using unripe pears can yield a less flavorful product.
Serving Suggestions
This pear jam is a delightful addition to various dishes, making it a versatile treat. Here are some pairing ideas to get you started:
- Spread on toasted bread or croissants for breakfast.
- Serve alongside a cheese platter for a sweet contrast.
- Use as a filling for pastries or cakes.
- Stir into yogurt or oatmeal for added flavor.
- Drizzle over pancakes or waffles for a fruity twist.
Variations to Try
- Add diced ginger for a spicy kick that complements the pears.
- Mix in other fruits like apples or cranberries for a unique blend.
- Incorporate herbs like thyme for an interesting flavor profile.
- Try using brown sugar instead of granulated for a richer taste.
- Experiment with different spices like nutmeg or cardamom for added warmth.
Dietary Adaptations
- Gluten-Free: This recipe is naturally gluten-free.
- Dairy-Free: No dairy is included, making it suitable for all diets.
- Vegan: All ingredients are plant-based.
- Low-Carb/Keto: Substitute sugar with a low-carb sweetener for a keto version.
Storage and Reheating
Refrigerator
Store the jam in the refrigerator for up to three weeks. Make sure it’s in an airtight container.
- Use clean utensils to scoop out the jam.
- Seal tightly after each use to maintain freshness.
Freezer
For longer storage, freeze the jam for up to one year. Make sure to leave headspace in the containers.
- Thaw in the refrigerator overnight before using.
- Do not refreeze once thawed.
Reheating
To reheat, simply warm the jam gently on the stove or in the microwave. Avoid boiling it to maintain its flavor.
- Stir well after reheating to mix any separated ingredients.
- Check for even warmth before serving.
Nutrition Information
| Nutrient | Amount |
|---|---|
| Calories | 100 |
| Total Fat | 0g |
| Saturated Fat | 0g |
| Carbohydrates | 26g |
| Fiber | 1g |
| Sugar | 24g |
| Protein | 0g |
| Sodium | 2mg |
| Cholesterol | 0mg |
This information is approximate and may vary based on specific ingredients used.
Frequently Asked Questions
Can I use other fruits in this jam recipe?
Absolutely! You can mix in apples, peaches, or even berries for a fun twist.
How long will my pear jam last?
When stored properly, it can last up to three weeks in the refrigerator and about a year in the freezer.
Can I make this jam ahead of time?
Yes, making it ahead of time is perfect for meal prep or holiday gifts!
Why is my jam too runny?
This can happen if you didn’t use enough sugar or if it wasn’t cooked long enough to thicken.
How do I know when my jam is ready?
Test it by placing a spoonful on a plate; if it sets up nicely after cooling, it’s ready!
Final Thoughts
Making pear jam is not just about preserving fruit; it’s about creating memories and delicious moments. I encourage you to try this recipe, and I promise you won’t be disappointed.
For more delightful pear recipes, check out my pear butter recipe or give my pear pie recipe a try. Happy cooking!
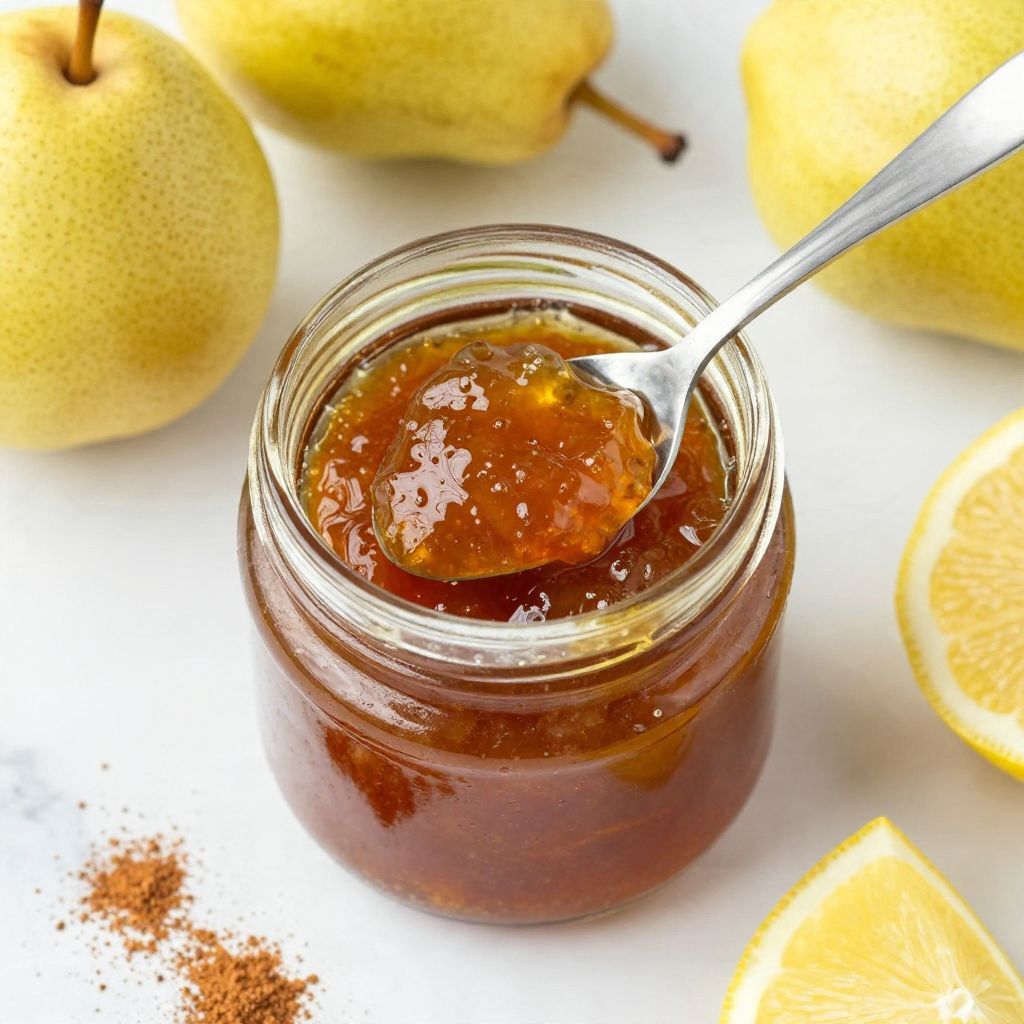
Pear Jam
Ingredients
Equipment
Method
- Start by peeling and chopping the pears into small pieces.
- In a large pot, combine the chopped pears, sugar, lemon juice, vanilla extract, and cinnamon.
- Bring the pot to a gentle boil over medium heat, stirring frequently.
- Once the pears have softened, use a potato masher or immersion blender to reach your desired consistency.
- Return the pot to the heat and continue cooking for about 15-20 minutes.
- To check if the jam is ready, place a spoonful on a plate and let it cool for a minute.
- Using a canning funnel, carefully pour the hot jam into clean jars, leaving about 1/4 inch headspace.
- Wipe the rims of the jars and seal them with lids. Allow the jars to cool at room temperature.