There’s something magical about the aroma of freshly baked bread wafting through your kitchen, and kaiser rolls bring that magic in spades. These delightful rolls, with their crusty exterior and soft, airy inside, are perfect for sandwiches or served alongside soups and salads.
Why You’ll Love This Recipe
This kaiser roll recipe is a must-try for any bread lover. Each bite is a delicious balance of texture and flavor.
- Fluffy, soft interior with a crispy crust.
- Customizable for sandwiches or served as dinner rolls.
- Made with simple ingredients you likely already have.
- Perfect for any occasion, from casual meals to special gatherings.
My Experience Making This Recipe
Making kaiser rolls at home was a delightful experience. The dough was surprisingly easy to handle, and I loved shaping each roll.
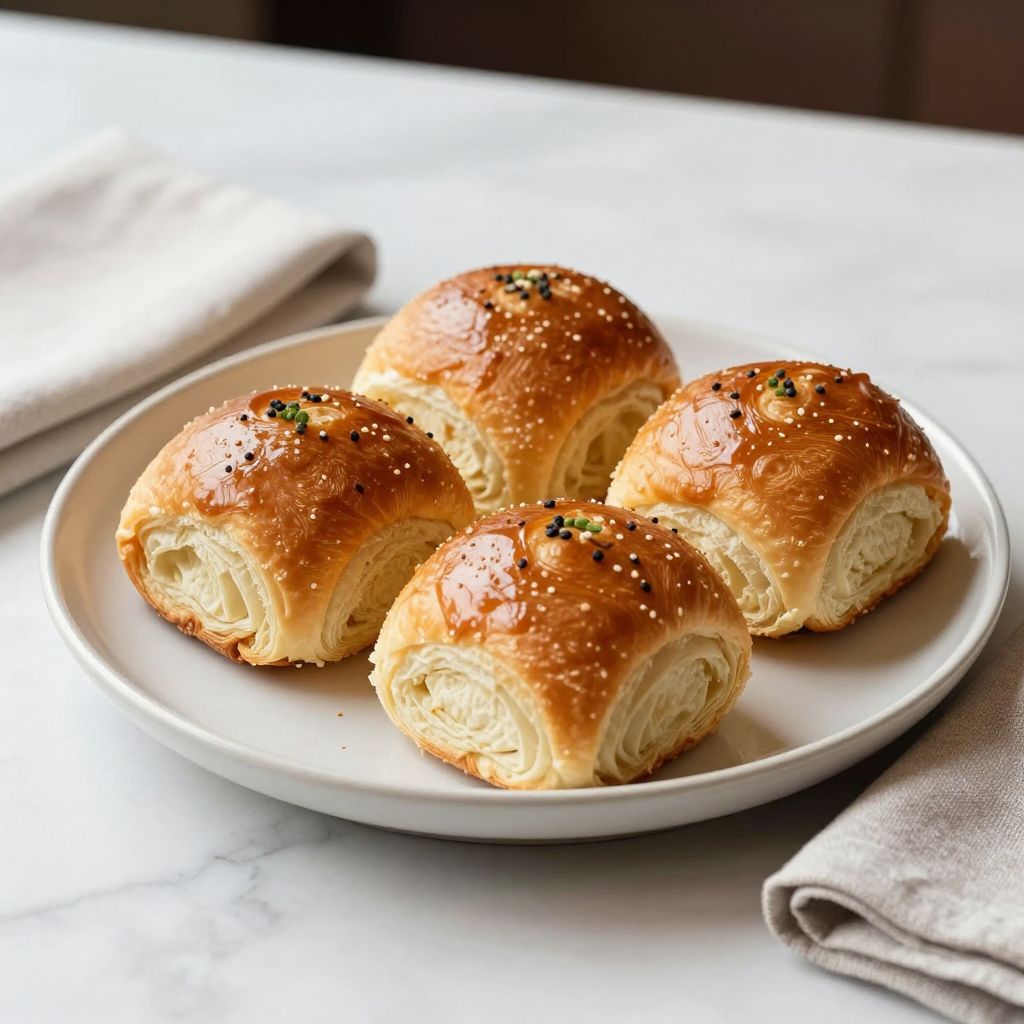
When the rolls came out of the oven, they looked golden and inviting. My family couldn’t resist tearing into them, slathering on butter, and enjoying every bite.
Recipe Overview
- Recipe Name: Kaiser Rolls
- Servings: 12 rolls
- Prep Time: 15 minutes
- Cook Time: 20 minutes
- Total Time: 2 hours (including rising time)
- Course: Bread
- Cuisine: Austrian
- Calories per Serving: 150
Equipment You Will Need
- Mixing bowl
- Dough hook or wooden spoon
- Clean kitchen towel
- Baking sheet
- Parchment paper
- Oven
- Cooling rack
Ingredients for Kaiser Rolls
- 4 cups all-purpose flour
- 1 ½ cups warm water (about 110°F)
- 2 tablespoons sugar
- 2 teaspoons salt
- 2 tablespoons active dry yeast
- 2 tablespoons vegetable oil
- 2 teaspoons poppy seeds (optional)
Ingredient Notes and Substitutions
- All-purpose flour: Provides the best texture, but bread flour can be used for a chewier roll.
- Warm water: Activates the yeast; avoid using hot water to prevent killing the yeast.
- Sugar: Feeds the yeast; honey can be a natural alternative.
- Active dry yeast: Essential for leavening; instant yeast can be substituted without altering the process.
How to Make Kaiser Rolls
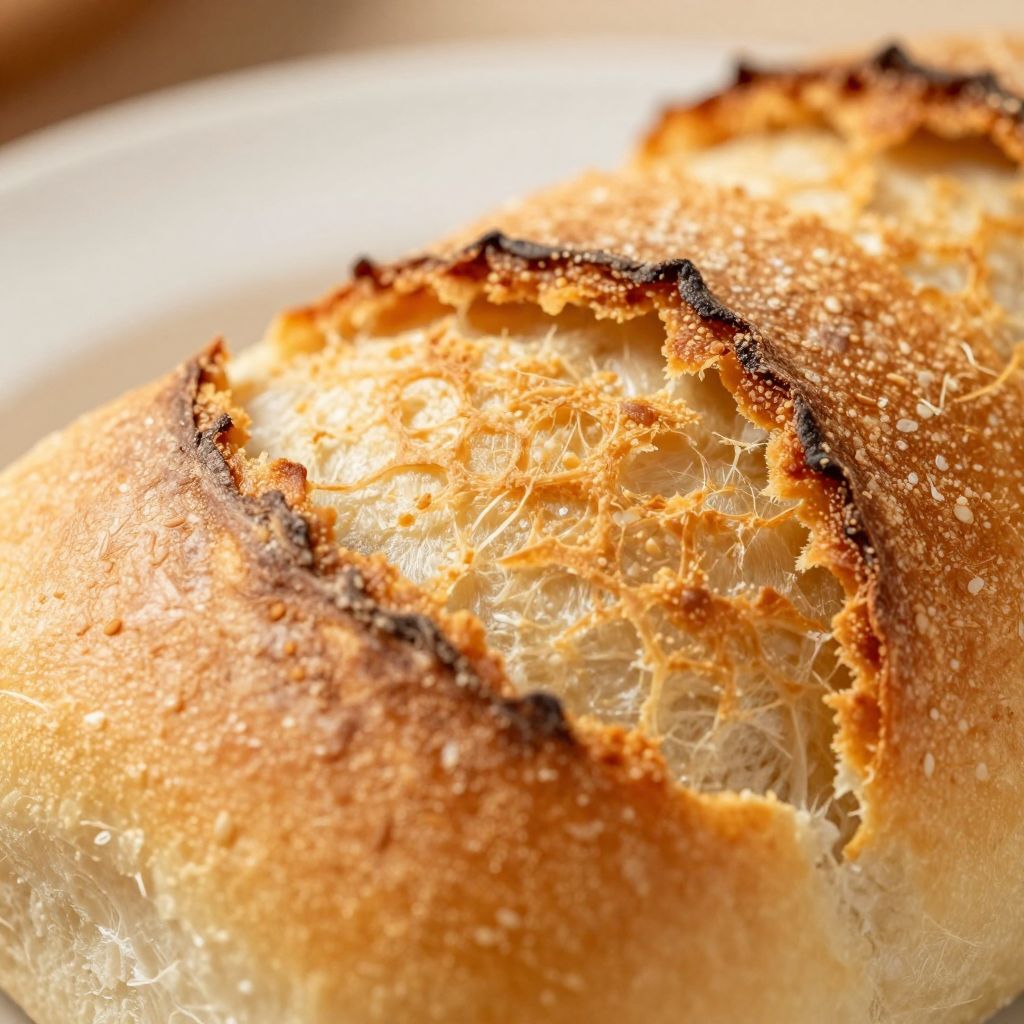
Step 1: Prepare the Yeast Mixture
In a mixing bowl, combine warm water, sugar, and yeast. Let it sit for about 5-10 minutes until it becomes frothy, signaling the yeast is active.
Step 2: Mix the Dough
Add the flour, salt, and vegetable oil to the yeast mixture. Stir until a dough begins to form, ensuring all ingredients are well incorporated.
Step 3: Knead the Dough
Transfer the dough to a floured surface and knead for about 8-10 minutes until it’s smooth and elastic. This develops the gluten, giving the rolls their structure.
Step 4: First Rise
Place the dough in a greased bowl and cover it with a clean kitchen towel. Let it rise in a warm place for about 1 hour or until doubled in size.
Step 5: Shape the Rolls
Punch down the risen dough to release air, then divide it into 12 equal pieces. Shape each piece into a tight ball, tucking the edges underneath for a smooth surface.
Step 6: Second Rise
Place the shaped rolls on a parchment-lined baking sheet. Cover them again and let rise for another 30 minutes until they puff up.
Step 7: Preheat the Oven
While the rolls are rising, preheat your oven to 425°F. A hot oven is crucial for achieving that perfect crust.
Step 8: Bake the Rolls
Before baking, you can make a shallow cut in the top of each roll for classic kaiser roll appearance. Bake for 15-20 minutes until golden brown.
Pro Tip: For extra crustiness, place a pan of water in the oven while baking to create steam.
Tips for the Best Kaiser Rolls
- Ensure your water is warm, not hot, to keep the yeast alive.
- Kneading is key; don’t skip it to avoid dense rolls.
- Let the rolls rise in a warm place to speed up the process.
- Experiment with toppings like sesame seeds for added flavor.
- Use a sharp knife for clean cuts on top before baking.
Common Mistakes to Avoid
- Using cold water can hinder yeast activation, resulting in flat rolls.
- Skipping the kneading step leads to a dense texture.
- Not allowing enough rise time can yield a tough roll.
- Baking at the wrong temperature may cause uneven browning.
Serving Suggestions
These rolls are incredibly versatile and can be enjoyed in many ways. Here are some delicious pairing ideas:
- As sandwich rolls for burgers or deli meats.
- With soups like tomato or potato leek.
- Served warm with butter or herb-infused oils.
- As a base for sliders or mini sandwiches.
Variations to Try
- Add cheese like cheddar or Parmesan to the dough for a savory twist.
- Incorporate herbs like rosemary or thyme for added flavor.
- Brush the tops with egg wash for a rich golden color.
- Use whole wheat flour for a healthier version.
Dietary Adaptations
- Gluten-free: Use a gluten-free flour blend designed for bread-making.
- Dairy-free: This recipe is naturally dairy-free; no changes needed.
- Vegan: Replace the vegetable oil with any plant-based oil.
- Low-carb/keto: Consider almond flour for a low-carb substitute.
Storage and Reheating
Refrigerator
Store leftover rolls in an airtight container in the fridge for up to 3 days.
- Wrap each roll individually to keep them fresh.
- Reheat in the oven to restore their crustiness.
Freezer
These rolls freeze beautifully, perfect for meal prep.
- Cool completely before wrapping each roll tightly in plastic wrap.
- Store in a freezer-safe bag for up to 3 months.
Reheating
To reheat, allow rolls to thaw at room temperature, then bake at 350°F for 5-10 minutes.
- For a crispier crust, reheat directly from frozen.
Nutrition Information
| Nutrient | Amount |
|---|---|
| Calories | 150 |
| Total Fat | 2g |
| Saturated Fat | 0g |
| Carbohydrates | 30g |
| Fiber | 1g |
| Sugar | 1g |
| Protein | 5g |
| Sodium | 220mg |
| Cholesterol | 0mg |
This nutrition information is an estimate and may vary based on specific ingredients and brands used.
Frequently Asked Questions
Can I make the dough ahead of time?
Yes, you can prepare the dough and refrigerate it overnight. Just let it come to room temperature before proceeding with shaping.
What can I use instead of active dry yeast?
Instant yeast works well without needing to activate it in water first. Use the same amount as indicated for active dry yeast.
How should I store leftover rolls?
Store them in an airtight container at room temperature for a couple of days or freeze for longer storage.
What if the rolls don’t rise?
Ensure your yeast is fresh and that the water temperature is warm enough to activate it. If not, the rolls will remain dense.
Can I add toppings to the rolls?
Absolutely! Feel free to sprinkle poppy seeds, sesame seeds, or even garlic powder on top before baking.
Final Thoughts
Homemade kaiser rolls are a delightful addition to your baking repertoire. These rolls bring warmth and comfort to any meal, making them worth the effort.
So roll up your sleeves and give this recipe a try. You’ll be rewarded with delicious, golden rolls that will have everyone asking for seconds!
For more delicious recipes, check out this Boston Butt Recipe or try my Honey Wheat Bread Recipe for a sweet twist!
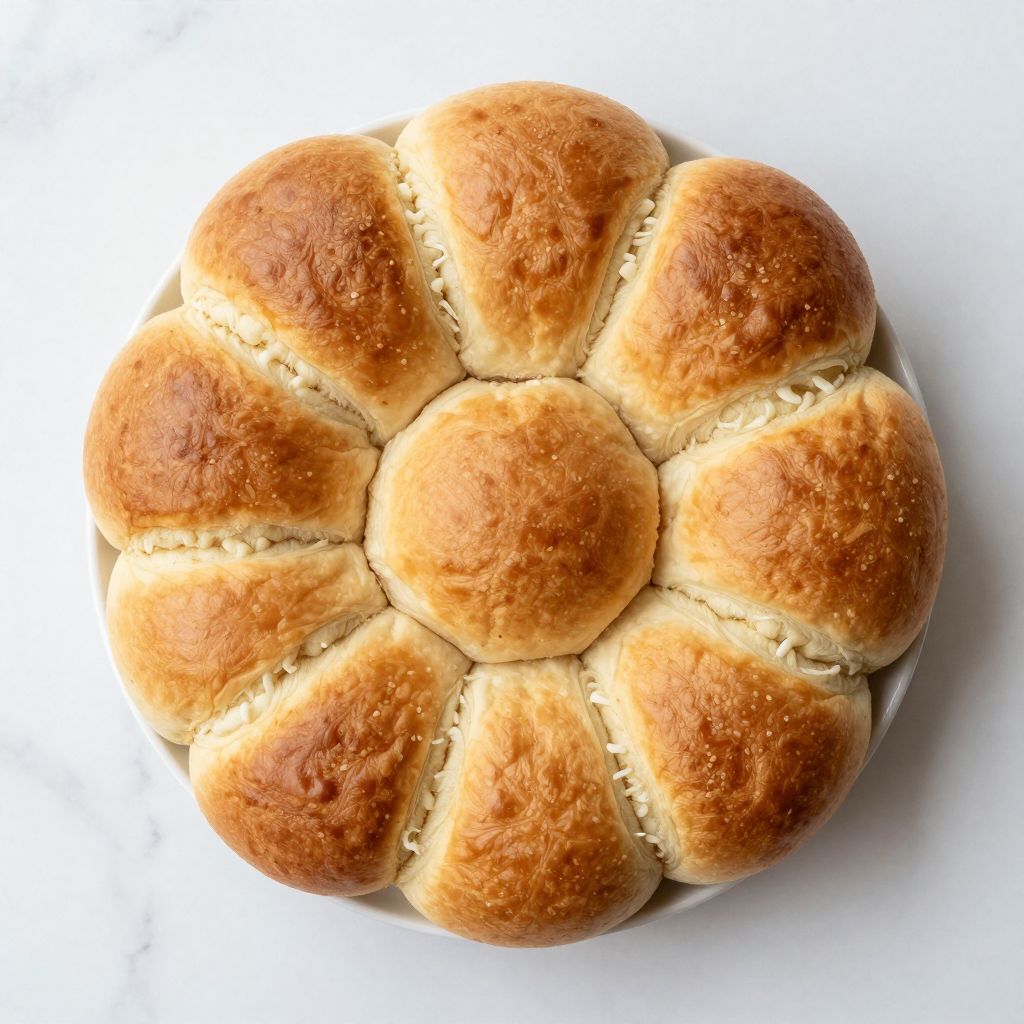
Kaiser Rolls
Ingredients
Equipment
Method
- In a mixing bowl, combine 1 ½ cups warm water, 2 tablespoons sugar, and 2 tablespoons active dry yeast. Let sit for 5-10 minutes until frothy.
- Add 4 cups all-purpose flour, 2 teaspoons salt, and 2 tablespoons vegetable oil to the yeast mixture. Stir until a rough dough forms.
- Transfer the dough to a lightly floured surface and knead for 8-10 minutes until smooth and elastic.
- Place the dough in a greased bowl, cover with a clean kitchen towel, and let rise in a warm place for 1 hour or until doubled in size.
- Punch down the risen dough to release air. Divide into 12 equal pieces and shape each into a tight ball.
- Arrange the rolls on a parchment-lined baking sheet. Cover and let rise for 30 minutes until puffy.
- Preheat the oven to 425°F while the rolls are rising.
- Optional: make a shallow cut on the top of each roll for a classic appearance. Bake for 15-20 minutes at 425°F until golden brown.
- Remove the rolls from the oven and transfer to a cooling rack to cool slightly before serving.