
Picture this: a sunny afternoon, the scent of fresh vanilla wafting through the kitchen, and a batch of warm, crispy vanilla wafers waiting to be devoured. This recipe is a delightful nod to nostalgia, perfect for snacking or adding a sweet crunch to your desserts. With a crispy exterior and a soft center, these wafers are incredibly versatile and easy to make at home. Ready to sweeten your day? Let’s gather our ingredients and get started!
Why You’ll Love This Recipe
This recipe for vanilla wafers is a keeper for many reasons!
- Quick and simple to whip up.
- Perfectly sweet with a hint of vanilla.
- Great for snacking or as a dessert topping.
- Can be customized with different flavors.
- Kids love helping with the mixing and shaping!
My Experience Making This Recipe
Making these vanilla wafers is a delightful experience. The scent of vanilla fills the air as you mix the batter, and the anticipation builds as they bake to a golden brown.
When I first made them, I couldn’t resist sampling one straight from the oven. The crispiness combined with a melt-in-your-mouth texture made it hard to stop at just one!
Recipe Overview
- Recipe Name: Vanilla Wafers
- Servings: About 24 wafers
- Prep Time: 10 minutes
- Cook Time: 15 minutes
- Total Time: 25 minutes
- Course: Snack/Dessert
- Cuisine: American
- Calories per Serving: 50
Equipment You Will Need
- Baking sheet
- Parchment paper
- Mixing bowls
- Electric mixer or whisk
- Cookie scoop or spoon
- Cooling rack
Ingredients for Vanilla Wafers
- 1 cup all-purpose flour
- 1/2 cup granulated sugar
- 1/2 cup unsalted butter, softened
- 1 large egg
- 1 teaspoon vanilla extract
- 1/2 teaspoon baking powder
- 1/4 teaspoon salt
Ingredient Notes and Substitutions
- All-purpose flour: Provides structure; use gluten-free flour for a gluten-free version.
- Granulated sugar: Sweetens the wafers; brown sugar can add a slight molasses flavor.
- Unsalted butter: Adds richness; coconut oil can be a dairy-free alternative.
- Large egg: Binds the ingredients; a flax egg works for a vegan option.
- Vanilla extract: Brings flavor; consider vanilla bean paste for a more intense vanilla taste.
How to Make Vanilla Wafers
Step 1: Preheat the Oven
Start by preheating your oven to 350°F (175°C). This ensures the wafers bake evenly and achieve that perfect crisp.
Step 2: Prepare the Baking Sheet
Line a baking sheet with parchment paper. This prevents the wafers from sticking and helps with easy cleanup.
Step 3: Cream the Butter and Sugar
In a mixing bowl, cream together the softened butter and granulated sugar until light and fluffy. This step incorporates air into the mixture, resulting in a better texture.
Step 4: Add the Egg and Vanilla
Beat in the egg and vanilla extract until fully combined. The egg helps bind the ingredients together, while vanilla adds that signature flavor.
Step 5: Mix the Dry Ingredients
In another bowl, whisk together the flour, baking powder, and salt. This ensures even distribution of the dry ingredients in the batter.
Step 6: Combine Wet and Dry Ingredients
Gradually add the dry mixture to the wet ingredients, stirring until just combined. Overmixing can result in tough wafers, so keep it gentle.
Step 7: Scoop the Batter
Using a cookie scoop or a spoon, drop small mounds of batter onto the prepared baking sheet, leaving space between each one. This allows them to expand without merging together.
Step 8: Bake the Wafers
Bake in the preheated oven for 12-15 minutes, or until the edges are golden brown. Keep an eye on them; ovens vary and you want to avoid burning!
Pro Tip: Let the wafers cool completely on a rack; they will crisp up even more as they cool.
Tips for the Best Vanilla Wafers
- Use room temperature ingredients for better mixing.
- Don’t skip the parchment paper; it makes a huge difference.
- Experiment with flavorings like almond or lemon zest for a twist.
- Make sure to measure your flour correctly to avoid dense wafers.
- Store them in an airtight container to maintain crispness.
Common Mistakes to Avoid
- Overmixing the batter can lead to tough wafers.
- Not preheating the oven can result in uneven baking.
- Skipping the parchment paper may cause sticking.
- Baking at too high a temperature can burn the edges.
Serving Suggestions
These vanilla wafers are perfect on their own or paired with various treats!
- Serve alongside fresh fruit for a refreshing snack.
- Crush them over ice cream for a delightful topping.
- Dip in chocolate for an indulgent treat.
- Use them as a base for a layered dessert.
Variations to Try
- Add chocolate chips for extra sweetness and texture.
- Mix in nuts for a crunchy bite.
- Incorporate spices like cinnamon for a warm flavor.
- Substitute almond flour for a nutty twist.
Dietary Adaptations
- Gluten-free: Use a gluten-free flour blend.
- Dairy-free: Swap butter for coconut oil.
- Vegan: Replace the egg with a flax egg.
- Low-carb/keto: Use almond flour and a sugar substitute.
Storage and Reheating
Refrigerator
Store in an airtight container for up to a week.
- Keep them at room temperature for optimal texture.
Freezer
Freeze wafers in a single layer, then transfer to a container. They can last for up to three months.
- Thaw at room temperature or briefly warm in the oven.
Reheating
To re-crisp, place them in a preheated oven for a few minutes.
- Check often to avoid burning.
Nutrition Information
| Nutrient | Amount |
|---|---|
| Calories | 50 |
| Total Fat | 3g |
| Saturated Fat | 2g |
| Carbohydrates | 6g |
| Fiber | 0g |
| Sugar | 3g |
| Protein | 1g |
| Sodium | 30mg |
| Cholesterol | 15mg |
This nutritional information is an estimate and may vary based on ingredients and portion sizes.
Frequently Asked Questions
Can I make these ahead of time?
Absolutely! You can prepare the batter in advance and refrigerate it until you’re ready to bake.
What can I use instead of egg?
A flax egg is a great substitute; mix one tablespoon of flaxseed meal with two and a half tablespoons of water.
How do I store leftover wafers?
Keep them in an airtight container at room temperature or freeze them for later enjoyment.
Why are my wafers not crispy?
They might not have been baked long enough; ensure they are golden brown and fully cooled.
Can I add other flavors?
Yes! Feel free to experiment with almond extract or citrus zest for a flavor twist.
Final Thoughts
These homemade vanilla wafers bring a touch of nostalgia and delight to any snack time. I encourage you to try this recipe and enjoy every crispy bite.
If you’re exploring more ways to enhance your baking, check out this vanilla bean paste recipe or learn about vanilla paste for added flavor. Enjoy your baking adventure!
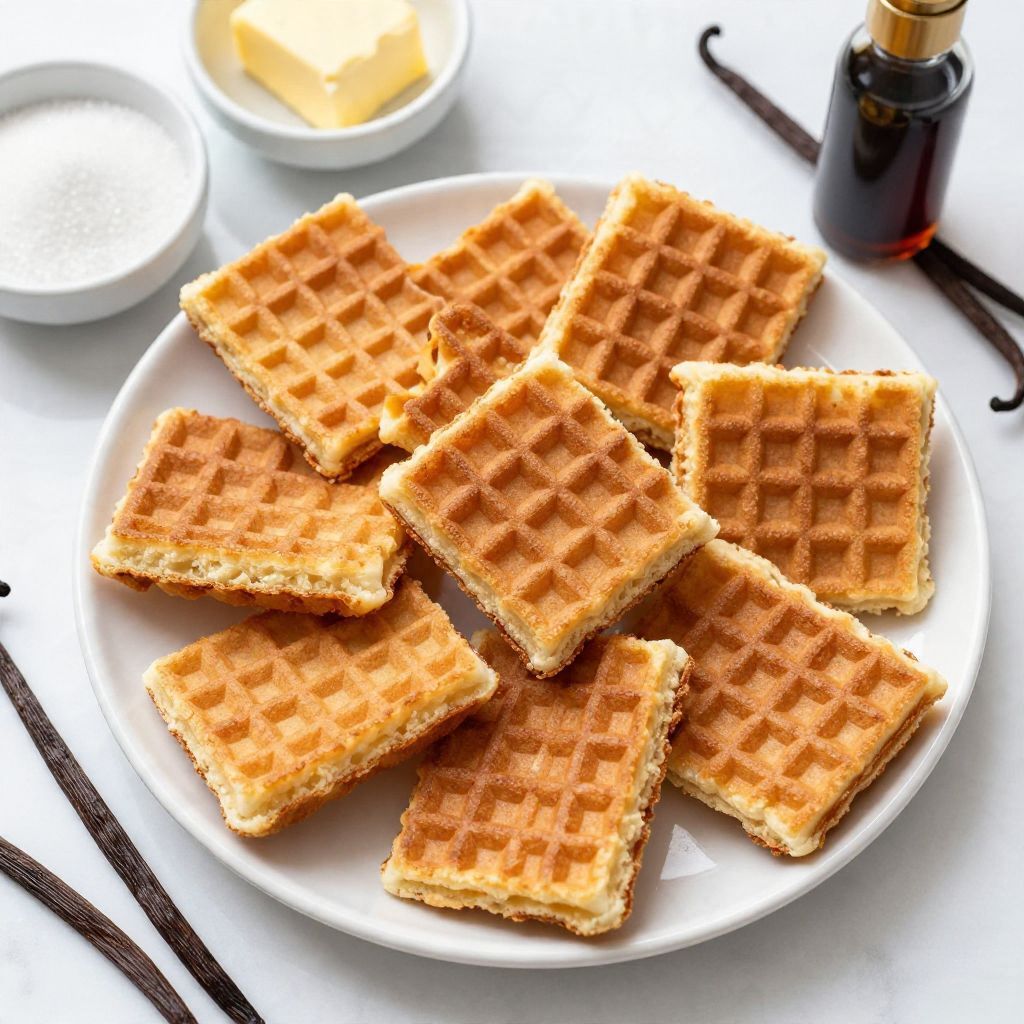
Vanilla Wafers
Ingredients
Equipment
Method
- Preheat the oven to 350°F (175°C).
- Line a baking sheet with parchment paper.
- In a mixing bowl, cream together the softened butter and granulated sugar until light and fluffy.
- Beat in the egg and vanilla extract until fully combined.
- In another bowl, whisk together the flour, baking powder, and salt.
- Gradually add the dry mixture to the wet ingredients, stirring until just combined.
- Using a cookie scoop or spoon, drop small mounds of batter onto the prepared baking sheet.
- Bake in the preheated oven for 12-15 minutes, or until the edges are golden brown.
- Let the wafers cool completely on a rack.