
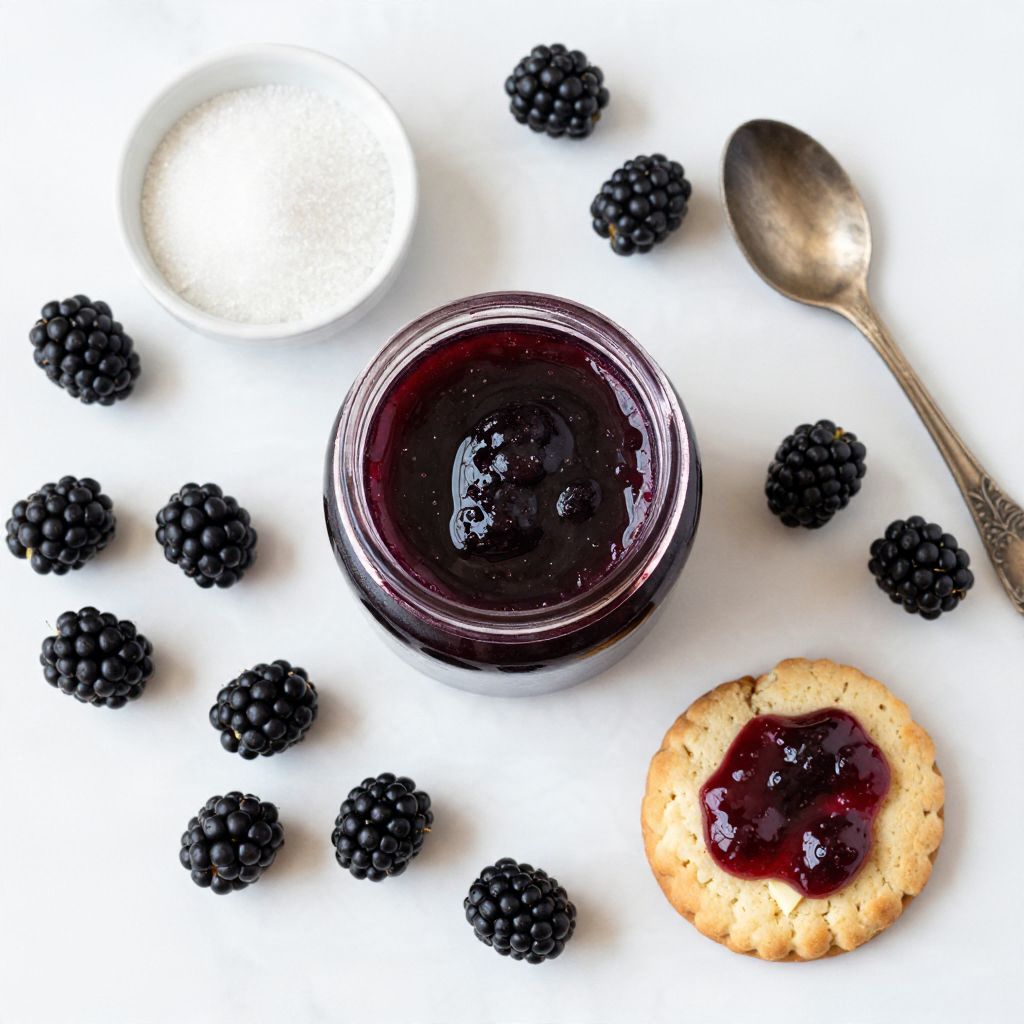
Picture yourself spreading a rich, sweet blackberry jelly on a warm, buttery biscuit. This recipe is a delightful way to capture the essence of summer fruit and transform it into something truly special. Making your own jelly not only fills your kitchen with the mouthwatering aroma of simmering berries but also gives you control over the sweetness and texture. With its luscious flavor and smooth texture, this jelly is perfect for breakfast or as a sweet treat. Let’s dive into this delightful process and see just how easy it is to create your very own blackberry jelly!
Why You’ll Love This Recipe
This blackberry jelly recipe stands out for its vibrant flavor and simple process. You’ll appreciate how this homemade treat elevates your meals.
- Sweet and tangy flavor that brightens up any dish.
- Simple ingredients that are easy to find.
- Perfect for gifting or enhancing breakfast.
- Customizable sweetness to suit your taste.
- Preserves the freshness of seasonal blackberries.
My Experience Making This Recipe
Making blackberry jelly in my kitchen is always a nostalgic experience. The moment I start to simmer those fresh blackberries, the sweet aroma takes me back to summer days spent picking fruit with my family.
When I served this jelly to my friends, they couldn’t believe I made it from scratch. Watching their eyes light up as they spread it on toast made all the effort worthwhile!
Recipe Overview
- Recipe Name: Blackberry Jelly
- Servings: About 5 half-pints
- Prep Time: 15 minutes
- Cook Time: 30 minutes
- Total Time: 45 minutes
- Course: Condiment
- Cuisine: American
- Calories per Serving: 50
Equipment You Will Need
- Large pot
- Wooden spoon
- Fine mesh strainer or cheesecloth
- Canning jars with lids
- Canning funnel (optional)
- Jar lifter (optional)
Ingredients for Blackberry Jelly
- 4 cups fresh blackberries
- 5 cups granulated sugar
- 1 cup water
- 1 package fruit pectin (like Sure-Jell)
- 1 tablespoon lemon juice
Ingredient Notes and Substitutions
- Fresh blackberries: They provide the main flavor and natural sweetness. You can substitute with frozen blackberries if fresh ones are unavailable.
- Granulated sugar: This balances the tartness of the berries. For a lower sugar option, look for low-sugar pectin varieties.
- Fruit pectin: This helps the jelly set properly. You can use a no-sugar pectin for a different approach.
- Lemon juice: Adds acidity to enhance flavor and help with preservation. Use bottled lemon juice in a pinch.
How to Make Blackberry Jelly
Step 1: Prepare Your Jars
Start by sterilizing your canning jars in boiling water for 10 minutes. This ensures that your jelly stays fresh without unwanted bacteria.
Step 2: Mash the Blackberries
In a large pot, combine the blackberries and water. Use a potato masher to crush the berries gently, releasing their juices.
Step 3: Strain the Mixture
Pour the crushed berries through a fine mesh strainer or cheesecloth into another bowl. This will separate the juice from the pulp, giving you a smooth jelly.
Step 4: Measure the Juice
Measure out 4 cups of the blackberry juice. Too much or too little juice can affect the setting of the jelly.
Step 5: Cook the Juice
In the same pot, combine the blackberry juice and lemon juice. Stir in the fruit pectin and bring the mixture to a boil over medium heat.
Step 6: Add Sugar
Once boiling, add the sugar all at once, stirring constantly until it dissolves. Boil the mixture for 1 minute to ensure the sugar fully integrates.
Step 7: Test for Doneness
To check if the jelly is ready, drop a spoonful on a cold plate and see if it gels. If it doesn’t, boil for another minute and test again.
Step 8: Fill the Jars
Using a canning funnel, carefully pour the hot jelly into the sterilized jars, leaving about 1/4 inch of headspace. Wipe the rims with a clean cloth to ensure a good seal.
Pro Tip: Always test your jelly’s doneness to avoid a runny texture. A simple spoon test is all you need!
Tips for the Best Blackberry Jelly
- Use ripe blackberries for maximum flavor; underripe berries can result in a less sweet jelly.
- Don’t skip the lemon juice; it brightens the flavor and helps with preservation.
- Make sure to stir constantly when adding sugar to prevent burning.
- Keep your jars hot until you’re ready to fill them to avoid cracking.
- Store your jars in a cool, dark place for the best shelf life.
Common Mistakes to Avoid
- Not measuring the juice correctly can change the consistency of your jelly.
- Skipping the sterilization process may lead to spoilage.
- Overcooking the jelly can make it too thick; always test for doneness.
- Using old or expired pectin can prevent the jelly from setting properly.
Serving Suggestions
This blackberry jelly is perfect for sweetening your breakfast or adding a touch of elegance to any dish. Try it with these pairings:
- Spread on fresh biscuits or toast.
- Swirled into yogurt or oatmeal.
- As a topping for cheesecake or pancakes.
- Mixed into cocktails for a fruity twist.
Variations to Try
- Add a splash of vanilla extract for a warm, comforting flavor.
- Mix in a touch of cinnamon for a spiced twist.
- Combine with other berries like raspberries for a mixed berry jelly.
- Infuse with herbs like mint or basil for a unique touch.
Dietary Adaptations
- Gluten-free: This jelly is naturally gluten-free.
- Dairy-free: No dairy ingredients are used.
- Vegan/Vegetarian: Suitable for both diets.
- Low-carb/Keto: Substitute sugar with a low-carb sweetener for a keto-friendly option.
Storage and Reheating
Refrigerator
Store opened jars in the refrigerator for up to three weeks.
- Use clean utensils to avoid contamination.
- Keep jars tightly sealed.
Freezer
For longer storage, freeze jelly in airtight containers for up to a year.
- Leave a little space at the top of each container for expansion.
- Thaw in the refrigerator when ready to use.
Reheating
You can gently reheat jelly in a saucepan over low heat if it gets too thick.
- Stir frequently to prevent scorching.
- Heat until just warm and spreadable.
Nutrition Information
| Nutrient | Amount |
|---|---|
| Calories | 50 |
| Total Fat | 0g |
| Saturated Fat | 0g |
| Carbohydrates | 13g |
| Fiber | 0g |
| Sugar | 12g |
| Protein | 0g |
| Sodium | 0mg |
| Cholesterol | 0mg |
This information is based on a standard serving size and may vary based on specific ingredients used.
Frequently Asked Questions
Can I use frozen blackberries instead of fresh?
Yes, frozen blackberries work just as well, although you may need to adjust the water slightly.
How far in advance can I make this jelly?
You can make this jelly up to a year in advance and store it properly.
How do I know if my jelly set correctly?
To check, place a spoonful on a cold plate; if it thickens and holds its shape, it’s ready.
What if my jelly is too runny?
If it doesn’t set, you can reboil it with more pectin to thicken it.
Can I use less sugar in this recipe?
Yes, using less sugar is possible, but it may affect the jelly’s sweetness and set.
Final Thoughts
Homemade blackberry jelly is a delightful treat that’s easy to make and even more enjoyable to eat. I encourage you to try this recipe and savor the taste of summer all year long.
If you’re looking for more ways to enjoy fruits, check out my blackberry crisp recipe or try making pear jam. Happy cooking!
Blackberry Jelly
Ingredients
Equipment
Method
- Sterilize your canning jars in boiling water for 10 minutes.
- In a large pot, combine the blackberries and water. Use a potato masher to crush the berries gently.
- Pour the crushed berries through a fine mesh strainer or cheesecloth into another bowl to separate the juice from the pulp.
- Measure out 4 cups of the blackberry juice.
- In the same pot, combine the blackberry juice and lemon juice. Stir in the fruit pectin and bring the mixture to a boil over medium heat.
- Once boiling, add the sugar all at once, stirring constantly until it dissolves. Boil the mixture for 1 minute.
- To check if the jelly is ready, drop a spoonful on a cold plate and see if it gels. If it doesn't, boil for another minute and test again.
- Using a canning funnel, carefully pour the hot jelly into the sterilized jars, leaving about 1/4 inch of headspace. Wipe the rims with a clean cloth.