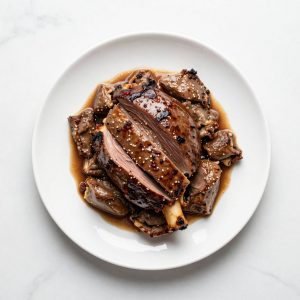
Picture this: a warm tortilla, fresh off the griddle, topped with crumbled, creamy queso fresco. Making this versatile cheese at home is not just rewarding but also brings a touch of authentic flavor to your dishes. This recipe is special because it transforms just a few simple ingredients into something so rich and delicious that you’ll wonder why you ever bought it from the store. With a slightly tangy flavor and a crumbly texture, queso fresco is perfect for everything from tacos to salads. Let’s roll up our sleeves and get started!
Why You’ll Love This Recipe
Homemade queso fresco is a delight that elevates any meal. You’ll find that this cheese is easy to make and incredibly satisfying.
- Quick to prepare with minimal ingredients.
- Perfect for topping a variety of dishes.
- Customizable flavor based on your preference.
- Freshness that store-bought can’t compete with.
My Experience Making This Recipe
When I first attempted to make queso fresco, I was surprised by how simple the process was. The aroma of warm milk and the tangy scent of vinegar filled my kitchen, making me feel like a cheese-making pro.
As I crumbled the cheese onto my tacos, I couldn’t help but feel proud. The creamy texture and delightful flavor made every bite a celebration.
Recipe Overview
- Recipe Name: Queso Fresco
- Servings: 8
- Prep Time: 10 minutes
- Cook Time: 15 minutes
- Total Time: 25 minutes
- Course: Cheese
- Cuisine: Mexican
- Calories per Serving: 80
Equipment You Will Need
- Large pot
- Thermometer
- Slotted spoon
- Cheesecloth or fine mesh strainer
- Bowl
Ingredients for Queso Fresco
- 1 gallon whole milk
- 1/4 cup white vinegar
- 1 teaspoon salt
Ingredient Notes and Substitutions
- Whole milk: This provides the creamy texture needed for queso fresco. You can substitute with 2% milk, but the texture will be less creamy.
- White vinegar: This is essential for curdling the milk. Lemon juice can be used as a substitute if needed.
- Salt: It enhances flavor. Feel free to adjust the amount to your taste.
How to Make Queso Fresco
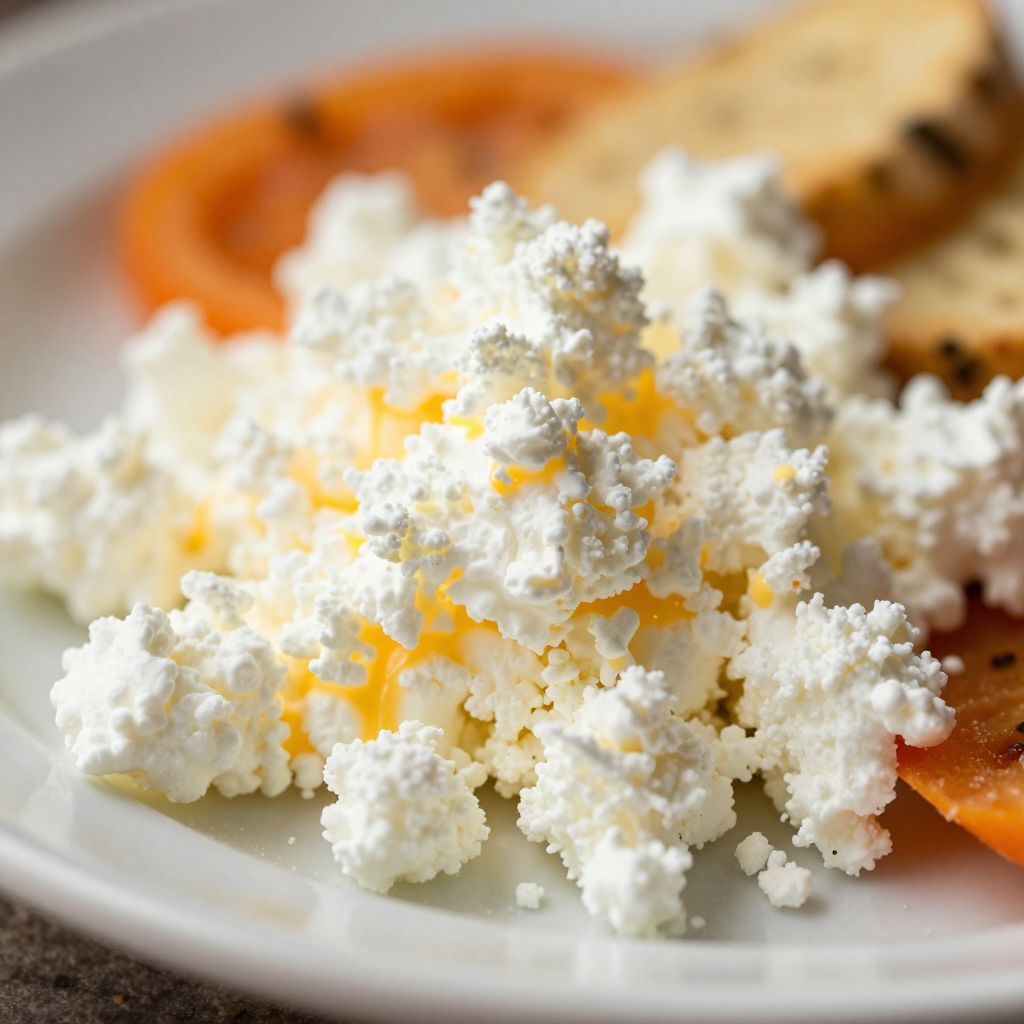
Step 1: Heat the Milk
Pour the whole milk into a large pot and place it over medium heat. Stir occasionally to prevent it from scorching at the bottom.
Step 2: Monitor the Temperature
Using a thermometer, heat the milk until it reaches about 190°F (88°C). This temperature helps the milk curdle properly.
Step 3: Add the Vinegar
Remove the pot from heat and add the white vinegar. Stir gently for about 1 minute to help the curds form.
Step 4: Let the Curd Set
Allow the mixture to sit for about 10 minutes. This resting phase lets the curds fully develop.
Step 5: Strain the Curds
Place a cheesecloth or fine mesh strainer over a bowl and pour the curdled milk mixture into it. The liquid whey will drain, leaving the cheese behind.
Step 6: Rinse the Curds
Rinse the curds gently under cold water to remove excess vinegar. This helps mellow the flavor of the queso fresco.
Step 7: Season the Cheese
Add salt to the curds and gently mix it in. Taste and adjust the seasoning as needed.
Step 8: Pack and Chill
Transfer the cheese to a mold or shape it by hand. Cover and refrigerate for at least an hour to firm up.
Pro Tip: For a creamier texture, blend the curds with a bit of heavy cream before chilling.
Tips for the Best Queso Fresco
- Always use fresh, high-quality milk for the best flavor.
- Keep the heat medium to avoid scorching the milk.
- Don’t rush the curd setting; patience pays off.
- Experiment with different acids like lemon juice for unique flavors.
- Store it properly to maintain freshness; wrap it tightly.
Common Mistakes to Avoid
- Not heating the milk enough can lead to poor curd formation.
- Using low-fat milk results in a dryer texture.
- Skipping the rinsing step can leave a strong vinegar flavor.
- Overmixing the curds can make the cheese rubbery.
Serving Suggestions
Queso fresco is incredibly versatile and can elevate many dishes. Here are a few pairing ideas to try.
- Tacos with beef, chicken, or beans.
- Salads with fresh vegetables and avocado.
- Quesadillas for a cheesy delight.
- Chili or soup for a creamy topping.
Variations to Try
- Add herbs like cilantro or chives for a fresh twist.
- Mix in spices like cumin or chili powder for a kick.
- Try using goat milk for a tangier flavor.
- Infuse with roasted garlic for a savory option.
Dietary Adaptations
- Gluten-free: This recipe is naturally gluten-free.
- Dairy-free: Use non-dairy milk and a suitable acid, but expect a texture change.
- Vegetarian: This recipe is vegetarian-friendly.
- Low-carb/keto: The cheese is low in carbs, making it keto-friendly.
Storage and Reheating
Refrigerator
Store queso fresco in an airtight container in the fridge for up to a week.
- Wrap tightly to prevent drying out.
- Use a layer of plastic wrap for extra protection.
Freezer
Queso fresco can be frozen for up to 3 months.
- Wrap tightly in plastic wrap and place in a freezer bag.
- Thaw in the fridge before using.
Reheating
Reheat gently in a microwave or on the stove.
- Use low heat to avoid melting too much.
- Add a splash of milk to restore creaminess if needed.
Nutrition Information
| Nutrient | Amount |
|---|---|
| Calories | 80 |
| Total Fat | 6g |
| Saturated Fat | 4g |
| Carbohydrates | 1g |
| Fiber | 0g |
| Sugar | 0g |
| Protein | 6g |
| Sodium | 120mg |
| Cholesterol | 20mg |
This information is approximate and will vary based on specific ingredients used.

Frequently Asked Questions
Can I use low-fat milk instead of whole milk?
Low-fat milk can be used, but the texture will be drier than with whole milk.
Can I make queso fresco ahead of time?
Absolutely! You can make it a few days in advance and store it in the refrigerator.
How should I store leftover queso fresco?
Wrap it tightly in plastic wrap or store it in an airtight container in the fridge.
What if my queso fresco is too crumbly?
If it’s too crumbly, try adding a little heavy cream or milk to help bind it.
Can I flavor my queso fresco?
Yes! You can add herbs or spices during the mixing stage for a personal touch.
Final Thoughts
Making your own queso fresco is a delightful experience that pays off in flavor and freshness. With just a few ingredients, you can craft a cheese that’s perfect for many dishes and is bound to impress.
So why not give it a try? You might just discover a new favorite kitchen project.
If you enjoyed this recipe, explore more delicious ideas like chipotle queso or check out this whipped ricotta recipe for more cheesy inspiration!
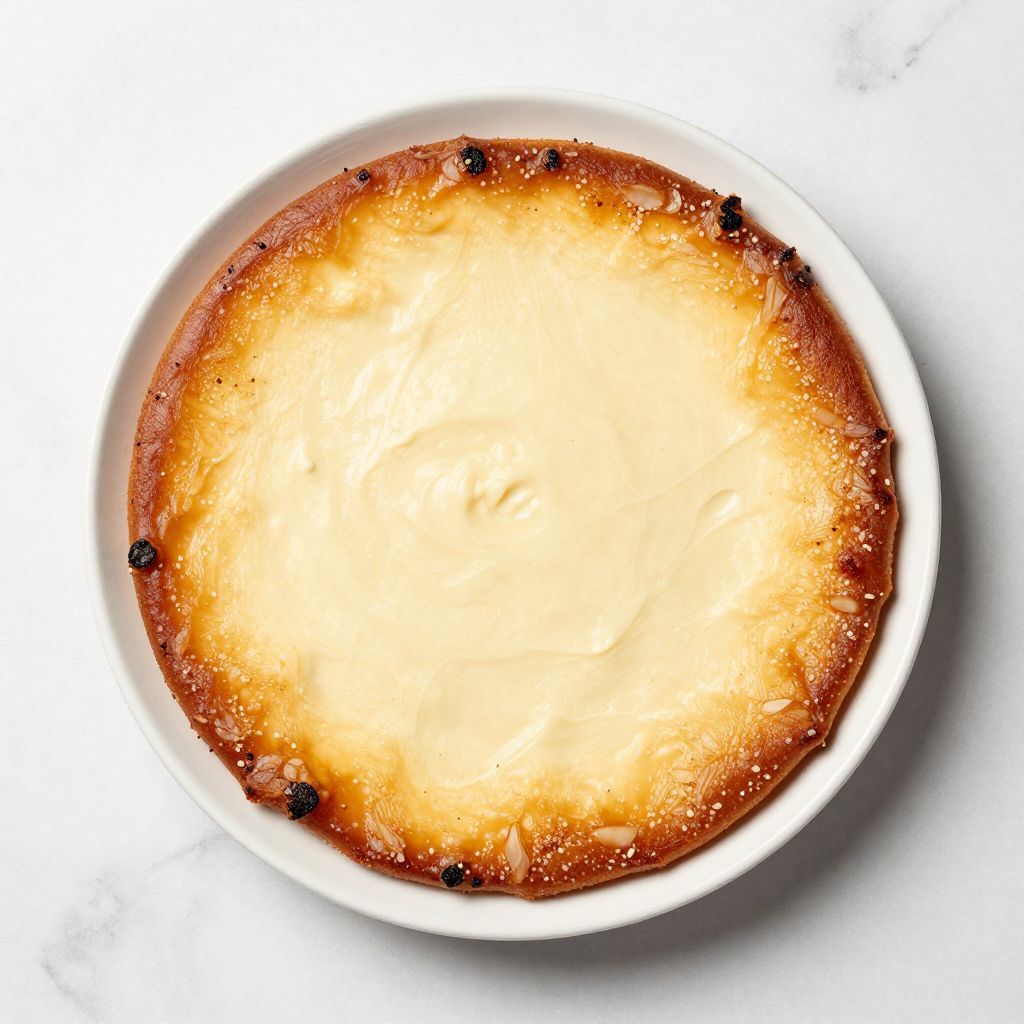
Queso Fresco
Ingredients
Equipment
Method
- Pour 1 gallon whole milk into a large pot and heat over medium heat, stirring occasionally to prevent scorching.
- Using a thermometer, heat the milk to 190°F (88°C), which should take about 10 minutes.
- Remove the pot from heat and add 1/4 cup white vinegar, stirring gently for 1 minute to form curds.
- Let the mixture sit undisturbed for 10 minutes to allow the curds to set.
- Line a bowl with cheesecloth or place a fine mesh strainer over a bowl and pour the curdled mixture into it to drain off whey.
- Rinse the curds under cold running water for 1 minute to remove excess vinegar and mellow the flavor.
- Season the curds with 1 teaspoon salt and mix gently, tasting and adjusting seasoning as needed.
- Transfer the cheese to a mold or shape by hand, cover and refrigerate for at least 1 hour to firm up.