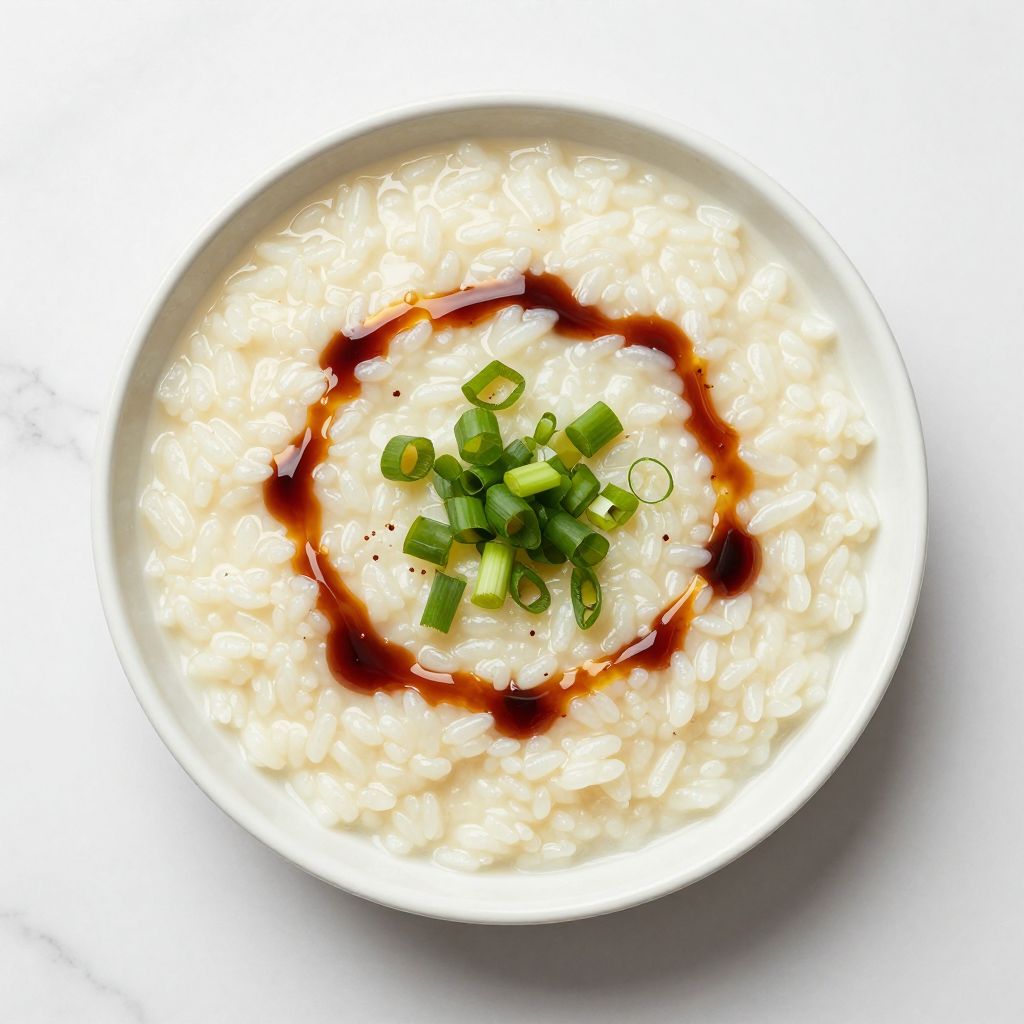
Imagine a warm bowl of comfort that hugs you from the inside out, reminiscent of childhood meals. This kanji recipe is a delightful bowl of rice porridge that’s not just easy to make but also incredibly soothing, perfect for any time you need a little pick-me-up.
Its creamy texture and subtle flavors make it a versatile dish that can be enjoyed plain or dressed up with toppings. Whether you’re feeling under the weather or just want something cozy, this dish is your best friend in the kitchen.
Why You’ll Love This Recipe
This kanji recipe is a comforting classic that offers more than just warmth.
- Quick and easy to prepare, perfect for busy days.
- Customizable with various toppings for different flavor profiles.
- Nutritious, making it a great option for any meal.
- Perfect for all ages, from toddlers to adults.
My Experience Making This Recipe
When I first tried making kanji, I was surprised at how simple and rewarding it was. The aroma of simmering rice filled my kitchen, instantly bringing back memories of family dinners.
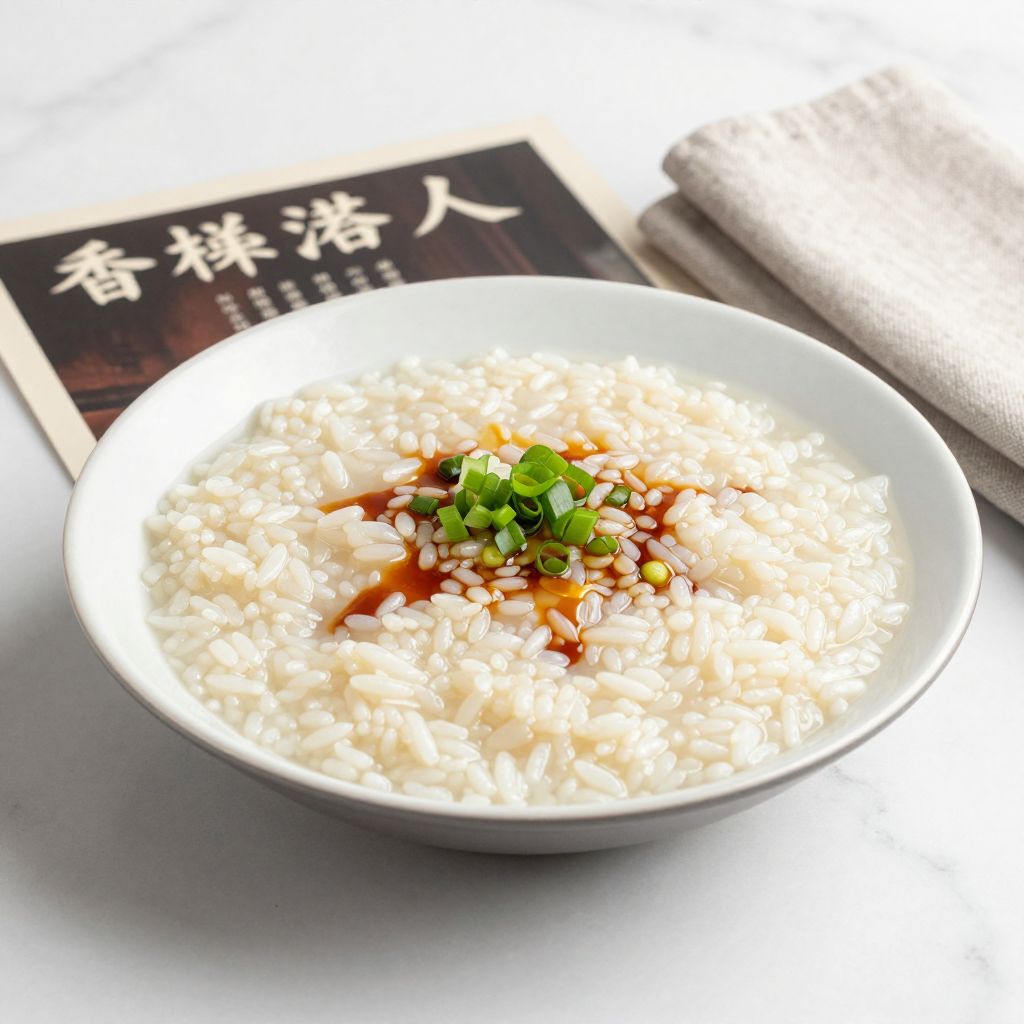
As I stirred the pot, the creamy consistency began to form, and I couldn’t wait to dig in. Topping it with a sprinkle of scallions and a dash of soy sauce elevated the flavors delightfully.
Recipe Overview
- Recipe Name: Kanji
- Servings: 4
- Prep Time: 10 minutes
- Cook Time: 30 minutes
- Total Time: 40 minutes
- Course: Breakfast or Main
- Cuisine: Asian
- Calories per Serving: 150
Equipment You Will Need
- Medium saucepan
- Wooden spoon or spatula
- Measuring cups
- Bowl for serving
Ingredients for Kanji
- 1 cup of rice
- 6 cups of water or broth
- Salt to taste
- Optional toppings:
- Scallions, chopped
- Pickled vegetables
- Fried shallots
- Soy sauce or sesame oil
Ingredient Notes and Substitutions
- Rice: This is the base, providing that comforting texture. You can use jasmine or short-grain rice for a creamier consistency.
- Water or broth: Broth adds depth to the flavor. If you’re out of broth, water works just fine.
- Salt: Enhances the overall flavor. Feel free to adjust it based on your dietary needs.
How to Make Kanji
Step 1: Rinse the Rice
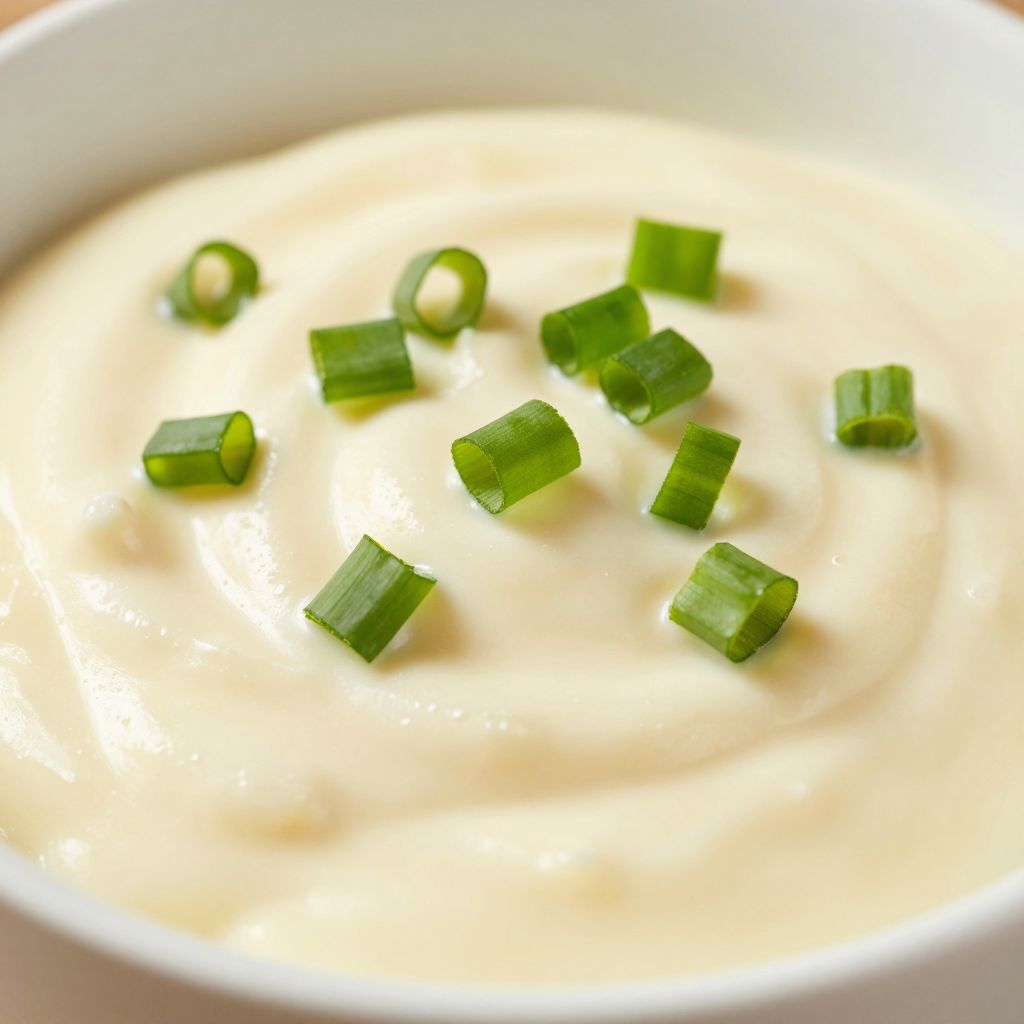
Start by rinsing the rice under cold water. This removes excess starch and helps achieve a smoother texture.
Step 2: Combine Ingredients
Add the rinsed rice and water (or broth) to a medium saucepan. This is where the magic begins to happen.
Step 3: Bring to a Boil
Heat the mixture over medium-high heat until it reaches a boil. Boiling helps the rice start cooking evenly.
Step 4: Lower the Heat
Once boiling, reduce the heat to low and cover the pot. Cooking it low and slow allows the rice to break down, creating that creamy consistency.
Step 5: Stir Occasionally
Stir the kanji every 10 minutes or so to prevent sticking. This keeps the texture uniform and creamy.
Step 6: Cook Until Desired Consistency
Let it simmer for about 30 minutes. You can adjust the cooking time based on how thick or thin you want it.
Step 7: Season to Taste
Add salt to taste once the kanji reaches your desired consistency. This is your chance to make it just right.
Step 8: Serve with Toppings
Transfer the kanji to bowls and top with your favorite toppings. This is the fun part where you can get creative!
Pro Tip: Adding a splash of soy sauce or sesame oil just before serving brings out the flavors beautifully.
Tips for the Best Kanji
- Use good quality rice for the best texture.
- Adjust the liquid amount based on your preference for thickness.
- Experiment with different toppings for variety.
- Stirring occasionally is key to preventing the rice from sticking.
- Letting it sit for a few minutes off heat can help thicken it up.
Common Mistakes to Avoid
- Not rinsing the rice: It can lead to a gummy texture.
- Using too much water: This can make it too soupy instead of creamy.
- Not stirring: This causes the rice to stick to the bottom of the pot.
- Overcooking: This can turn your kanji into a mushy mess.
Serving Suggestions
Kanji is fantastic on its own but pairs well with various sides. Here are some great ideas to elevate your meal.
- Steamed vegetables for a nutritious boost.
- Fried eggs for added protein.
- Side of pickled vegetables for tanginess.
- Tofu for a vegetarian protein option.
Variations to Try
- Add chicken or beef for a heartier version.
- Incorporate ginger for a warming spice.
- Mix in mushrooms for an umami boost.
- Top with avocado for a creamy texture.
Dietary Adaptations
- Gluten-free: Use gluten-free soy sauce or leave it out entirely.
- Dairy-free: This recipe is naturally dairy-free.
- Vegan/Vegetarian: All ingredients are plant-based.
- Low-carb/Keto: Substitute rice with cauliflower rice for a low-carb version.
Storage and Reheating
Refrigerator
Store any leftovers in an airtight container in the refrigerator for up to 3 days.
- Let it cool before sealing.
- Reheat in a saucepan with a splash of water for moisture.
Freezer
You can freeze kanji for up to 1 month.
- Cool completely before transferring to a freezer-safe container.
- Label with the date for easy identification.
Reheating
Reheat frozen kanji in the microwave or on the stovetop, adding a bit of water to regain creaminess.
- Heat slowly to avoid scorching.
- Stir and check for desired consistency.
Nutrition Information
| Nutrient | Amount |
|---|---|
| Calories | 150 |
| Total Fat | 0.5g |
| Saturated Fat | 0g |
| Carbohydrates | 32g |
| Fiber | 1g |
| Sugar | 0g |
| Protein | 3g |
| Sodium | 5mg |
| Cholesterol | 0mg |
This nutritional information is an estimate and may vary based on specific ingredients used.
Frequently Asked Questions
Can I substitute the rice with something else?
Yes, you can use quinoa or cauliflower rice for a different texture.
Can I make this ahead of time?
Absolutely! Kanji can be made in advance and stored in the refrigerator.
How do I store leftovers?
Keep leftovers in an airtight container in the refrigerator for a few days.
What if my kanji is too thick?
Add a bit of water or broth while reheating to reach your preferred consistency.
How can I make it spicier?
Add sliced chili peppers or a dash of chili oil for heat.
Final Thoughts
Making kanji is not just a recipe; it’s a comforting experience that warms the soul. I encourage you to try it out and make it your own.
Feel free to explore more delicious recipes, like gyudon or Benihana fried rice, to expand your culinary adventures.
Kanji
Ingredients
Equipment
Method
- Step 1: Rinse the rice under cold water until the water runs clear.
- Step 2: Add the rinsed rice and water or broth to a medium saucepan.
- Step 3: Bring the mixture to a boil over medium-high heat, stirring occasionally.
- Step 4: Once boiling, reduce heat to low, cover the pot, and simmer for 30 minutes, stirring every 10 minutes to prevent sticking.
- Step 5: Check the porridge consistency; cook an additional 2–5 minutes if you prefer it thicker.
- Step 6: Season with salt to taste once the porridge reaches your desired consistency.
- Step 7: Divide the kanji into serving bowls and add desired optional toppings.
- Step 8: Serve immediately, drizzling with soy sauce or sesame oil if desired.