Picture this: a hot summer day, a scoop of bright, fruity goodness melting in your mouth, and a little nostalgia creeping in. That’s what making Italian Ice is all about—a refreshing treat that’s both simple and delightful, perfect for cooling off or satisfying a sweet tooth. This recipe stands out for its vibrant flavors and icy texture, making it a fantastic homemade alternative to store-bought varieties. Get ready to impress your friends and family with this easy-to-make dessert that’s sure to bring smiles all around!
Why You’ll Love This Recipe
This Italian Ice recipe is a true crowd-pleaser and a breeze to whip up.
- Refreshing and fruity flavors that burst in your mouth.
- Simple ingredients you probably already have at home.
- Customizable to suit any taste preference.
- Perfect for warm weather or just when you need a sweet pick-me-up.
- Fun for kids and adults alike, making it a great family project.
My Experience Making This Recipe
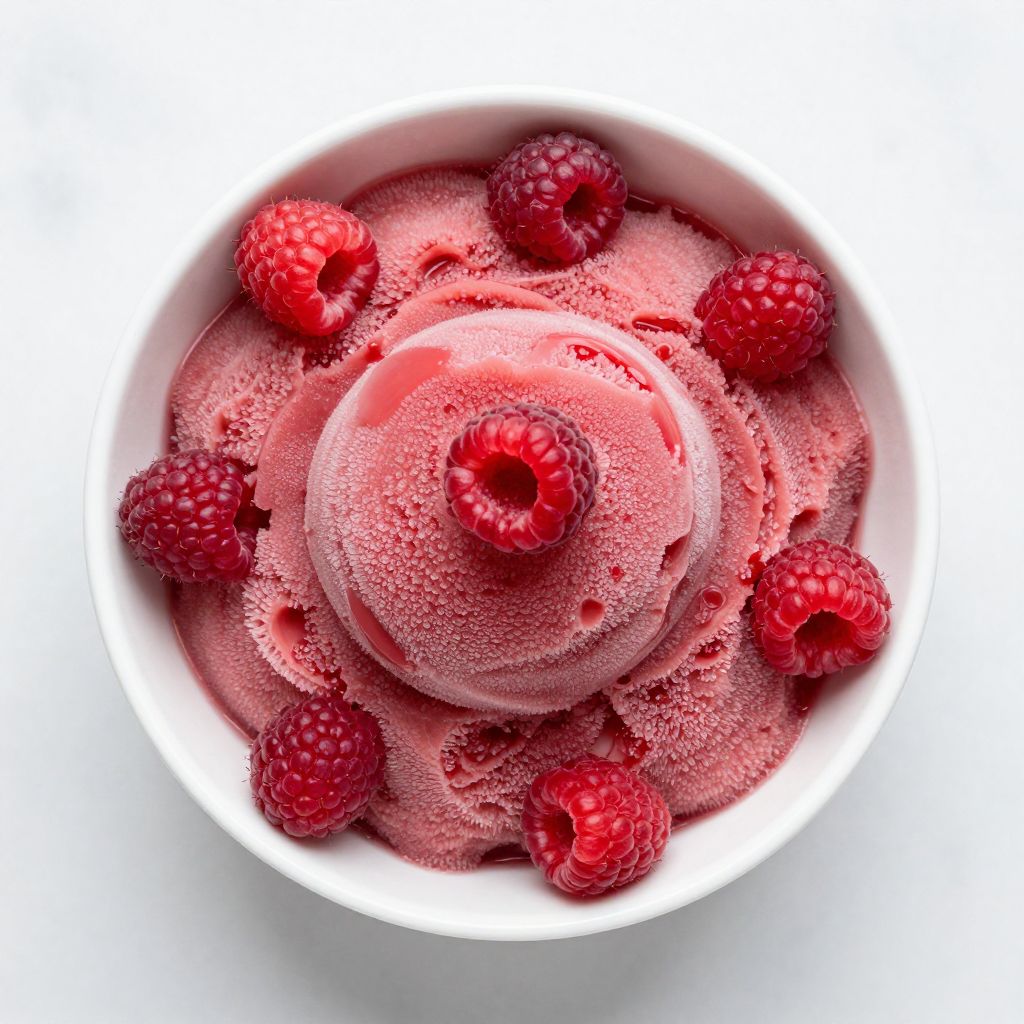
The first time I made this Italian Ice, I was blown away by how easy it was. I chose a bright raspberry flavor, and let me tell you, the smell of fresh berries filled my kitchen!
When I finally served it, the vibrant color and icy texture were a hit. Everyone was asking for seconds, and I felt like a dessert rockstar.
Recipe Overview
- Recipe Name: Italian Ice
- Servings: 6
- Prep Time: 15 minutes
- Cook Time: 0 minutes
- Total Time: 4 hours (including freezing)
- Course: Dessert
- Cuisine: Italian
- Calories per Serving: 120
Equipment You Will Need
- Blender or food processor
- Mixing bowl
- Shallow dish or ice cream maker
- Fork
- Measuring cups and spoons
Ingredients for Italian Ice
- 2 cups fresh or frozen fruit (like raspberries, strawberries, or lemons)
- 1 cup water
- 1/2 cup granulated sugar
- 1 tablespoon lemon juice (optional, for extra tartness)
Ingredient Notes and Substitutions
- Fresh or frozen fruit: This provides the primary flavor. You can substitute with any fruit you love, like mango or peach, for a different twist.
- Granulated sugar: It sweetens the mix. If you want to cut back on sugar, try using honey or a sugar substitute.
- Lemon juice: This adds a nice zing. If you prefer a sweeter ice, you can leave it out.
How to Make Italian Ice
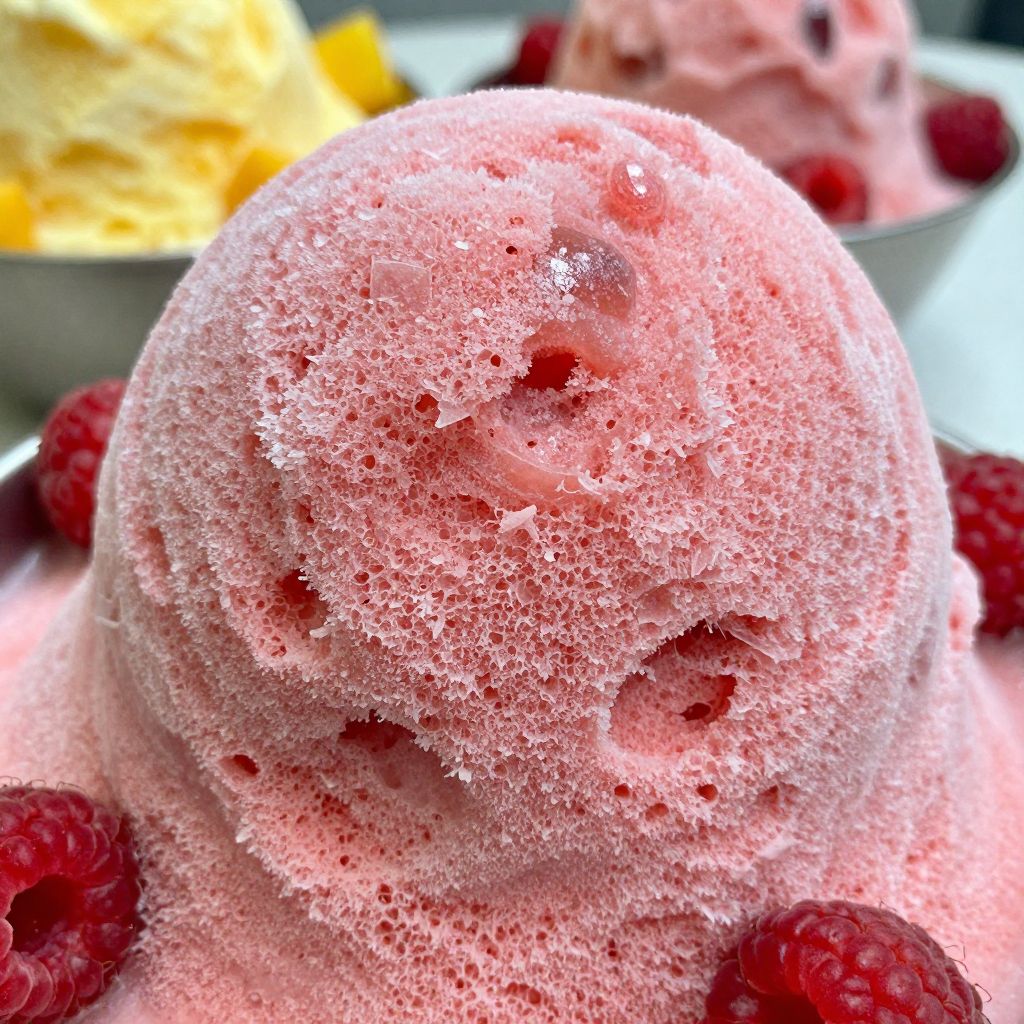
Step 1: Prepare the Fruit
Start by washing your fruit thoroughly, especially if using fresh berries. Removing any dirt ensures a clean taste.
Step 2: Blend the Ingredients
In a blender, combine the fruit, water, sugar, and lemon juice. Blend until smooth and well combined—this is where the magic happens!
Step 3: Taste and Adjust
Take a quick taste of your mixture. If it’s too tart, add a bit more sugar; if it’s too sweet, a splash more lemon juice will do wonders.
Step 4: Pour into a Dish
Transfer the blended mixture into a shallow dish. This helps the mixture freeze evenly and makes for easy scraping later.
Step 5: Freeze the Mixture
Cover the dish with plastic wrap and place it in the freezer. Let it freeze for at least 4 hours or until solid.
Step 6: Scrape the Ice
Once frozen, use a fork to scrape the surface of the ice. This creates those lovely flaky textures that make Italian Ice so enjoyable.
Step 7: Serve Immediately
Serve the scraped Italian Ice in bowls or cones. Enjoy it right away for the best texture!
Step 8: Store Any Leftovers
If you have leftovers, store them in an airtight container. Just remember to scrape it again before serving!
Pro Tip: Ensure the mixture is well blended for a smoother texture and better flavor integration.
Tips for the Best Italian Ice
- Use ripe, in-season fruit for the best flavor.
- Freeze the mixture in small batches to speed up the freezing process.
- Experiment with different fruit combinations for unique flavors.
- For a creamier texture, blend in a bit of coconut milk.
- Serve with fresh fruit garnish for a delightful presentation.
Common Mistakes to Avoid
- Not blending the fruit enough; this can lead to a gritty texture.
- Using too much sugar; it can overpower the natural fruit flavor.
- Freezing for too short a time; make sure it’s fully solidified before scraping.
- Over-scraping; this can result in a mushy texture instead of fluffy ice.
Serving Suggestions
Italian Ice is best enjoyed on its own, but it pairs wonderfully with other treats.
- Serve alongside a slice of your favorite cake.
- Pair with a scoop of sorbet for a double dessert.
- Add it to a refreshing summer cocktail.
- Use it as a topping for yogurt or ice cream.
Variations to Try
- Mango Lime: Use ripe mangoes and add lime juice for a tropical twist.
- Coconut Pineapple: Blend coconut milk with pineapple for a piña colada vibe.
- Berry Medley: Combine strawberries, blueberries, and blackberries for a mixed berry delight.
- Peach Basil: Add fresh basil to a peach base for a unique herbal note.
Dietary Adaptations
- Gluten-Free: Naturally gluten-free, so enjoy without worry!
- Dairy-Free: This recipe contains no dairy, making it perfect for lactose intolerance.
- Vegan: All plant-based ingredients ensure it’s vegan-friendly.
- Low-Carb/Keto: Substitute sugar with a keto-friendly sweetener to lower carbs.
Storage and Reheating
Refrigerator
Italian Ice is best enjoyed fresh but can be kept in the fridge for a few hours.
- Store in an airtight container to maintain texture.
Freezer
For long-term storage, keep it in the freezer.
- Make sure to seal it well to prevent freezer burn.
Reheating
Simply let it sit at room temperature for a few minutes before serving.
- Use a fork to scrape and revive its texture.
Nutrition Information
| Nutrient | Amount |
|---|---|
| Calories | 120 |
| Total Fat | 0g |
| Saturated Fat | 0g |
| Carbohydrates | 30g |
| Fiber | 1g |
| Sugar | 28g |
| Protein | 0g |
| Sodium | 5mg |
| Cholesterol | 0mg |
This information is estimated and may vary based on the specific ingredients you use.

Frequently Asked Questions
Can I use frozen fruit?
Yes, frozen fruit works perfectly! Just blend it directly without thawing.
How far in advance can I make Italian Ice?
You can prepare it a day ahead; just keep it well-sealed in the freezer.
Can I substitute the sugar?
Absolutely! You can use honey, agave, or a sugar substitute to fit your dietary needs.
Why is my Italian Ice too hard?
If it’s too hard, it may need more scraping or a few minutes at room temperature before serving.
What’s the best way to serve Italian Ice?
Serve it in bowls or cups, and feel free to garnish with fresh fruit or mint!
Final Thoughts
Making Italian Ice is a delightful experience that brings a taste of summer to any day. With endless flavor possibilities, you can create a new favorite every time.
So grab your blender and start experimenting. You’ll find that once you make this refreshing treat, you’ll want to share it with everyone!
For more delicious recipes, check out Ice Cream Bread Recipe or Agua Fresca Recipe. Enjoy your culinary adventures!
Italian Ice
Ingredients
Equipment
Method
- Wash the fruit thoroughly if using fresh berries.
- In a blender, combine the fruit, water, sugar, and lemon juice and blend until smooth and well combined.
- Taste the mixture and adjust sweetness by adding more sugar or tartness with extra lemon juice.
- Pour the blended mixture into a shallow dish.
- Cover the dish and freeze for at least 4 hours or until solid.
- Once frozen, use a fork to scrape the surface to create a flaky, icy texture.
- Serve the Italian Ice immediately in bowls or cones for best texture.
- Store any leftovers in an airtight container in the freezer and scrape again before serving.